Modeling & Materials

Weekly Design Challenge Template

Alexander Yanque-Monge: Object Selection & Intro to 3D Modeling


Module 1


For my first week design challenge, I made sure to model 5 objects that are similar to basic shapes, and then 3 objects with more complex geometry. I tried a number of different ways to modify each shape to make them look organic and closer to real world objects, using colour and textures to enhance their realism. I learned a lot through this whole experience and I hope to continue improving my modeling skills throughout the course.

Design Challenge 1
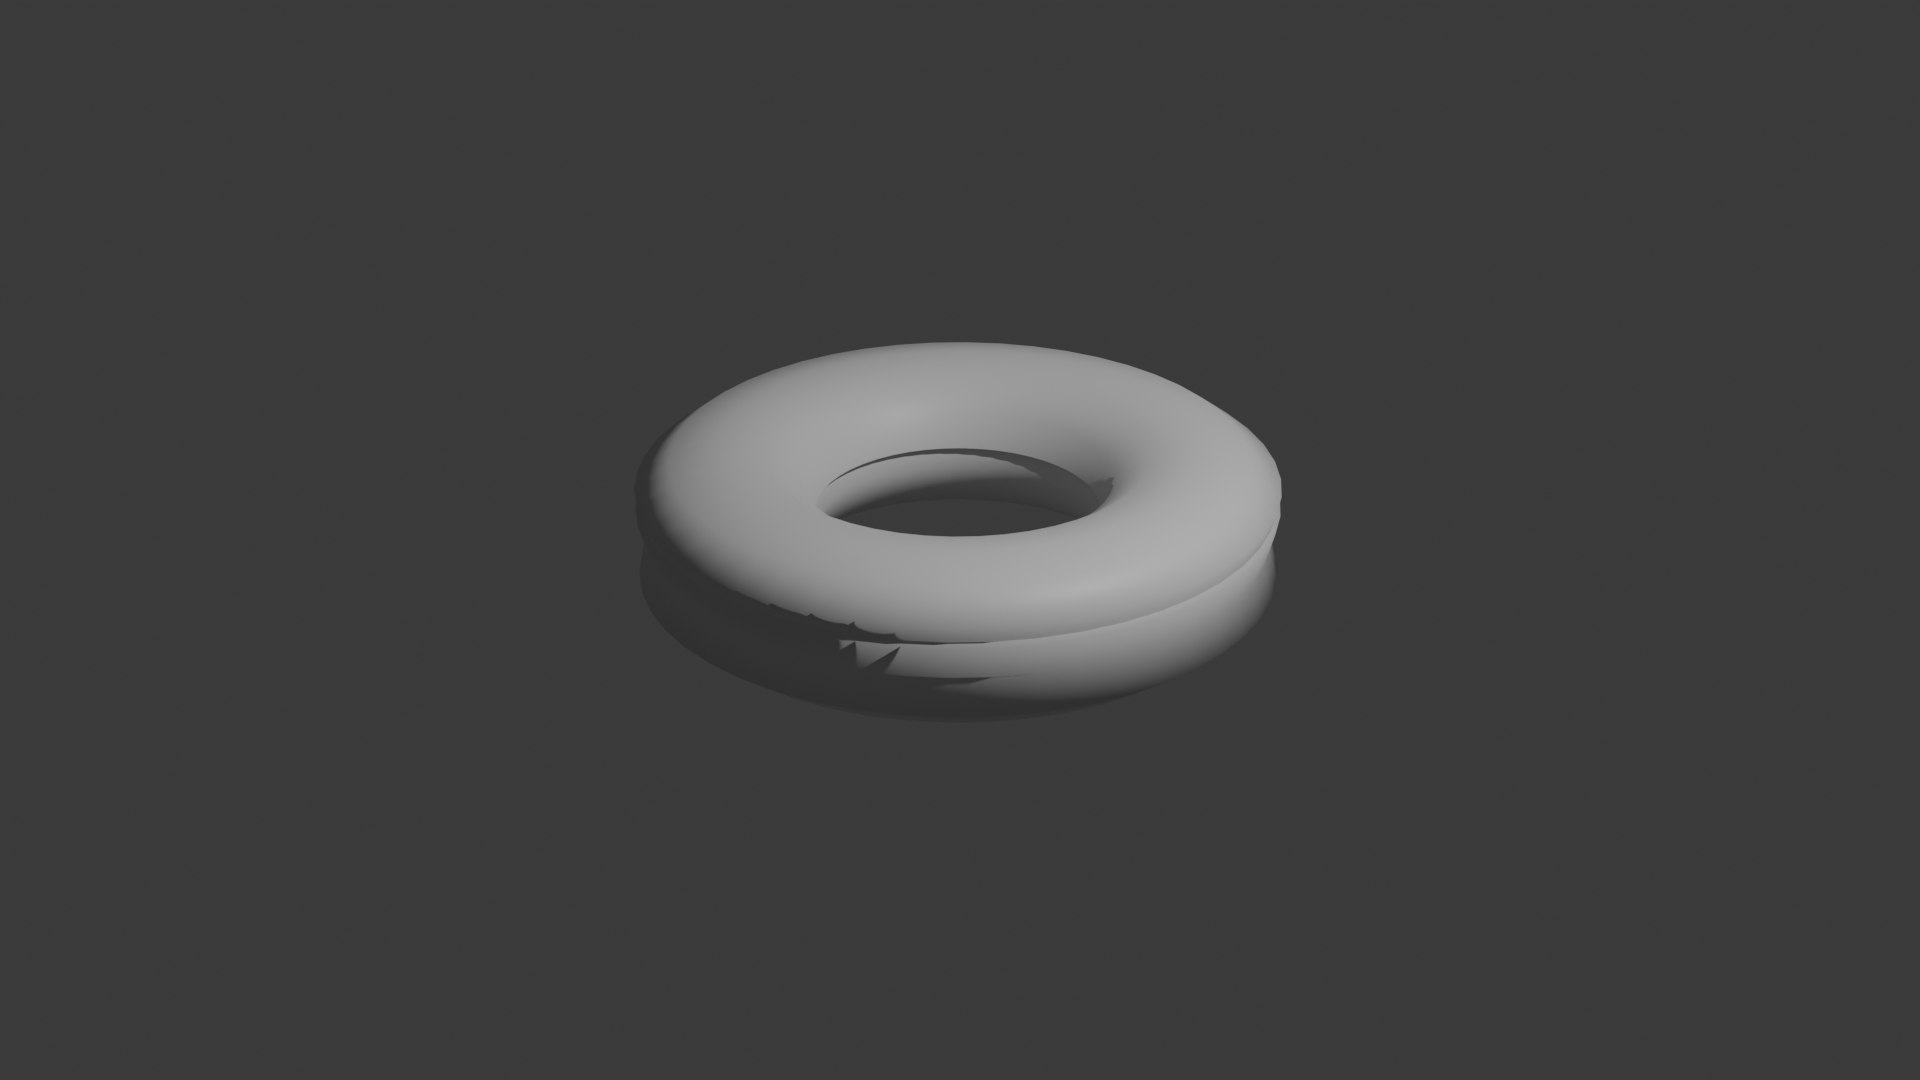
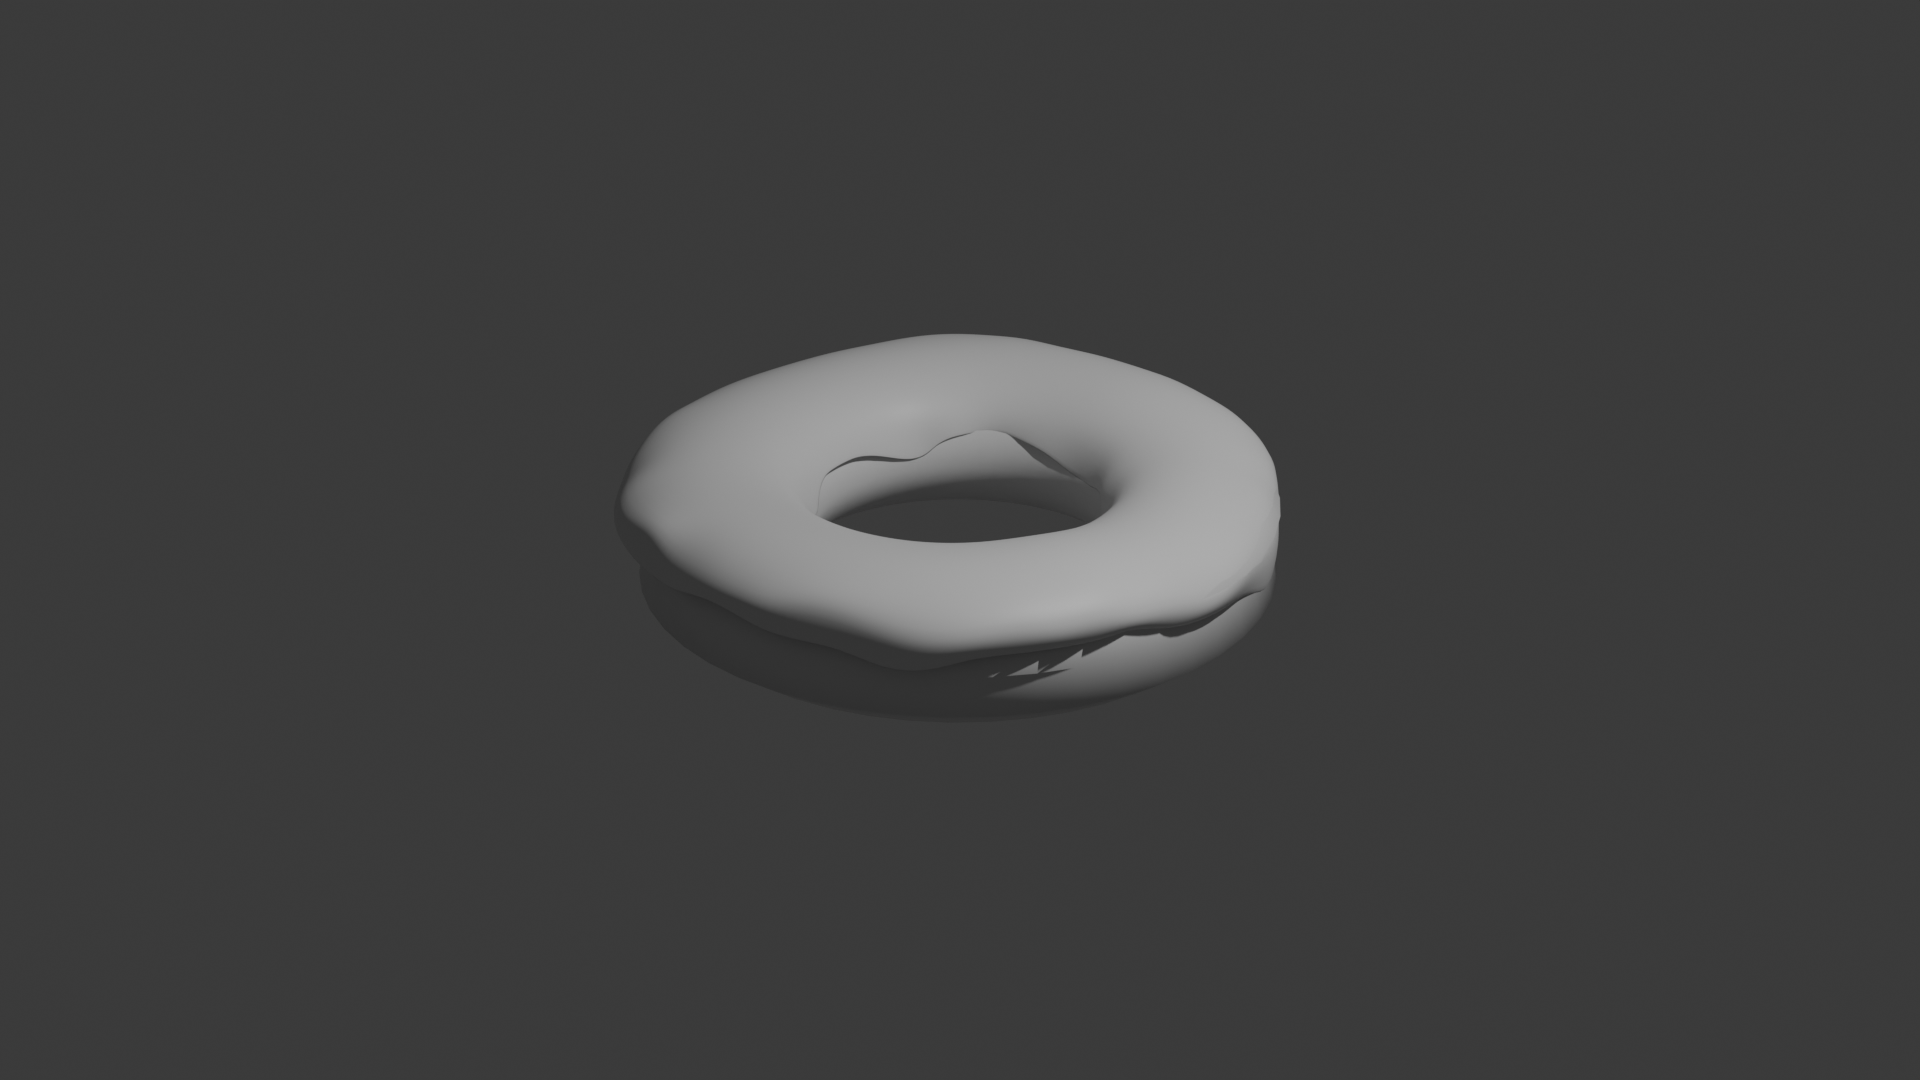
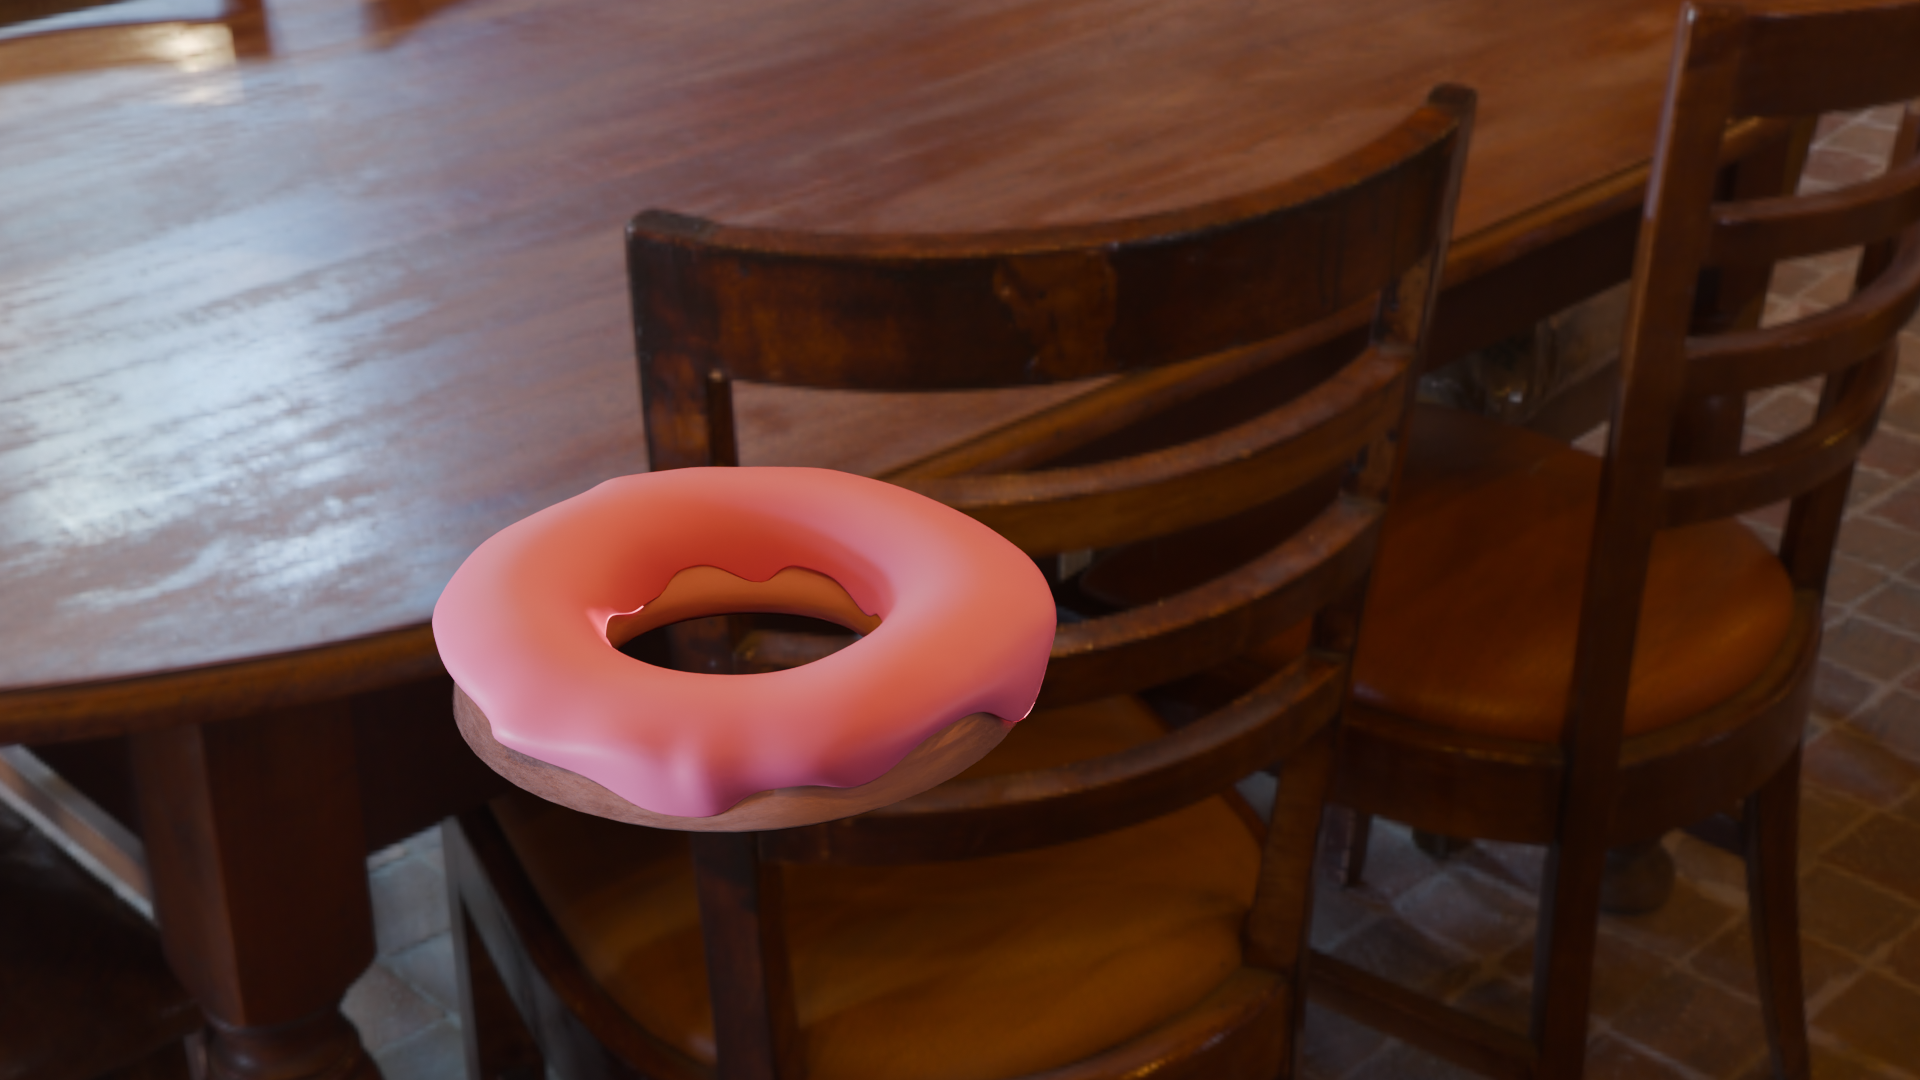
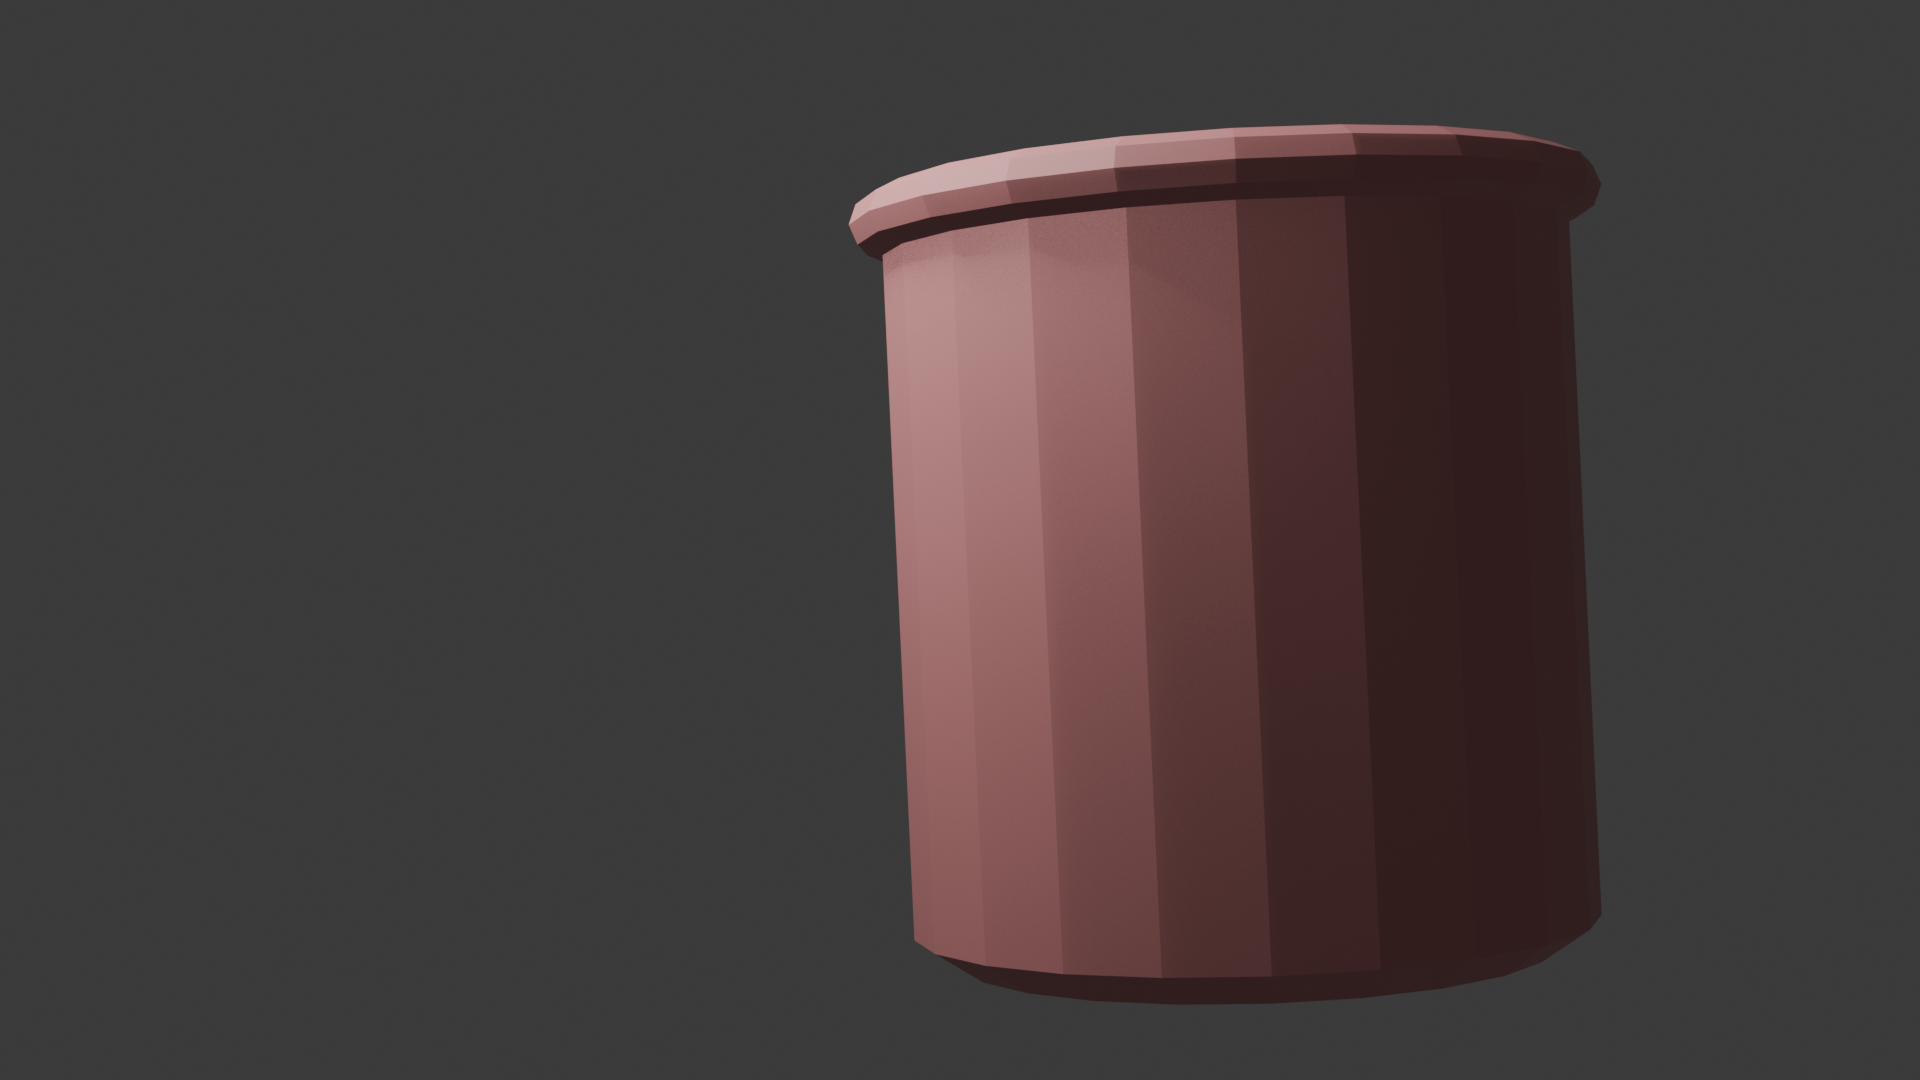
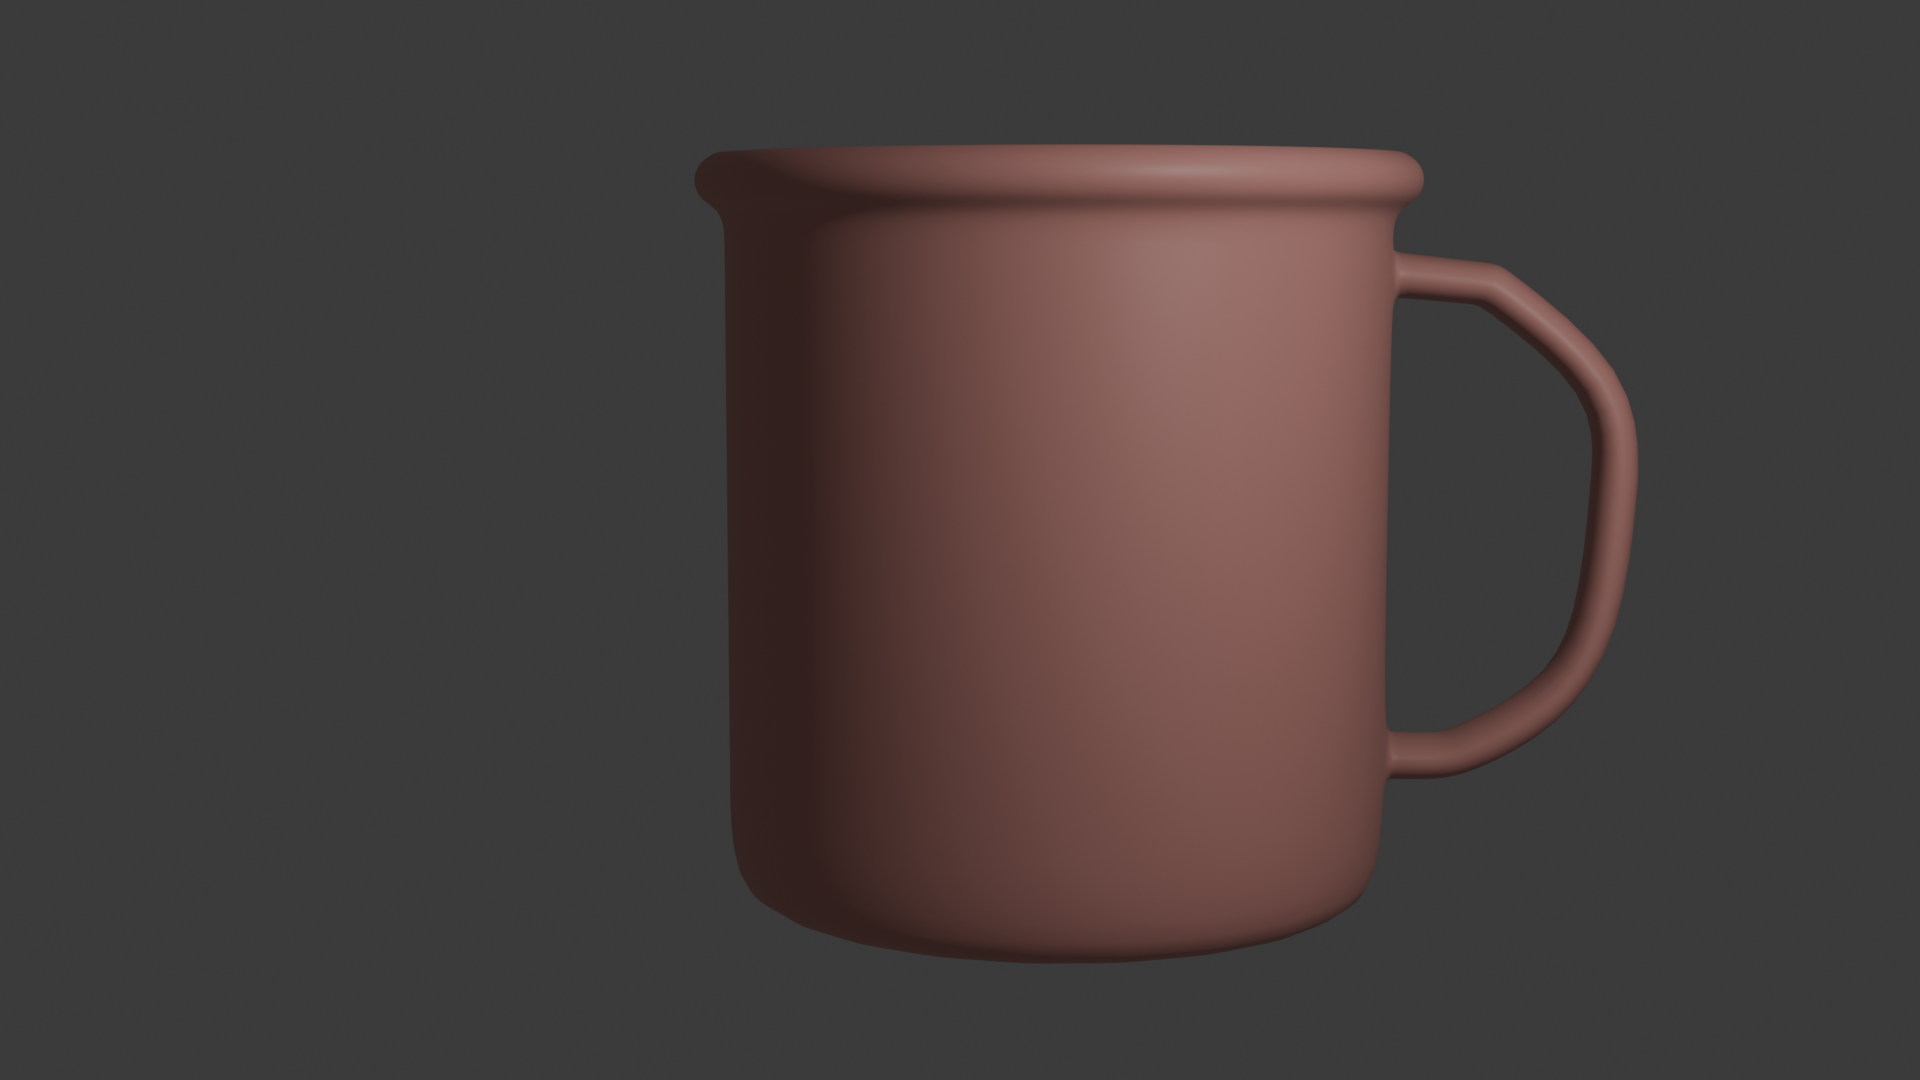
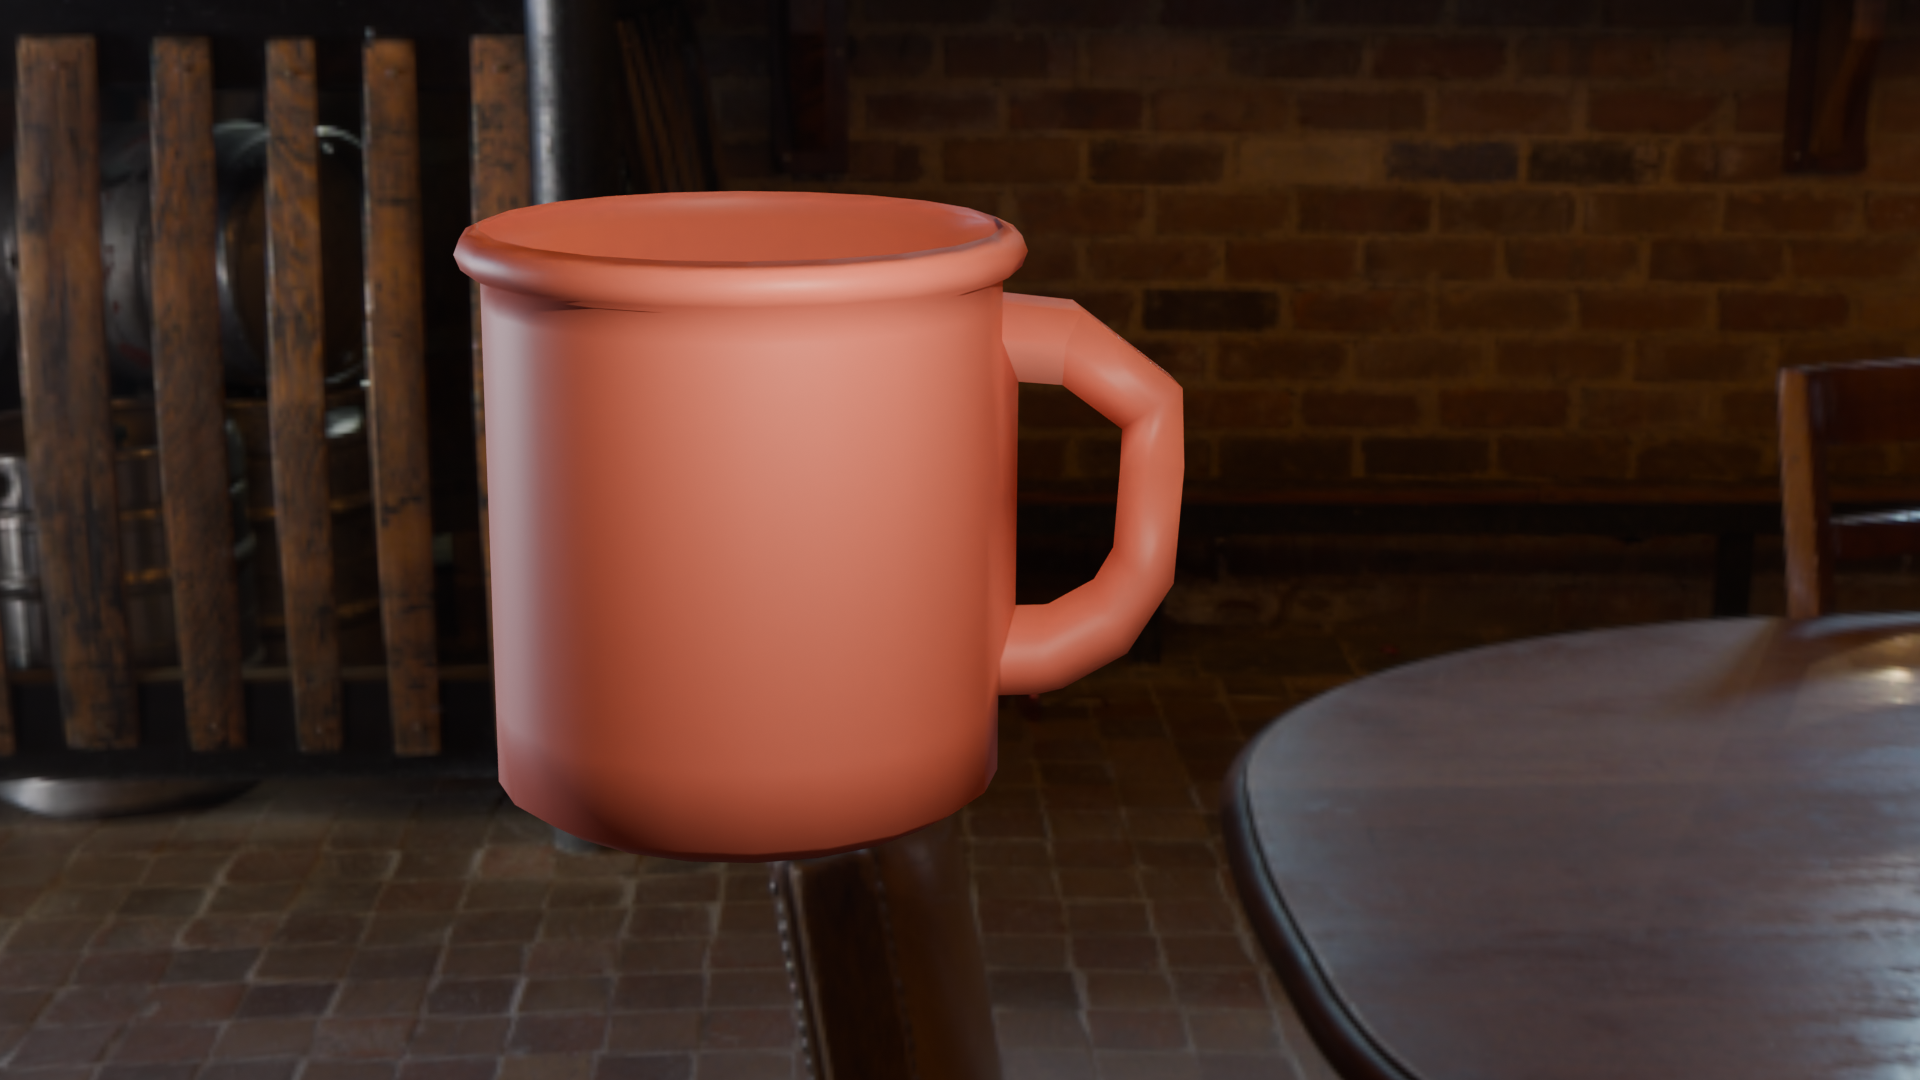
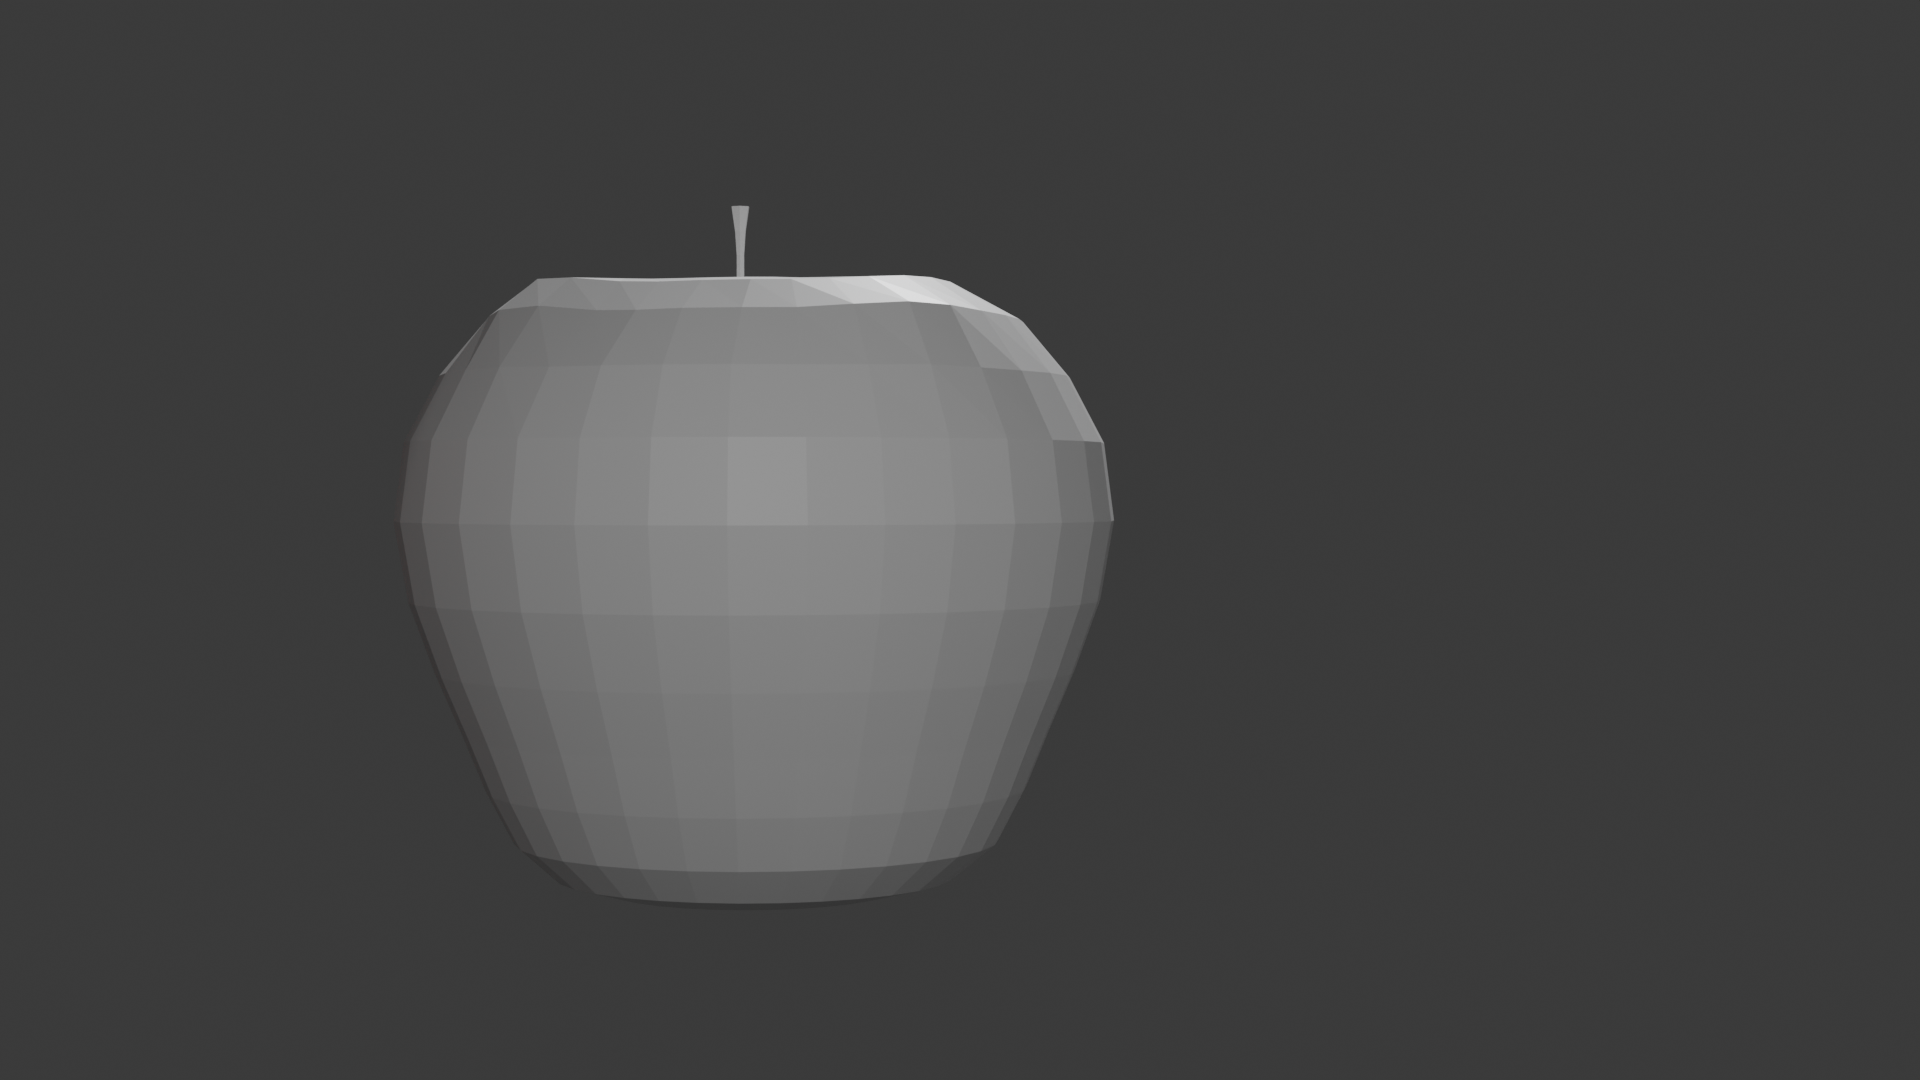
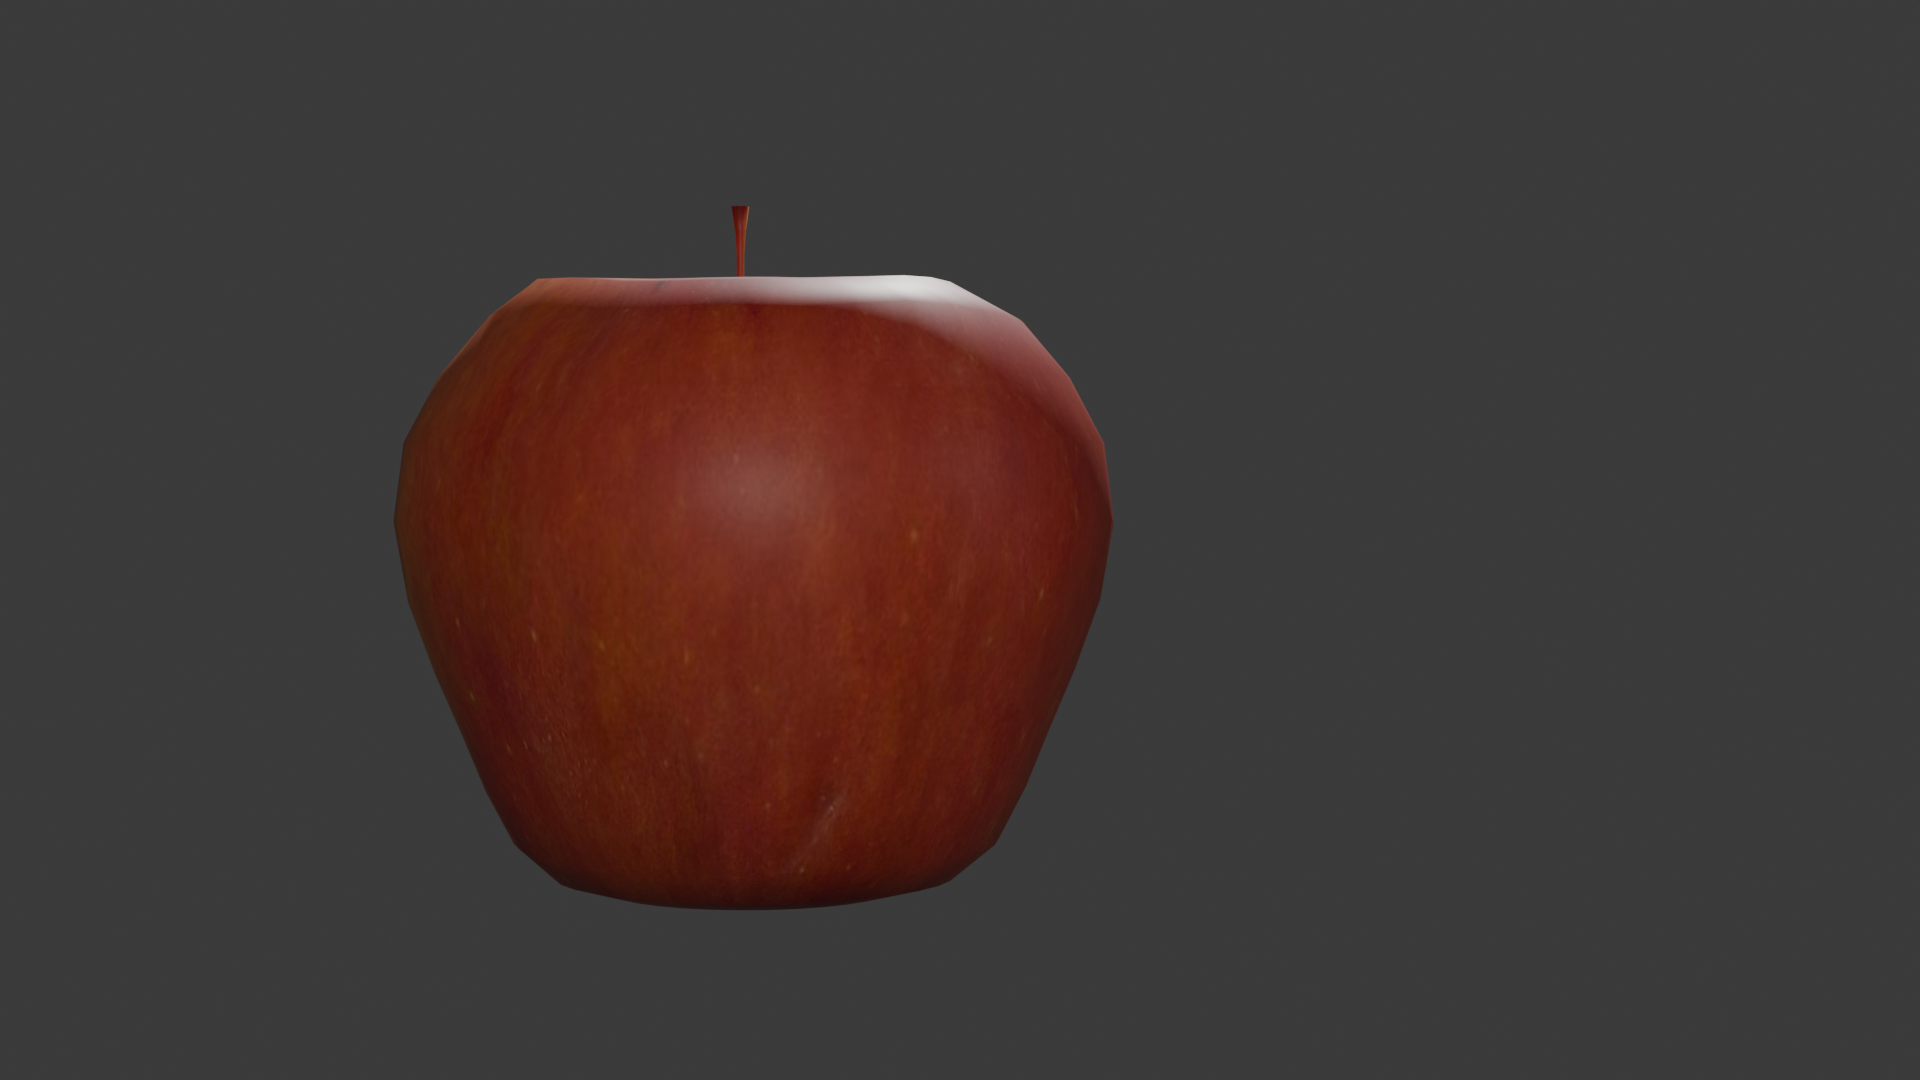
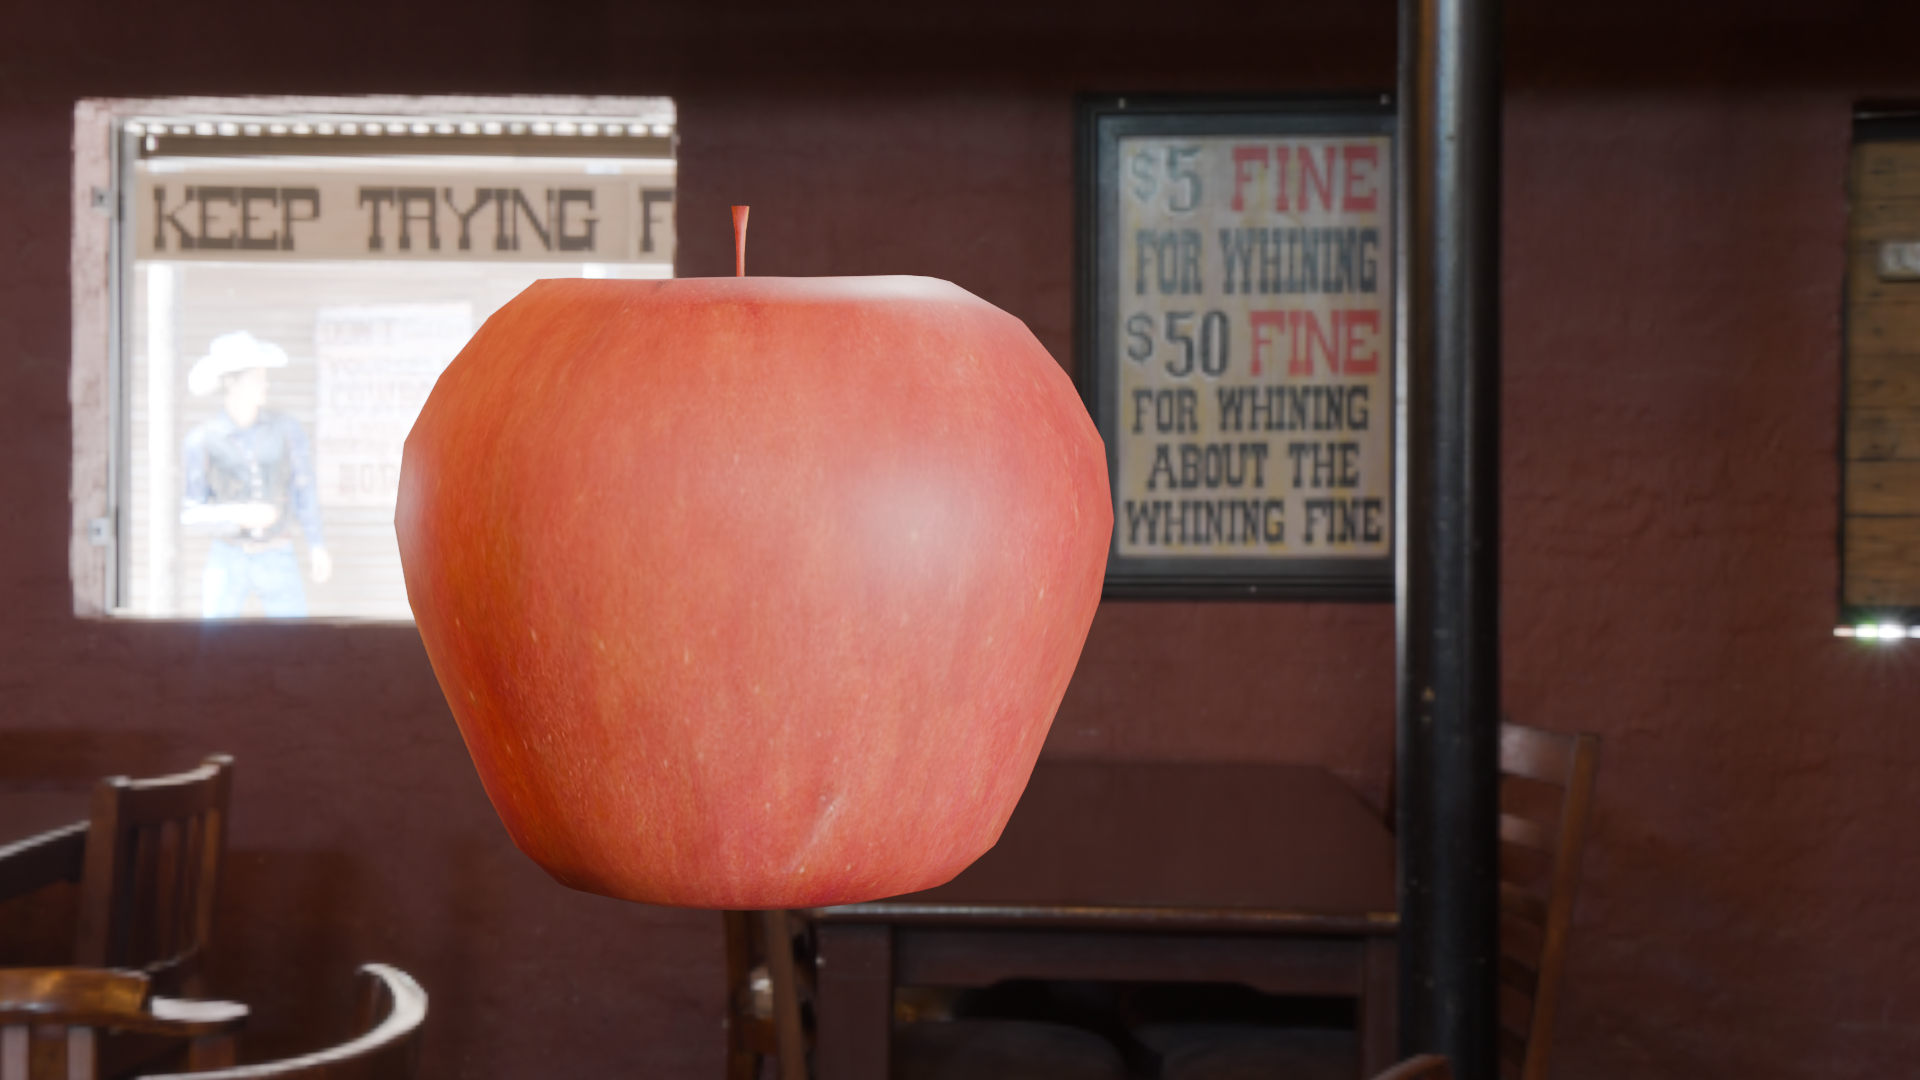
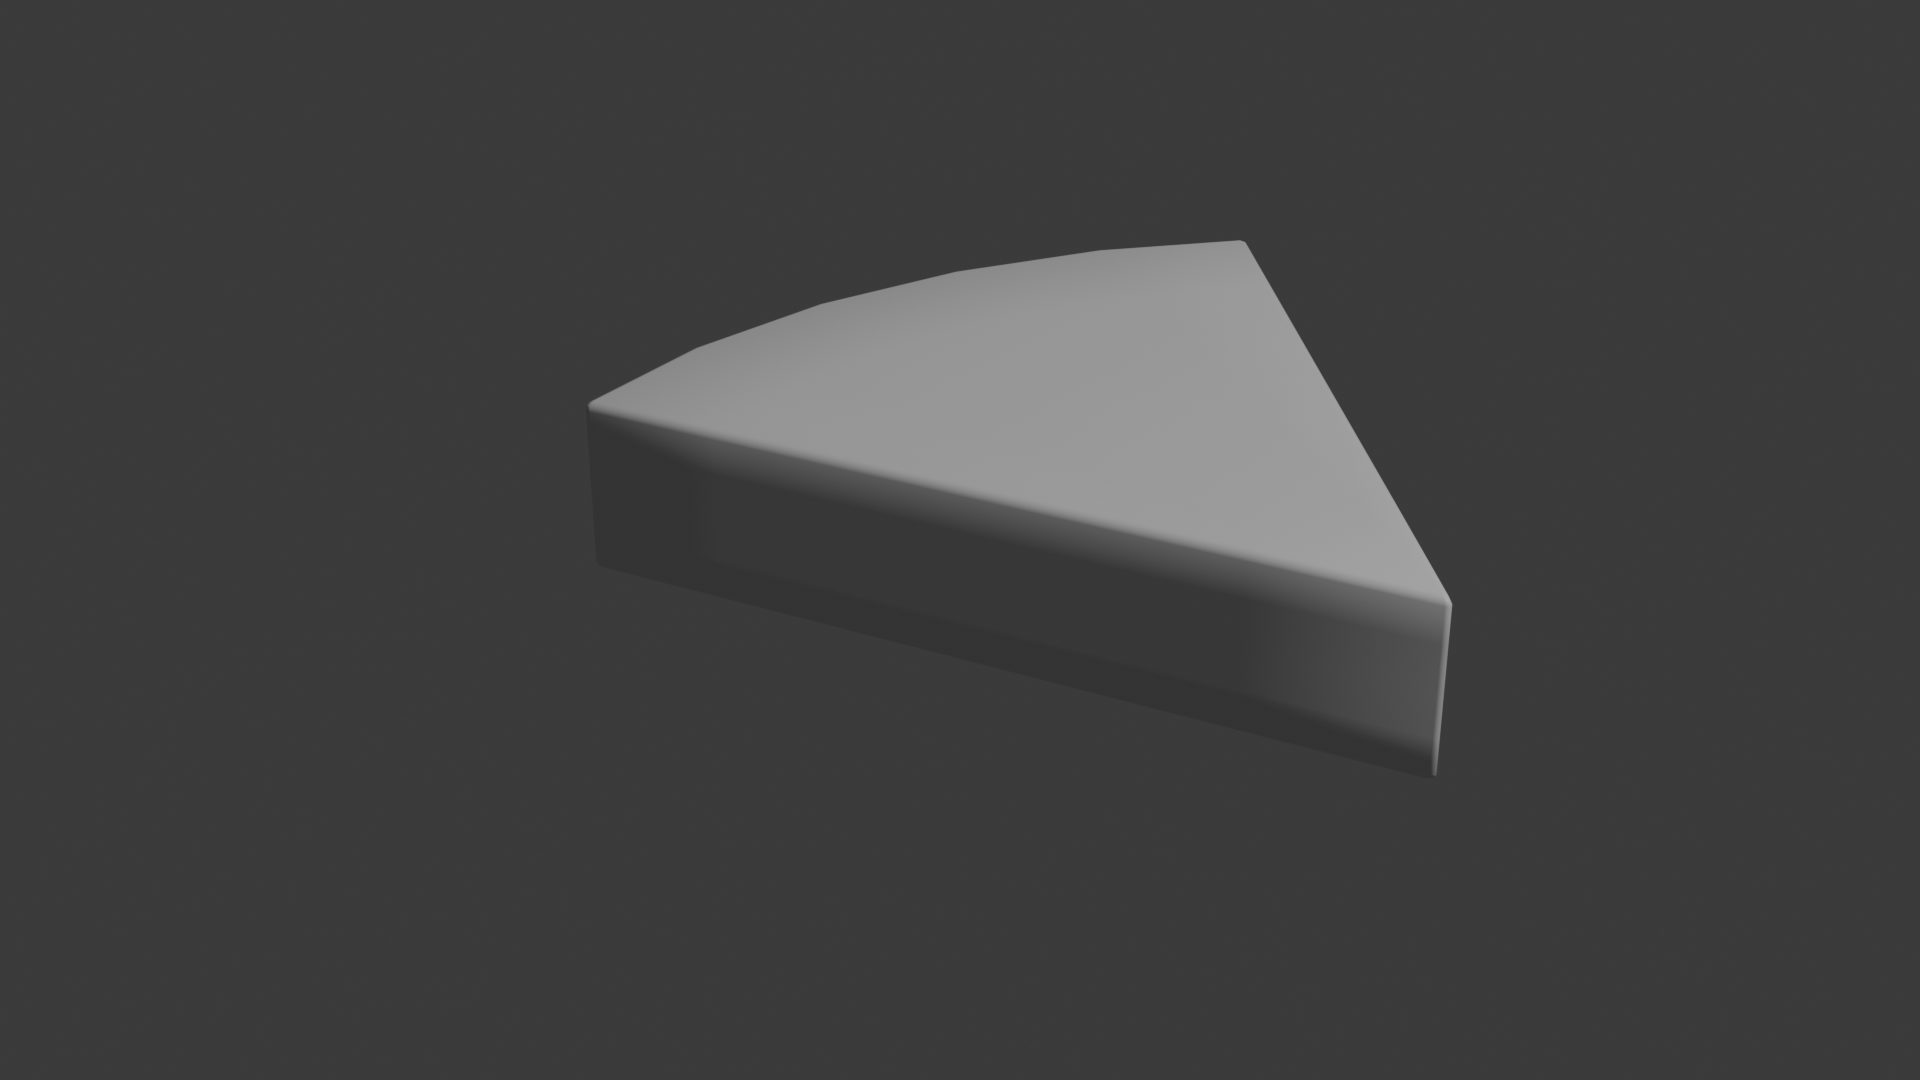
Started off making a donut, I created a torus and then added a subdivision surface modifier to smooth it out. I then went into edit mode to duplicate the top half of the shape to create the frosting, scaling it up slightly and moving it up to sit on top of the base donut shape. To make the frosting look more realistic, I edited some of the veriticies to make it look like it was dripping down the sides of the donut. I then added a solidify modifier to give the frosting some thickness, and then added a subdivision surface modifier to smooth it out. I added colour using principled bsdf shaders, with a pink colour for the frosting and a brown colour for the donut base. I then added a noise texture to the base donut shape to give it some texture. Finally I added some lights and imported a Hdri image to give the scene realistic reflections and lighting. I created a cylinder mesh and scaled it to create the base of the coffee cup, adjusting the geometry to make it look more like a cup. I extruded the top face to create the top lip of the cup. I then added a solidify modifier to give the cup some thickness, and then added a subdivision surface modifier to smooth it out. To make the handle, I extruded a face from the side of the cup and then manually rotated and extruded the geometry to create a handle shape. I thickened the handle by adding a solidify modifier, tweaking it to look more like a standard handle. I added colour with principled bsdf shaders, with a reddish brown colour for the cup. Finally I added some lights and imported a Hdri image to give the scene realistic reflections and lighting. I created a sphere mesh and scaled the top and bottom to create the base shape of the apple. I then added a cylinder mesh, adjusted the verticies to create a stem shape, and positioned it on top of the apple. I then added a subdivision surface modifier to smooth out the apple shape. I then downloaded an apple texture and applied it to the apple shape using UV mapping. Finally, I made adjustments to the texture mapping to make the colours look more realistic, adding some lights and importing a Hdri image to give the scene realistic reflections and lighting I created a circle mesh and scaled it up to create a round shape and extruded it into a cylinder shape. I went into edit mode removing a bunch of the faces to create a wedge shape, and then added a bevel modifier to smooth out the edges. I then added a subdivision surface modifier to smooth out the shape.
    
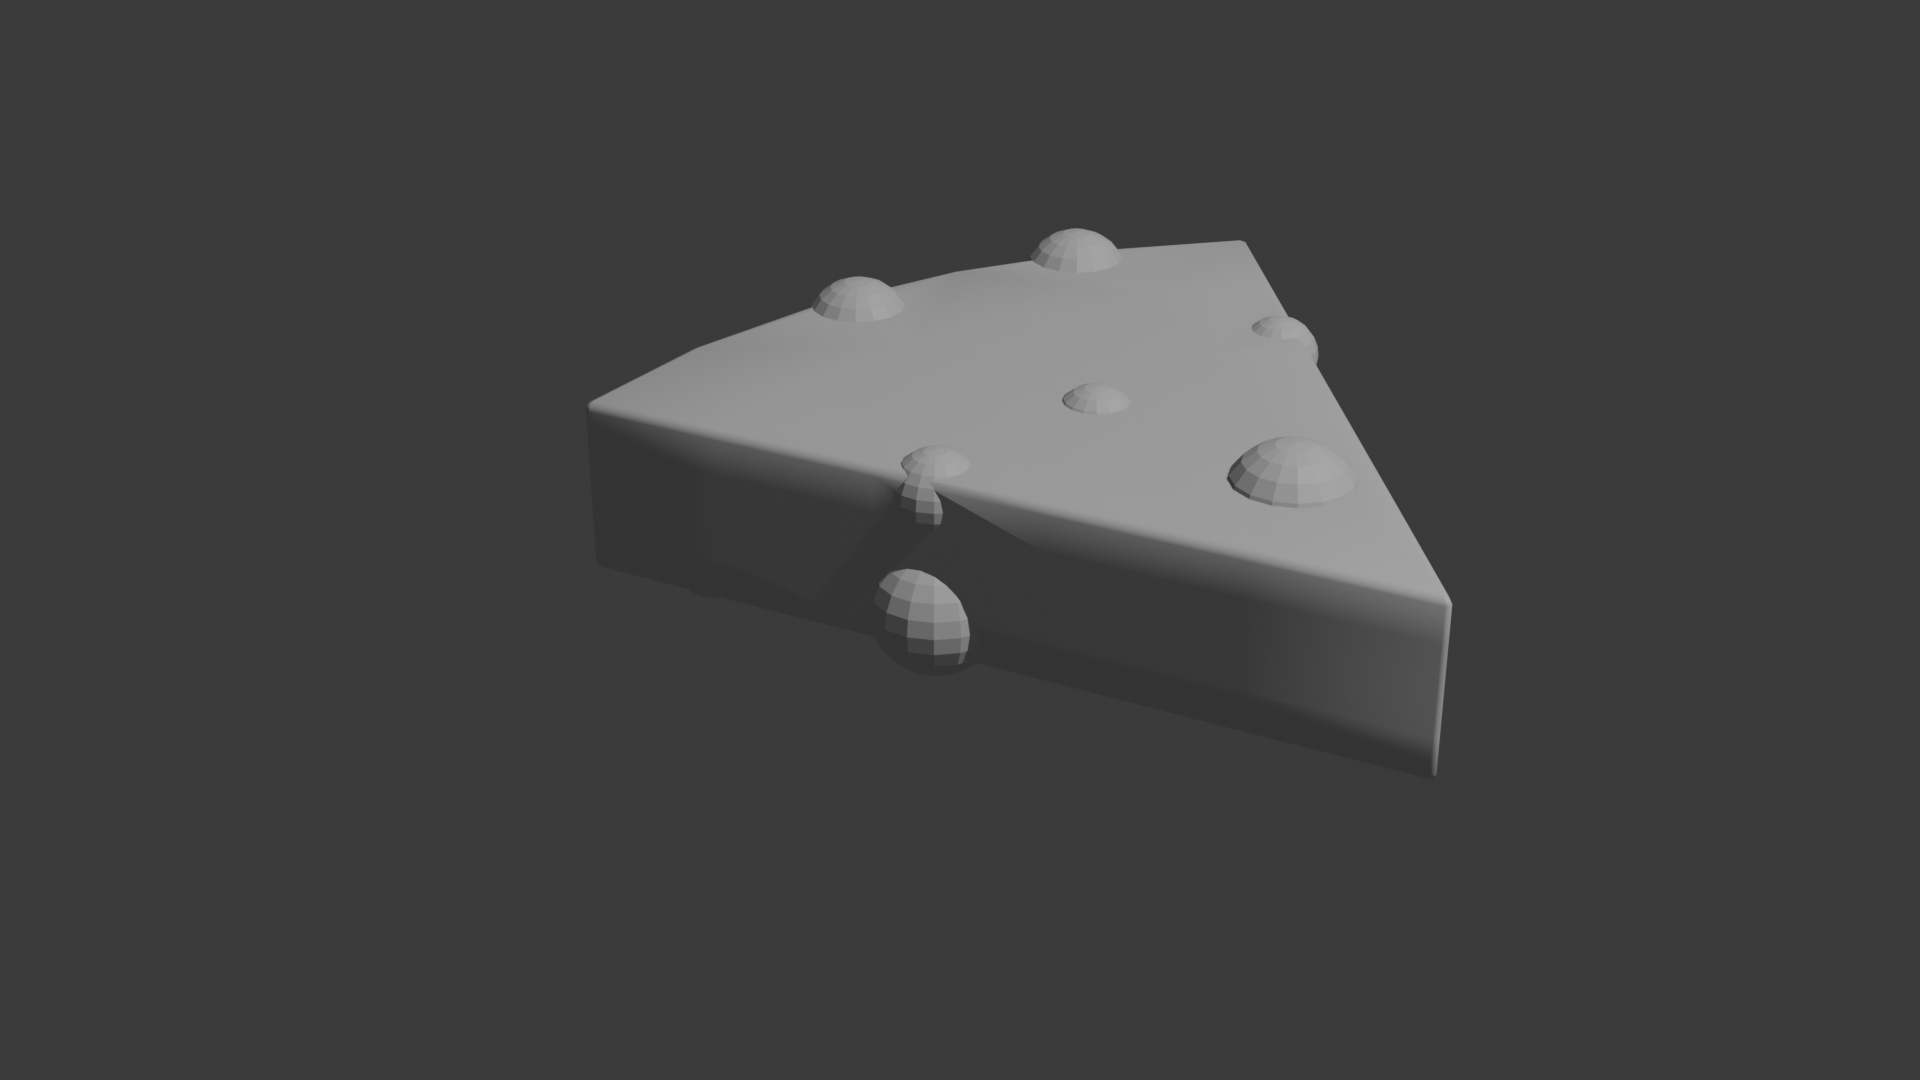
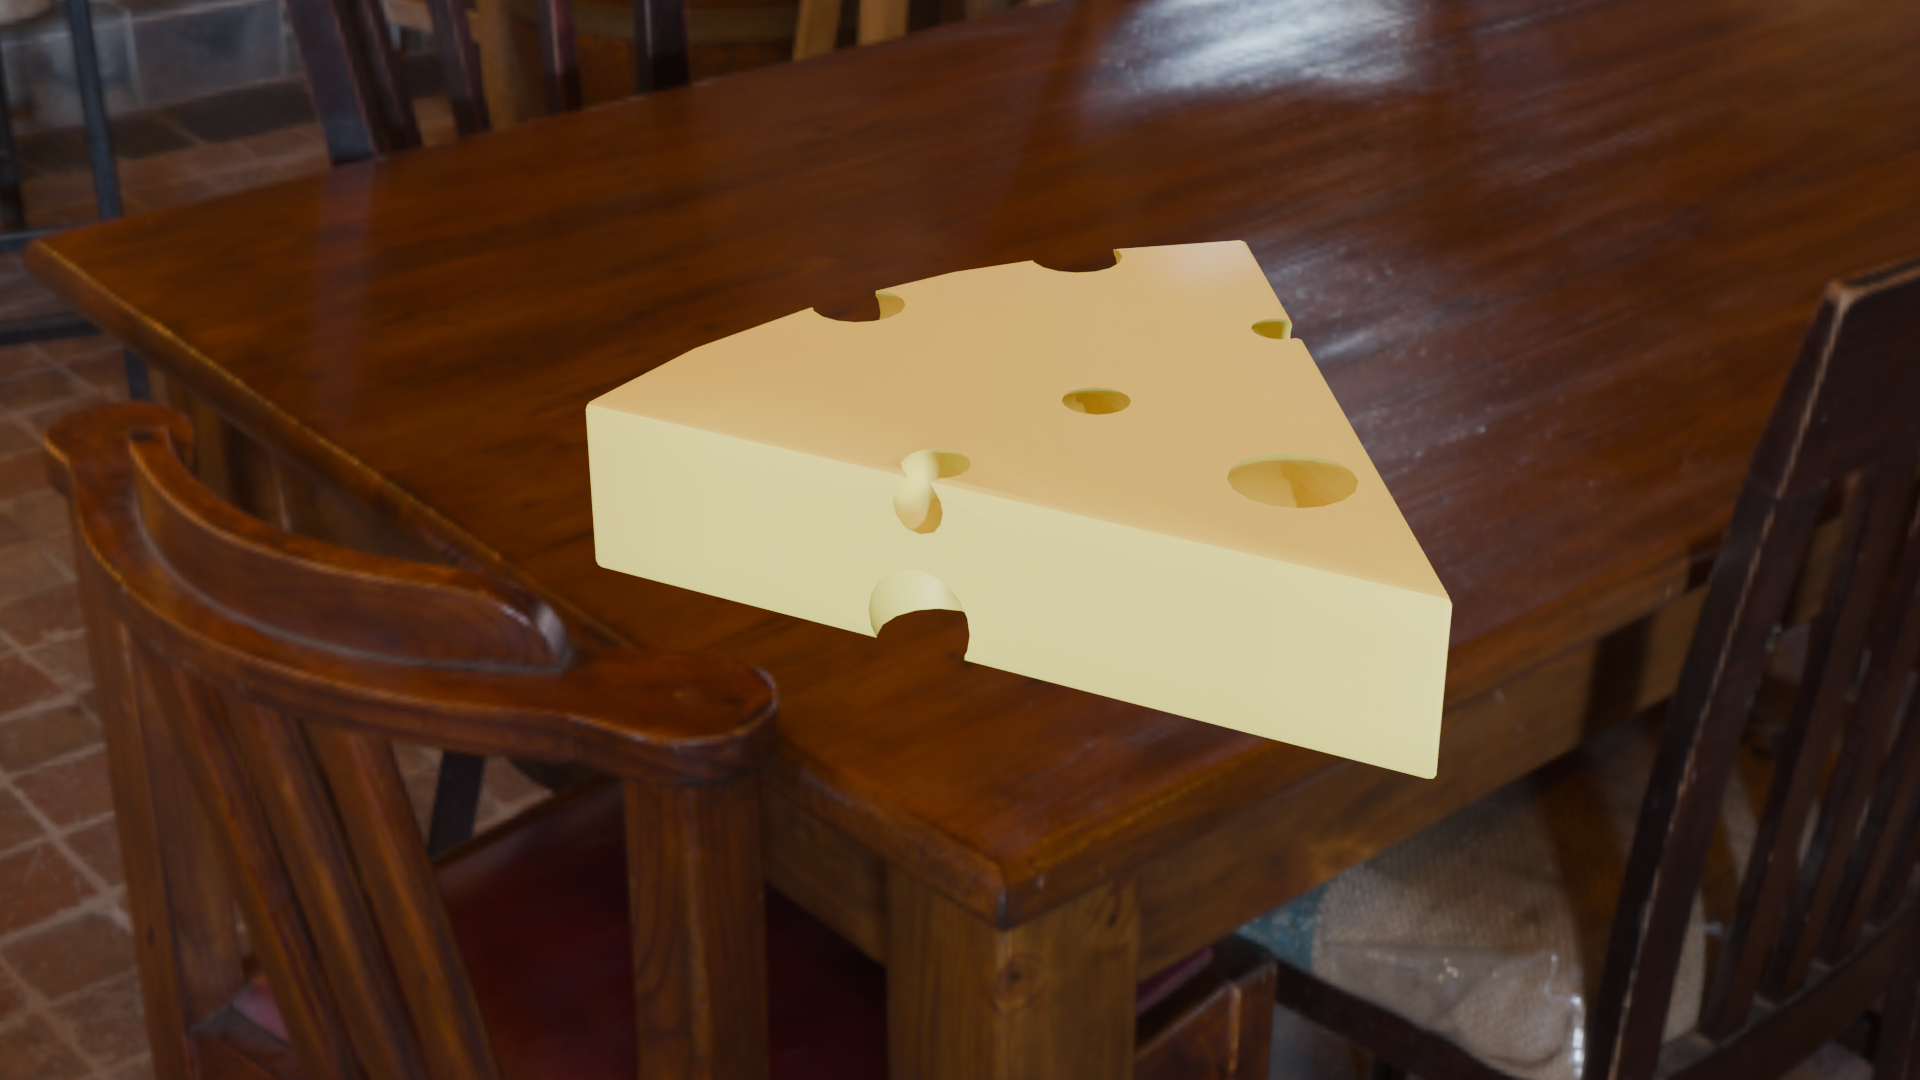
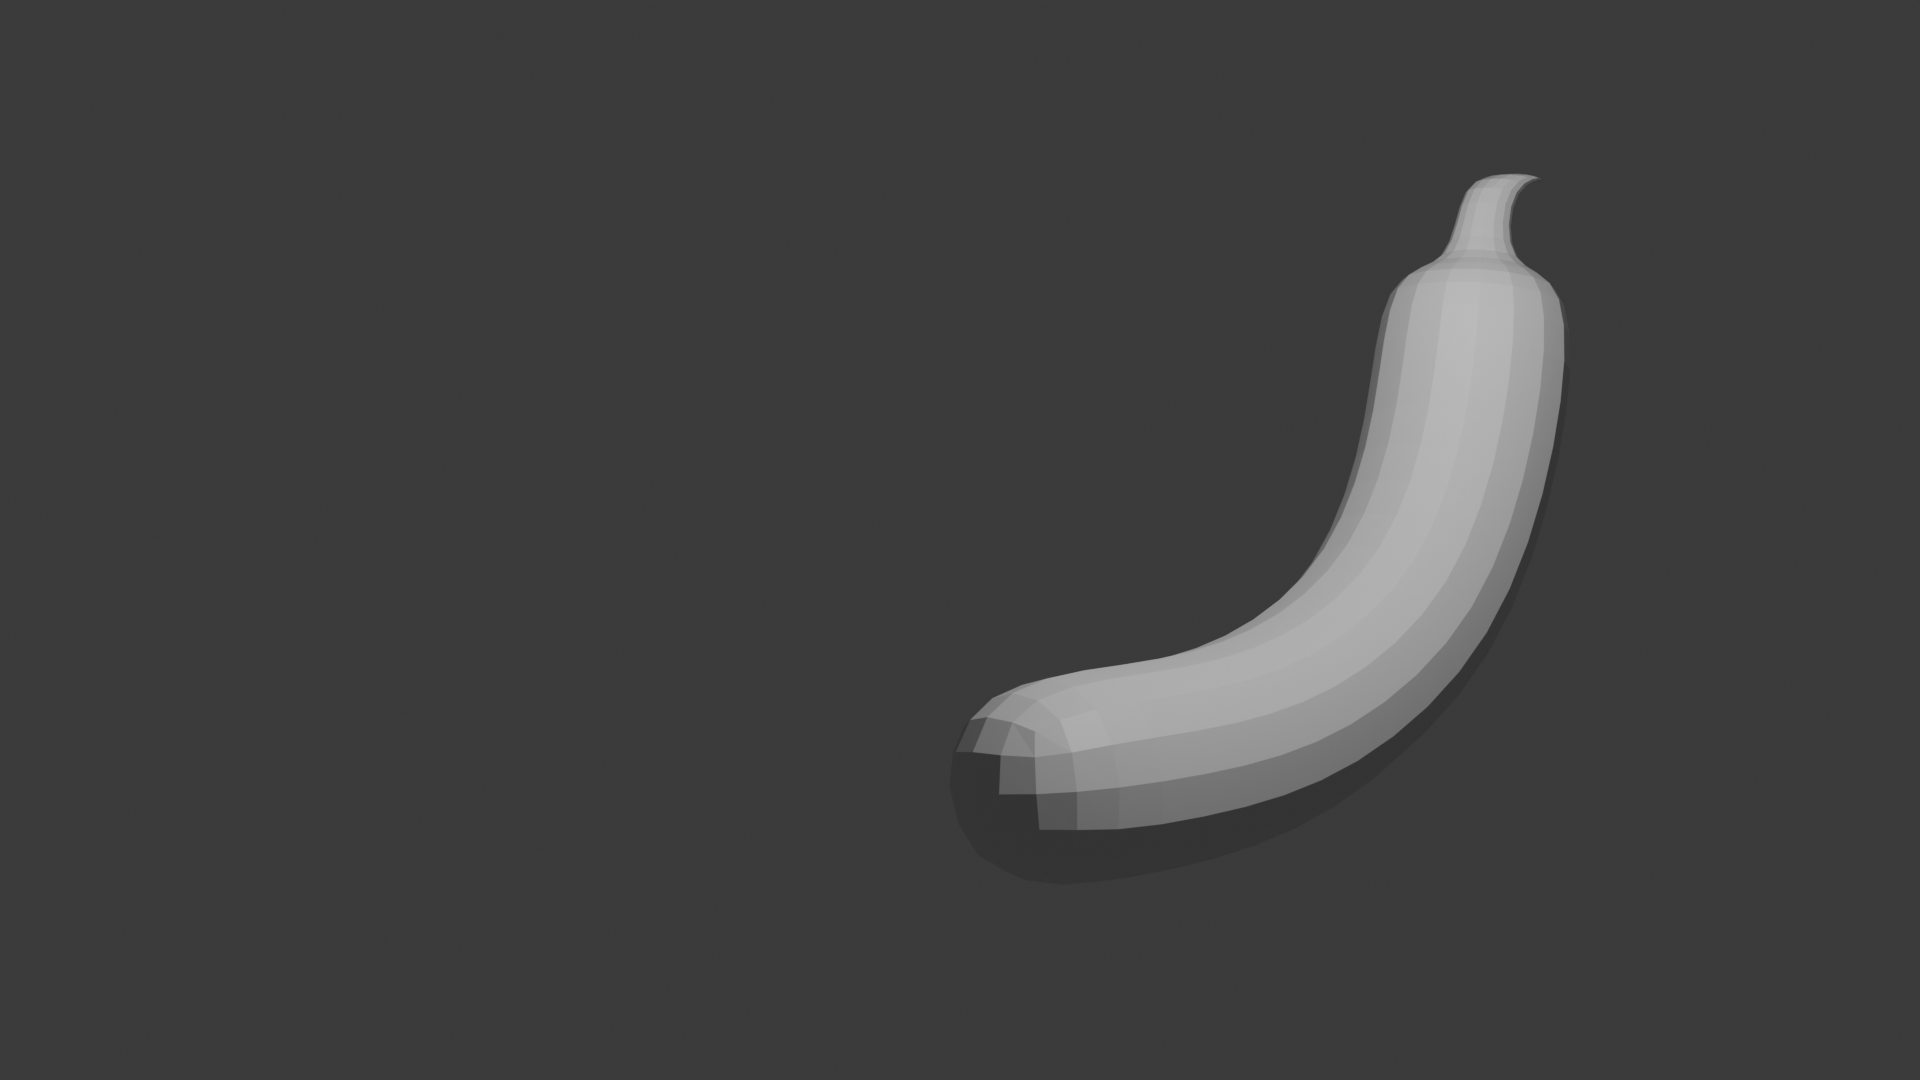
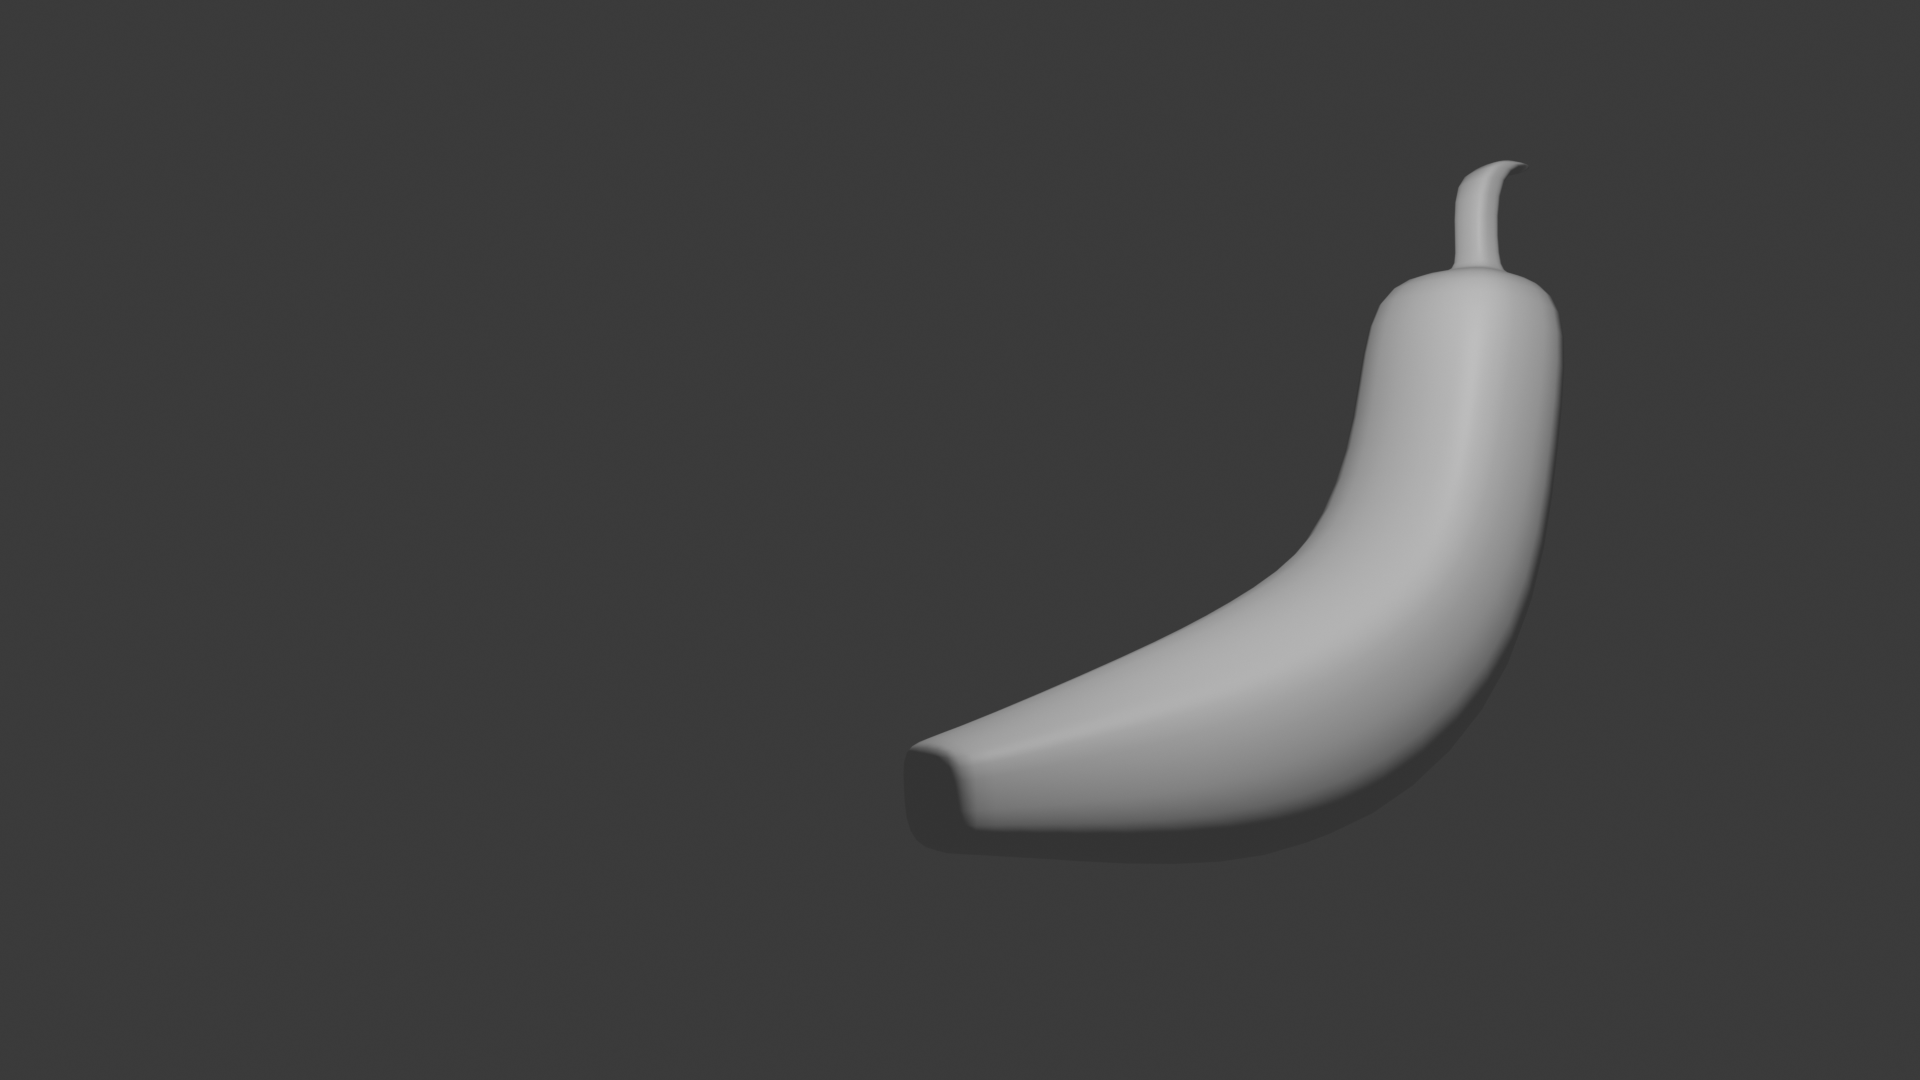
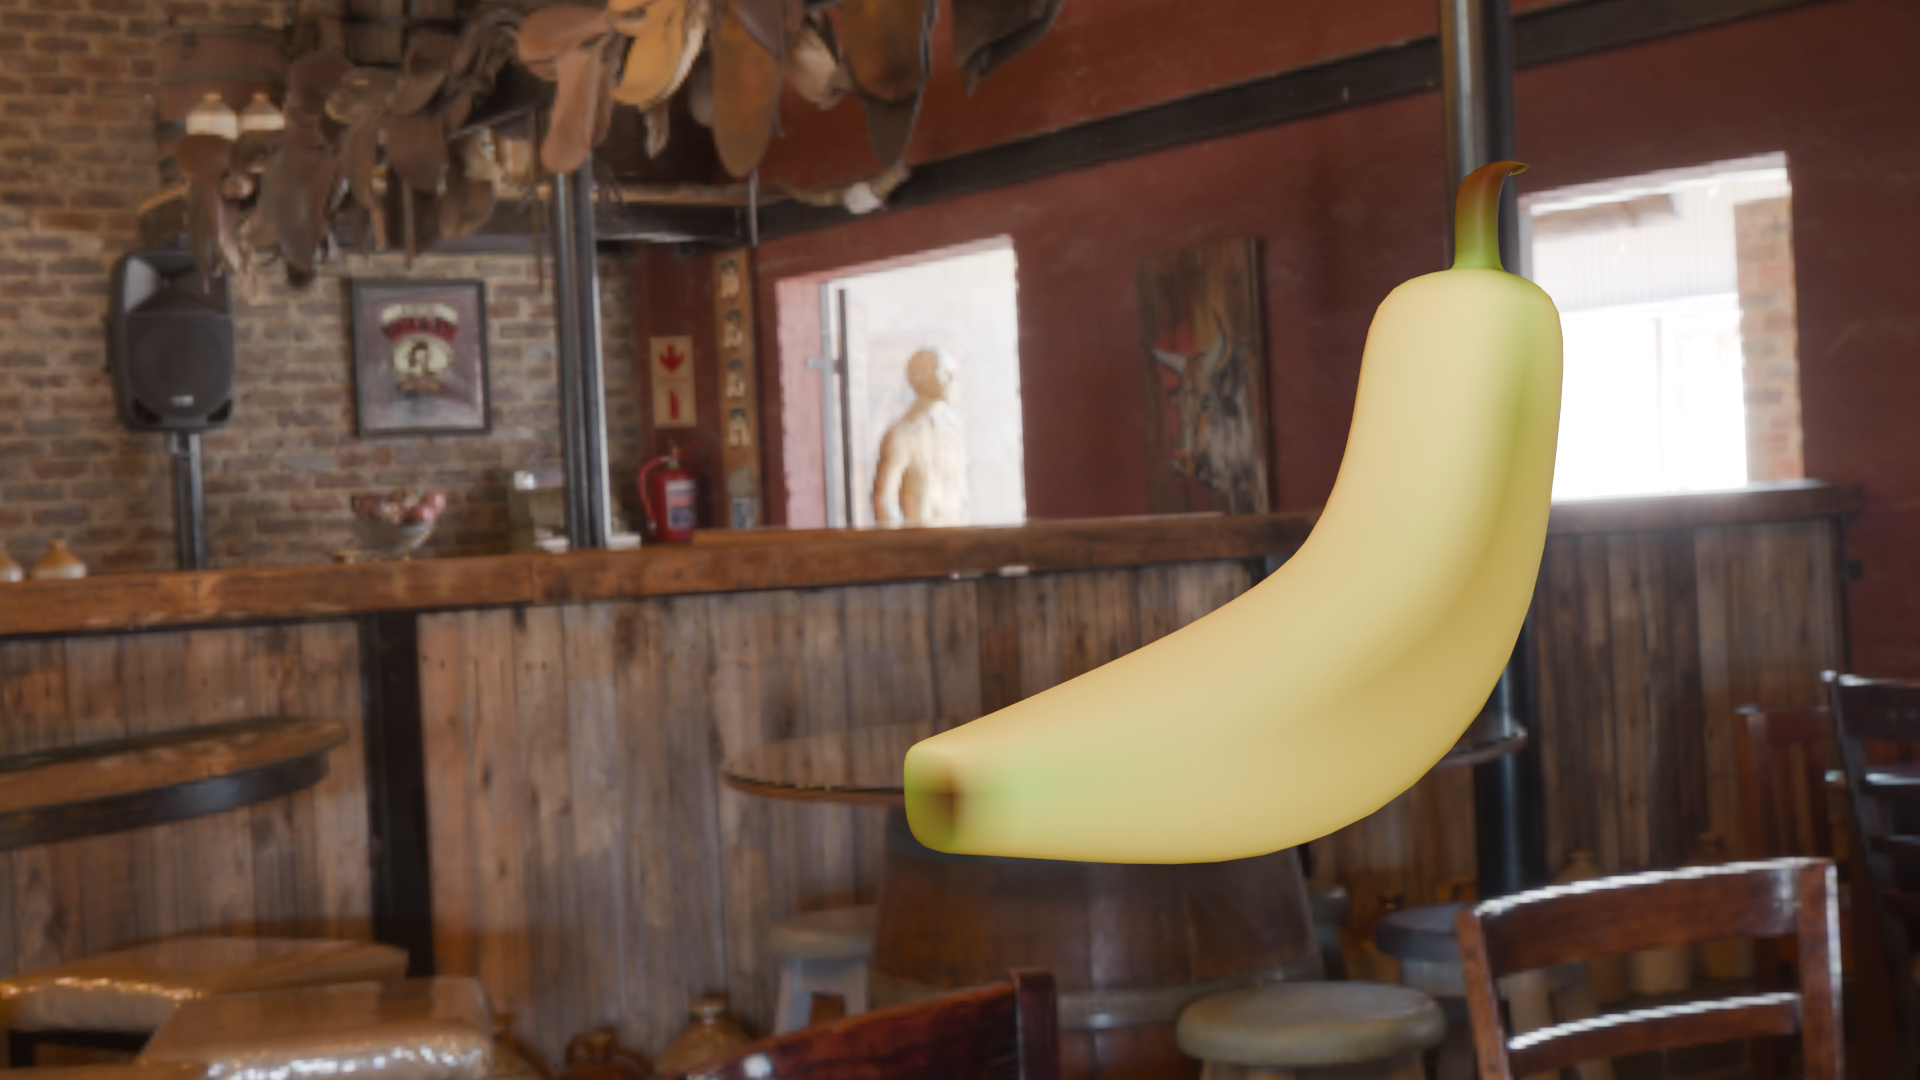
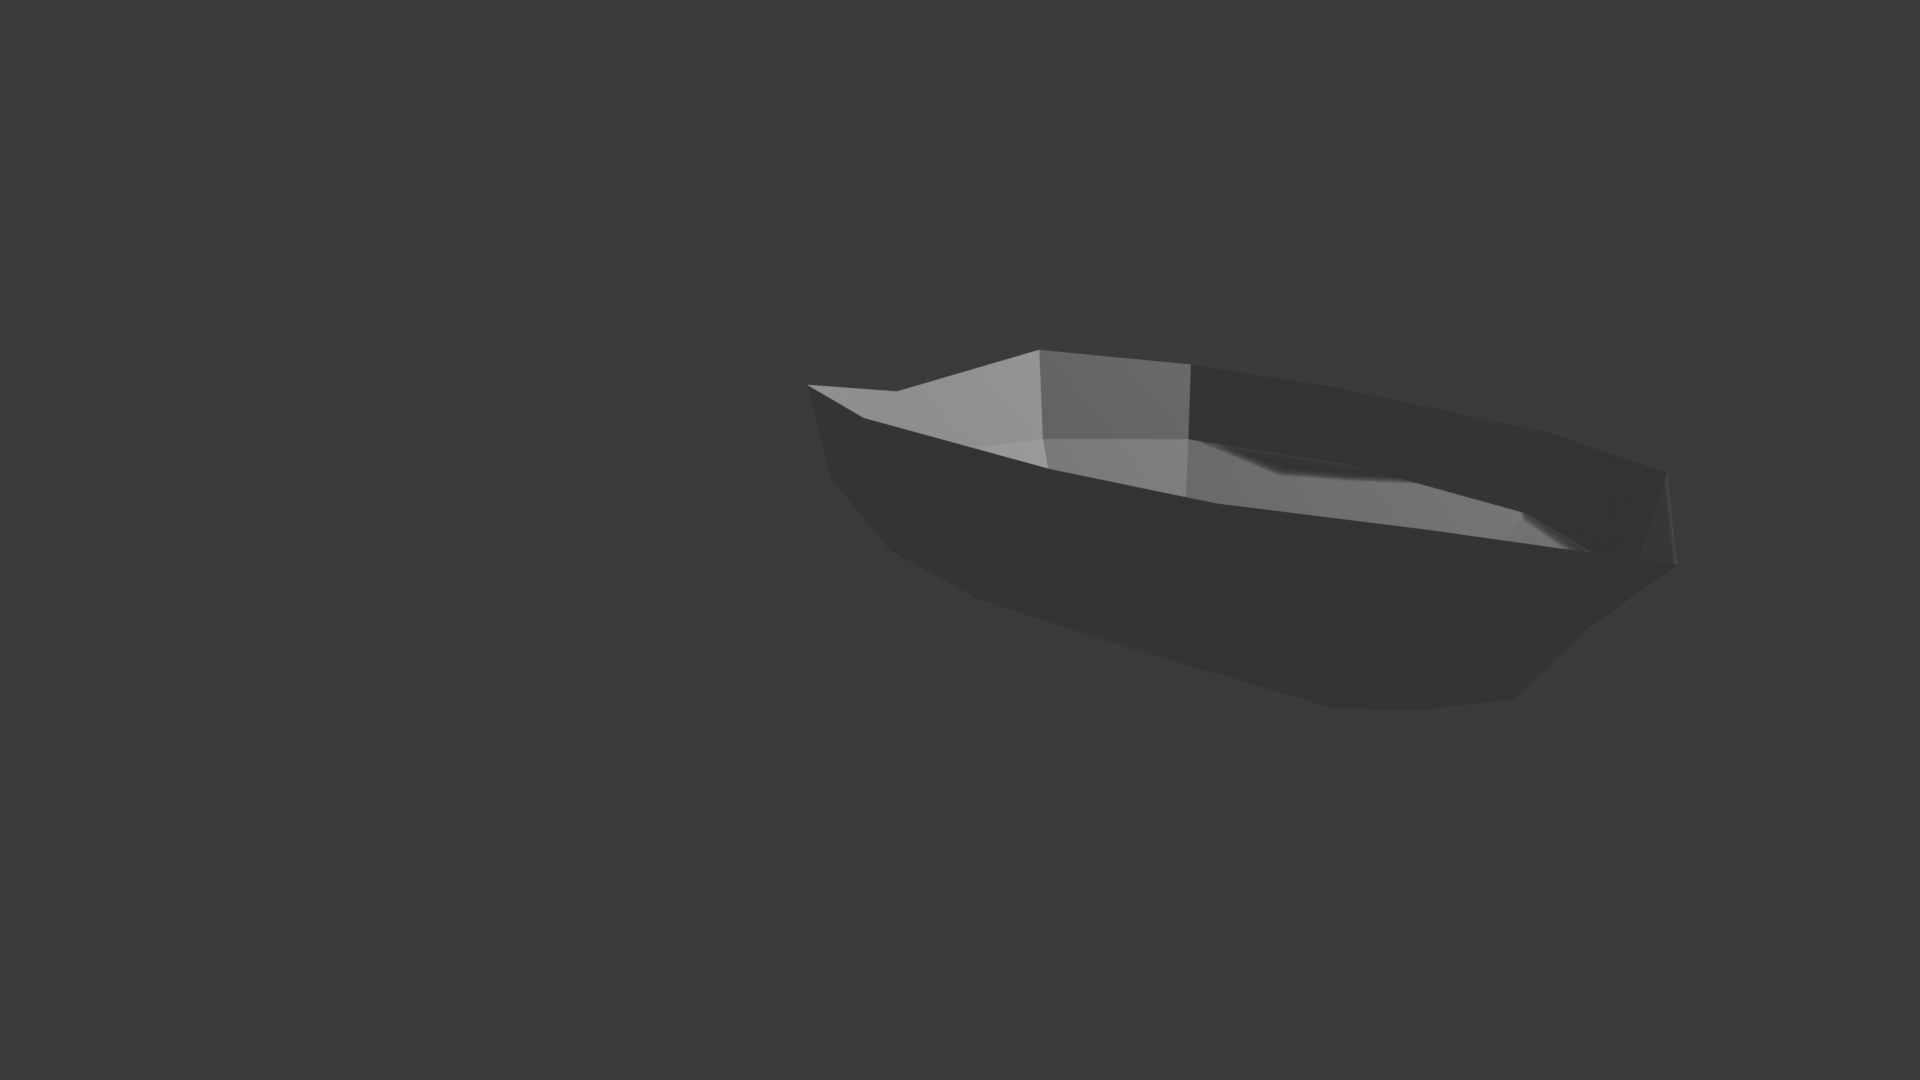
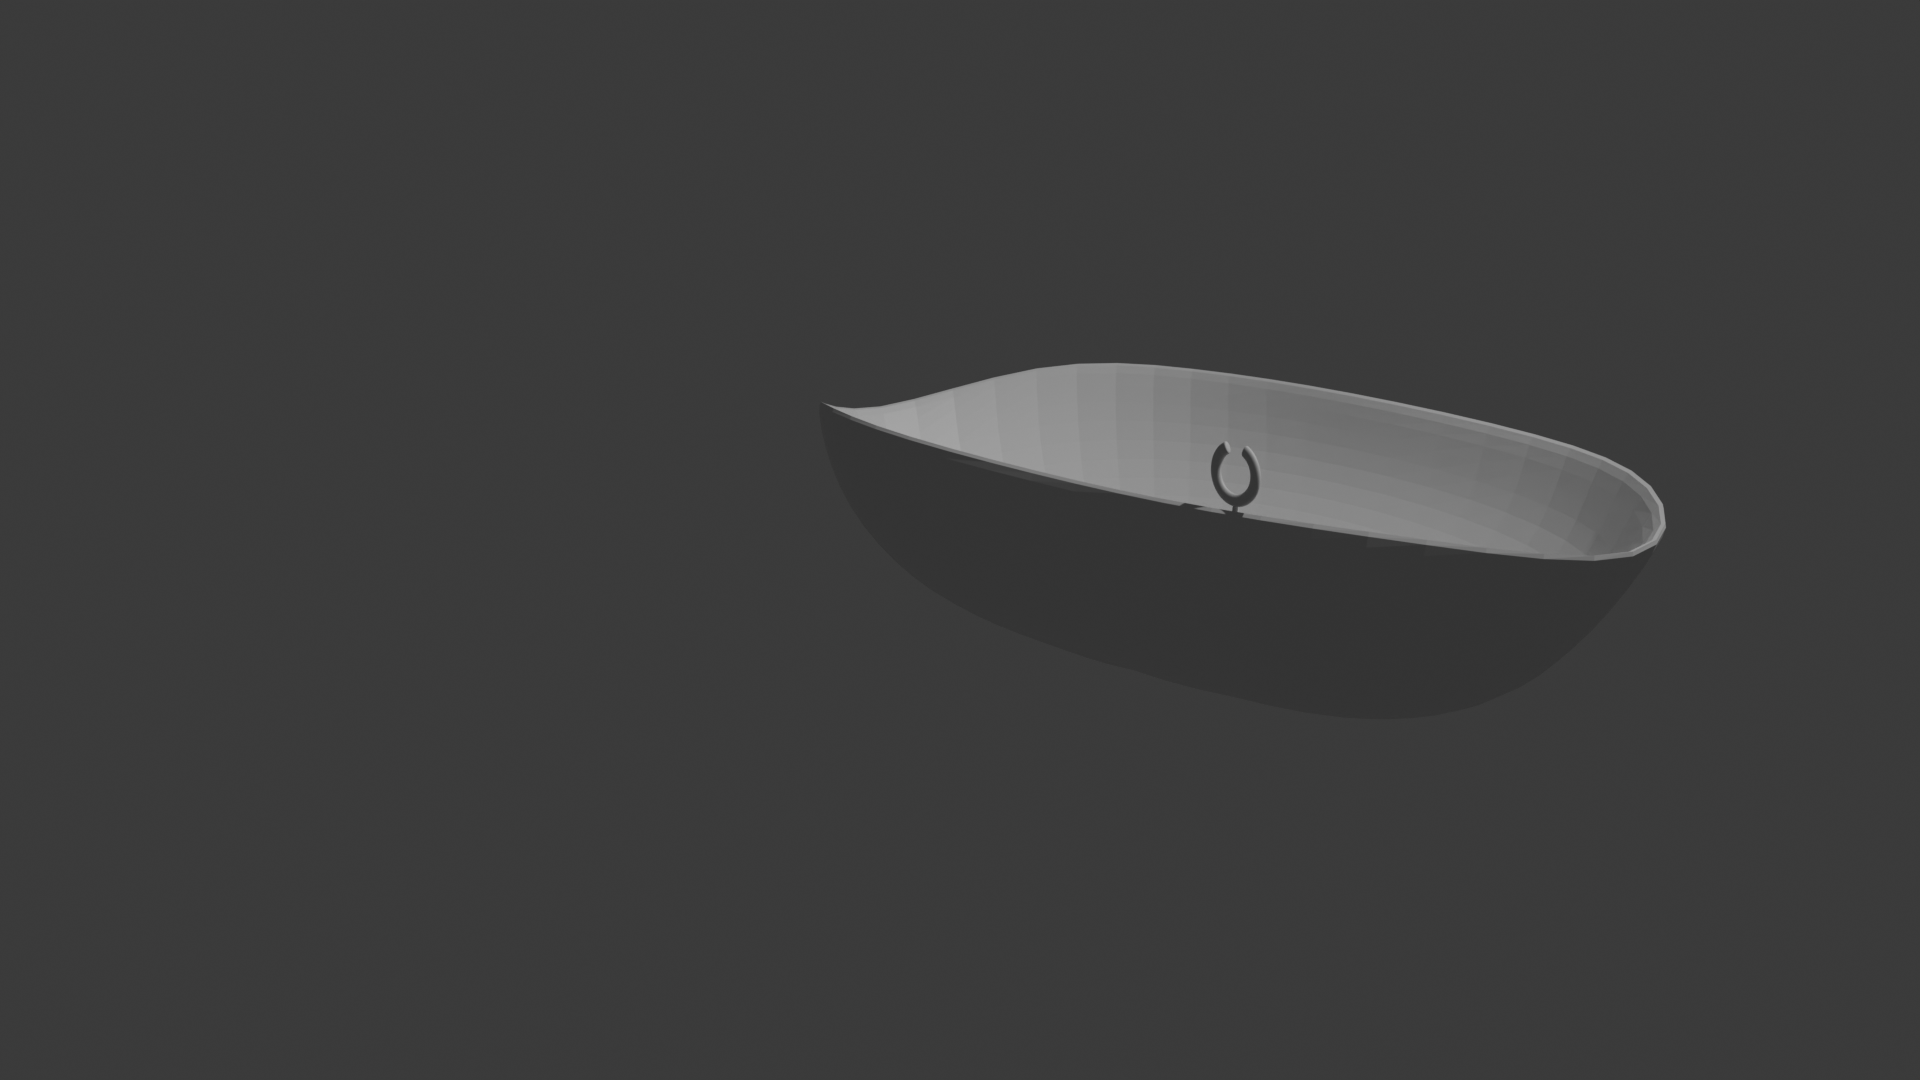
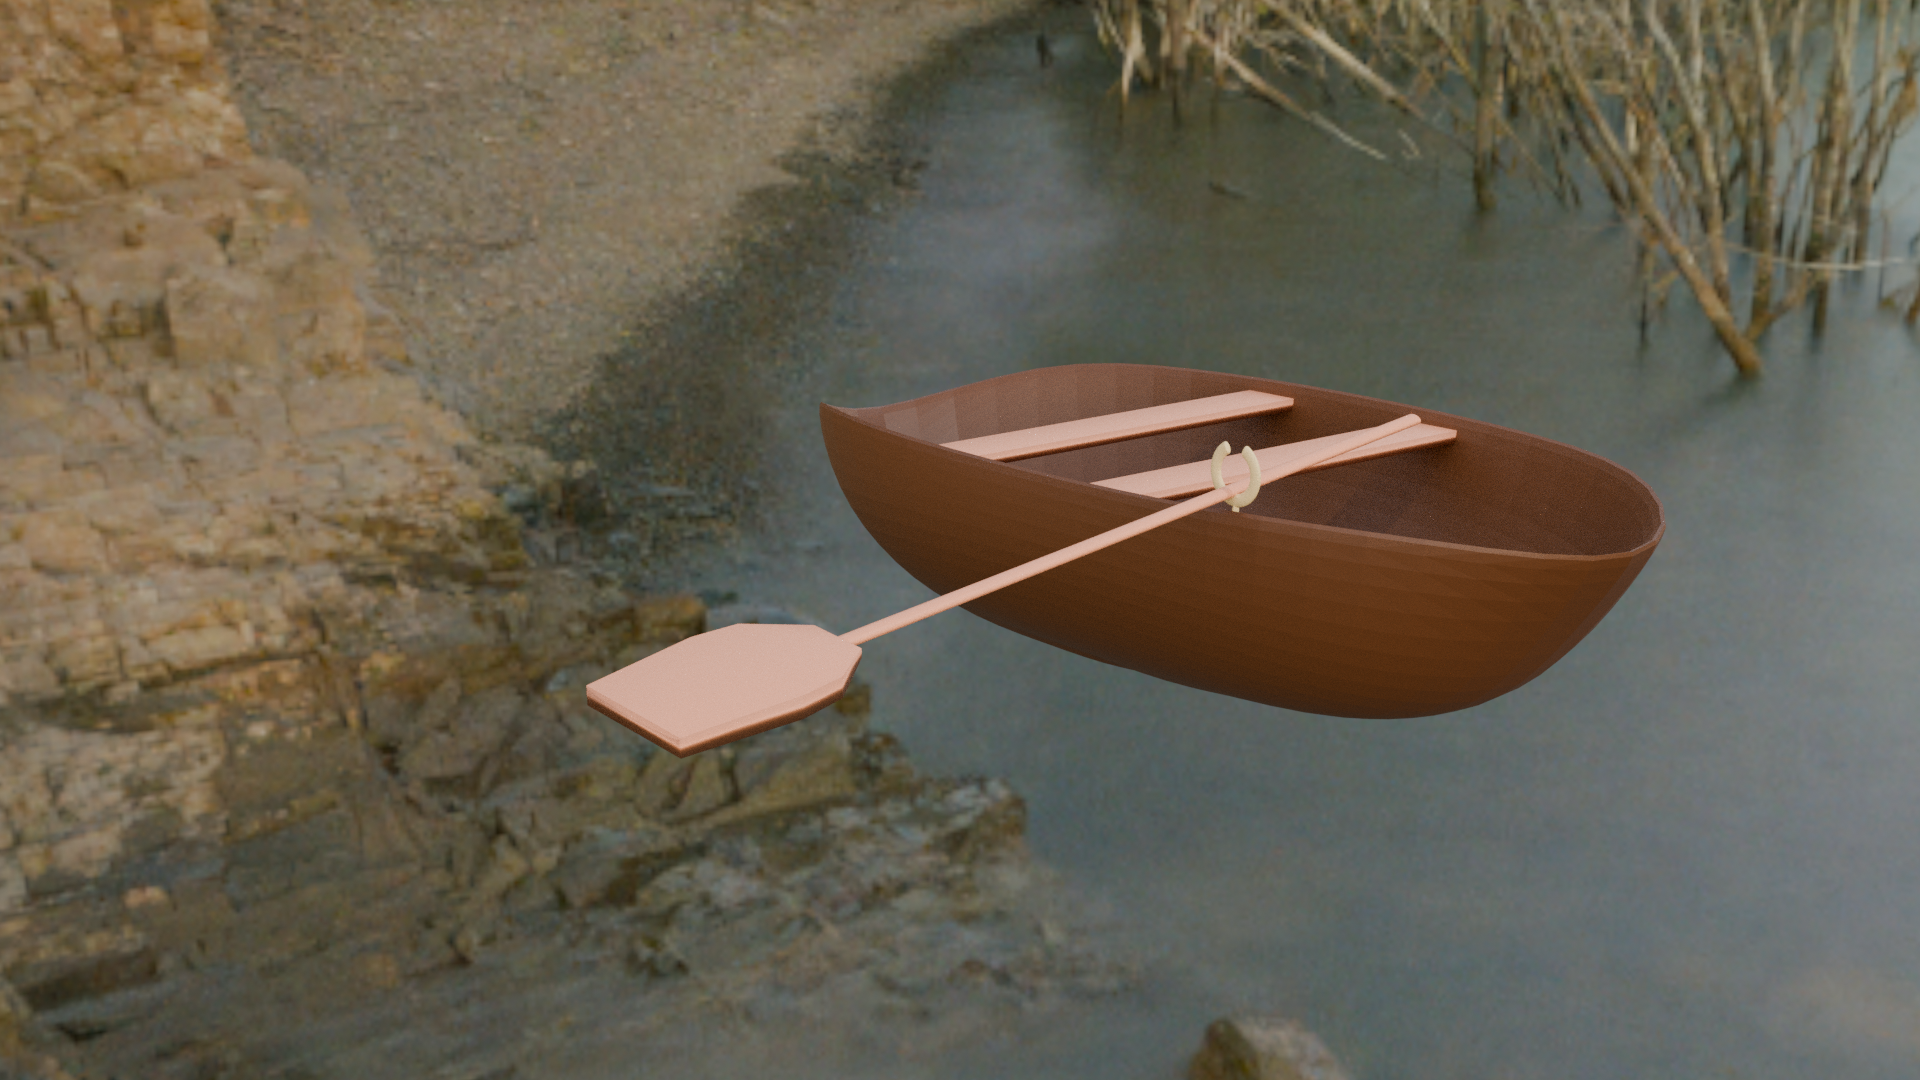
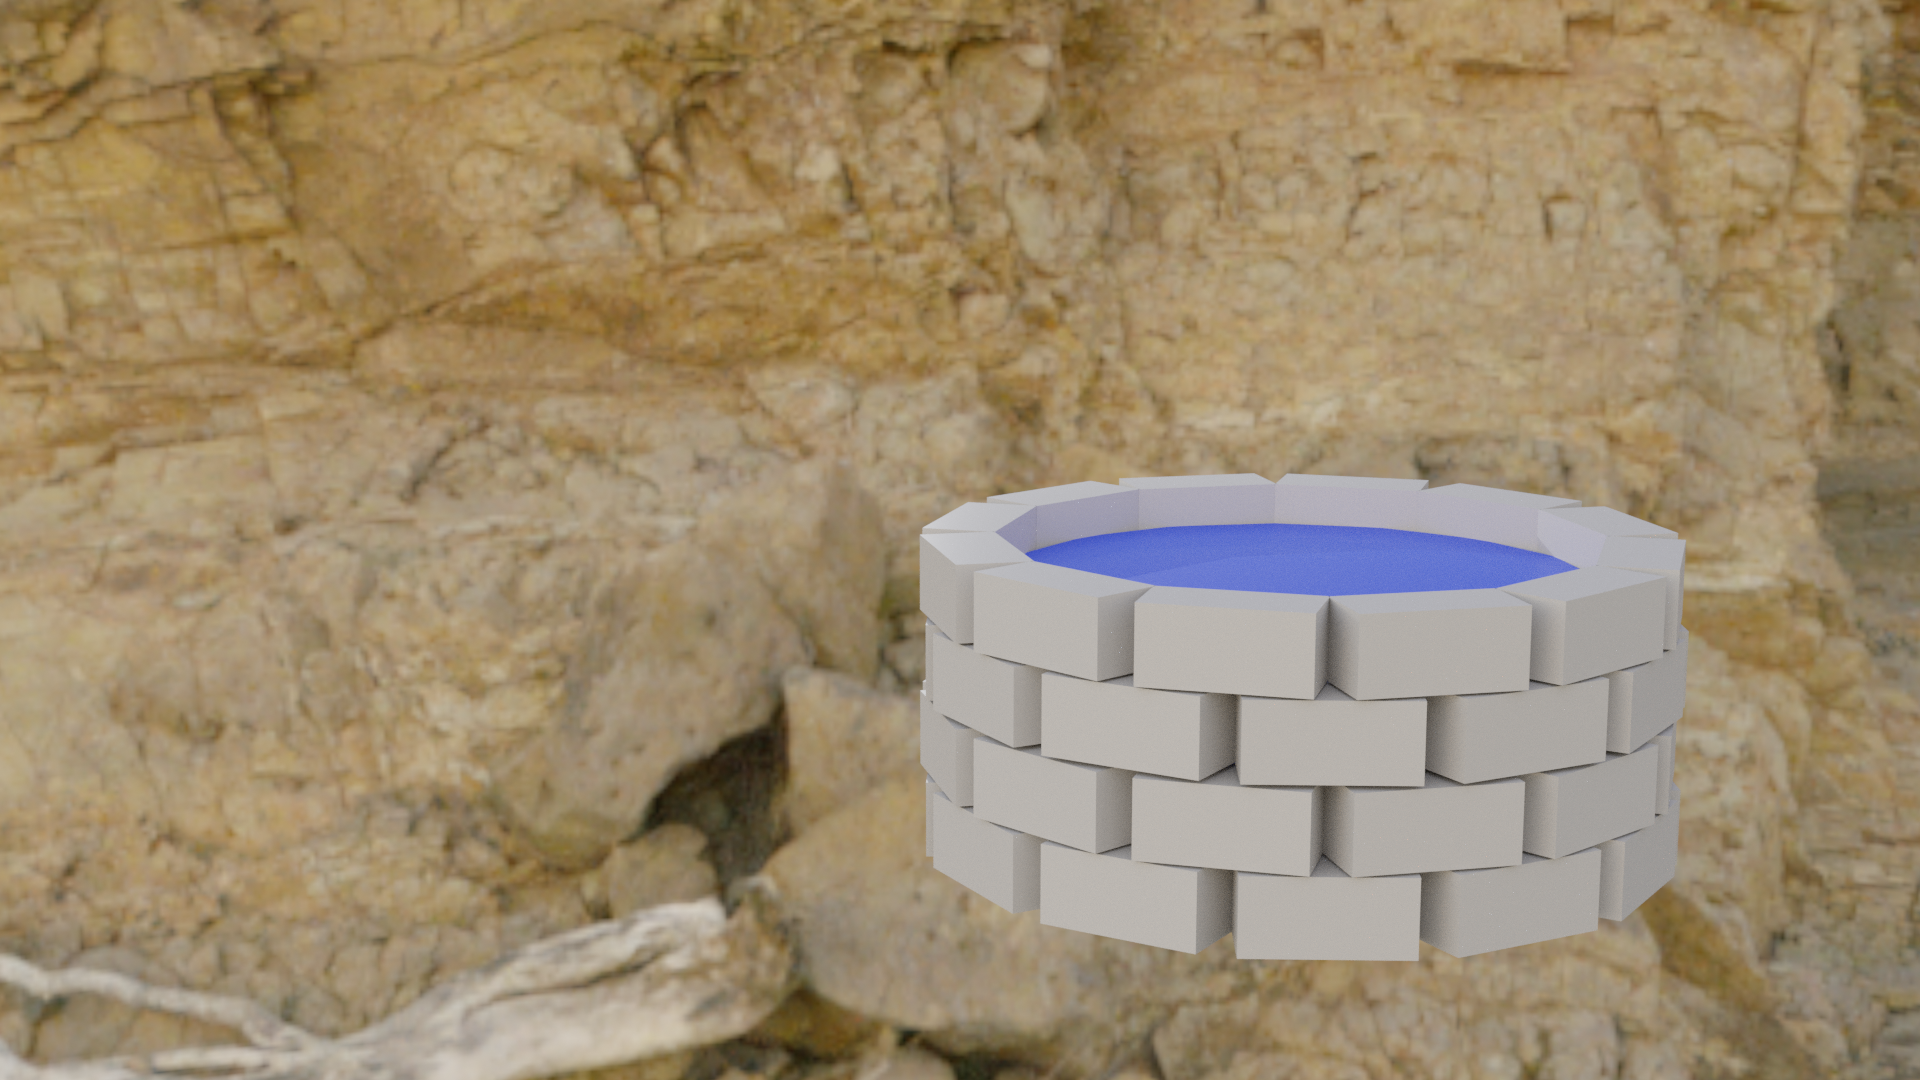
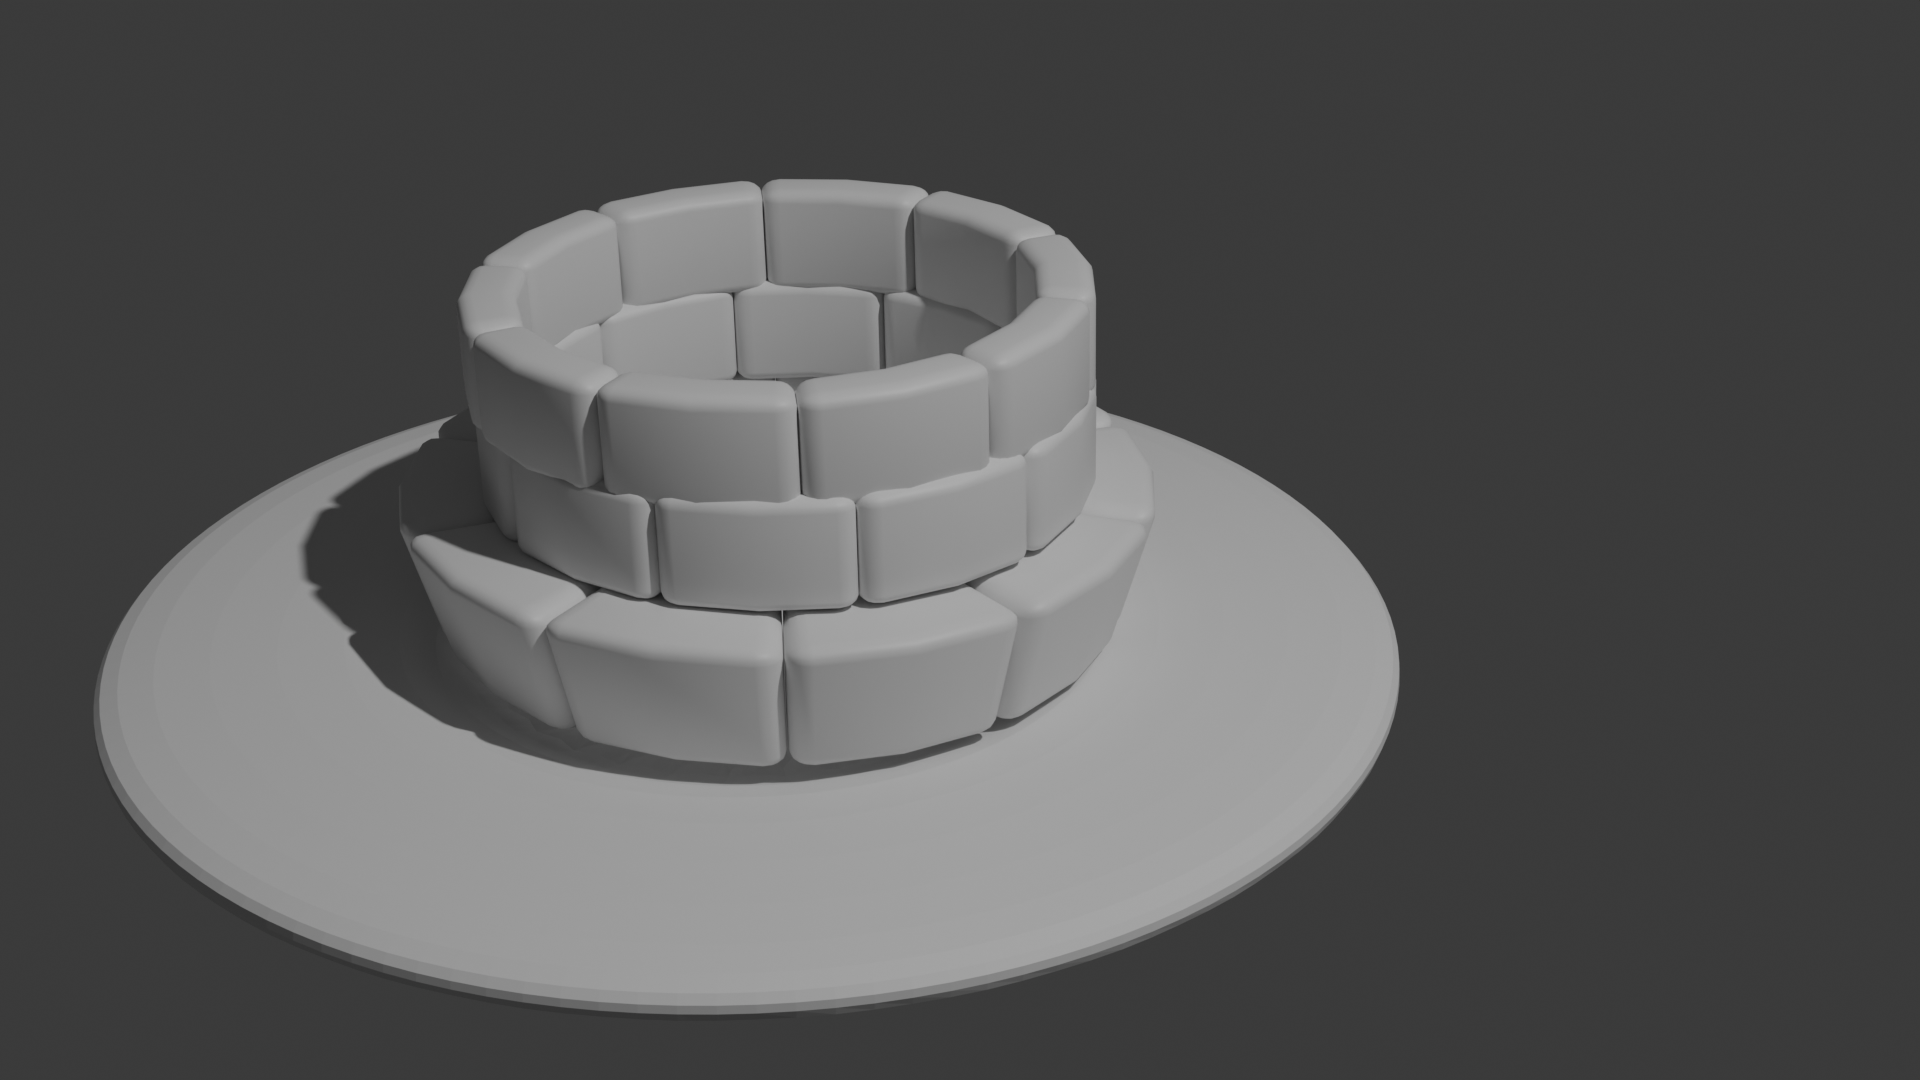
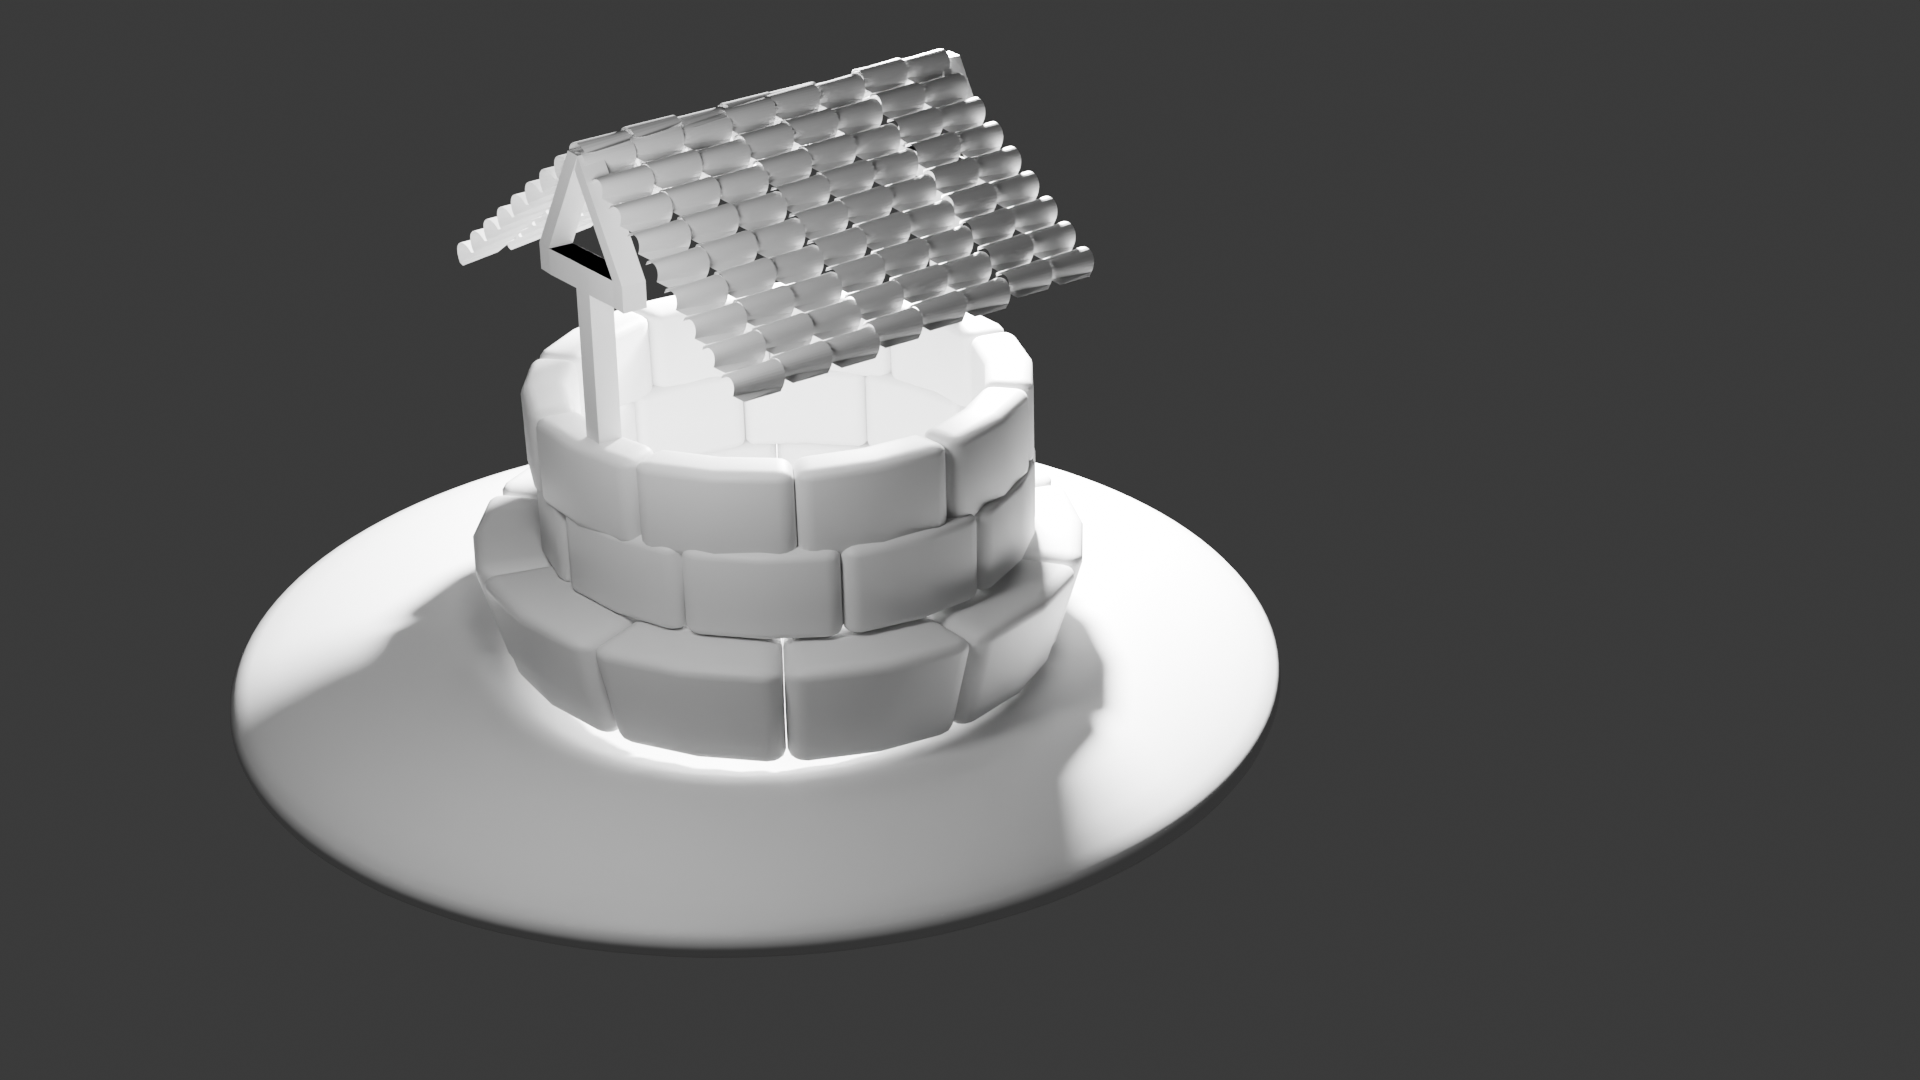
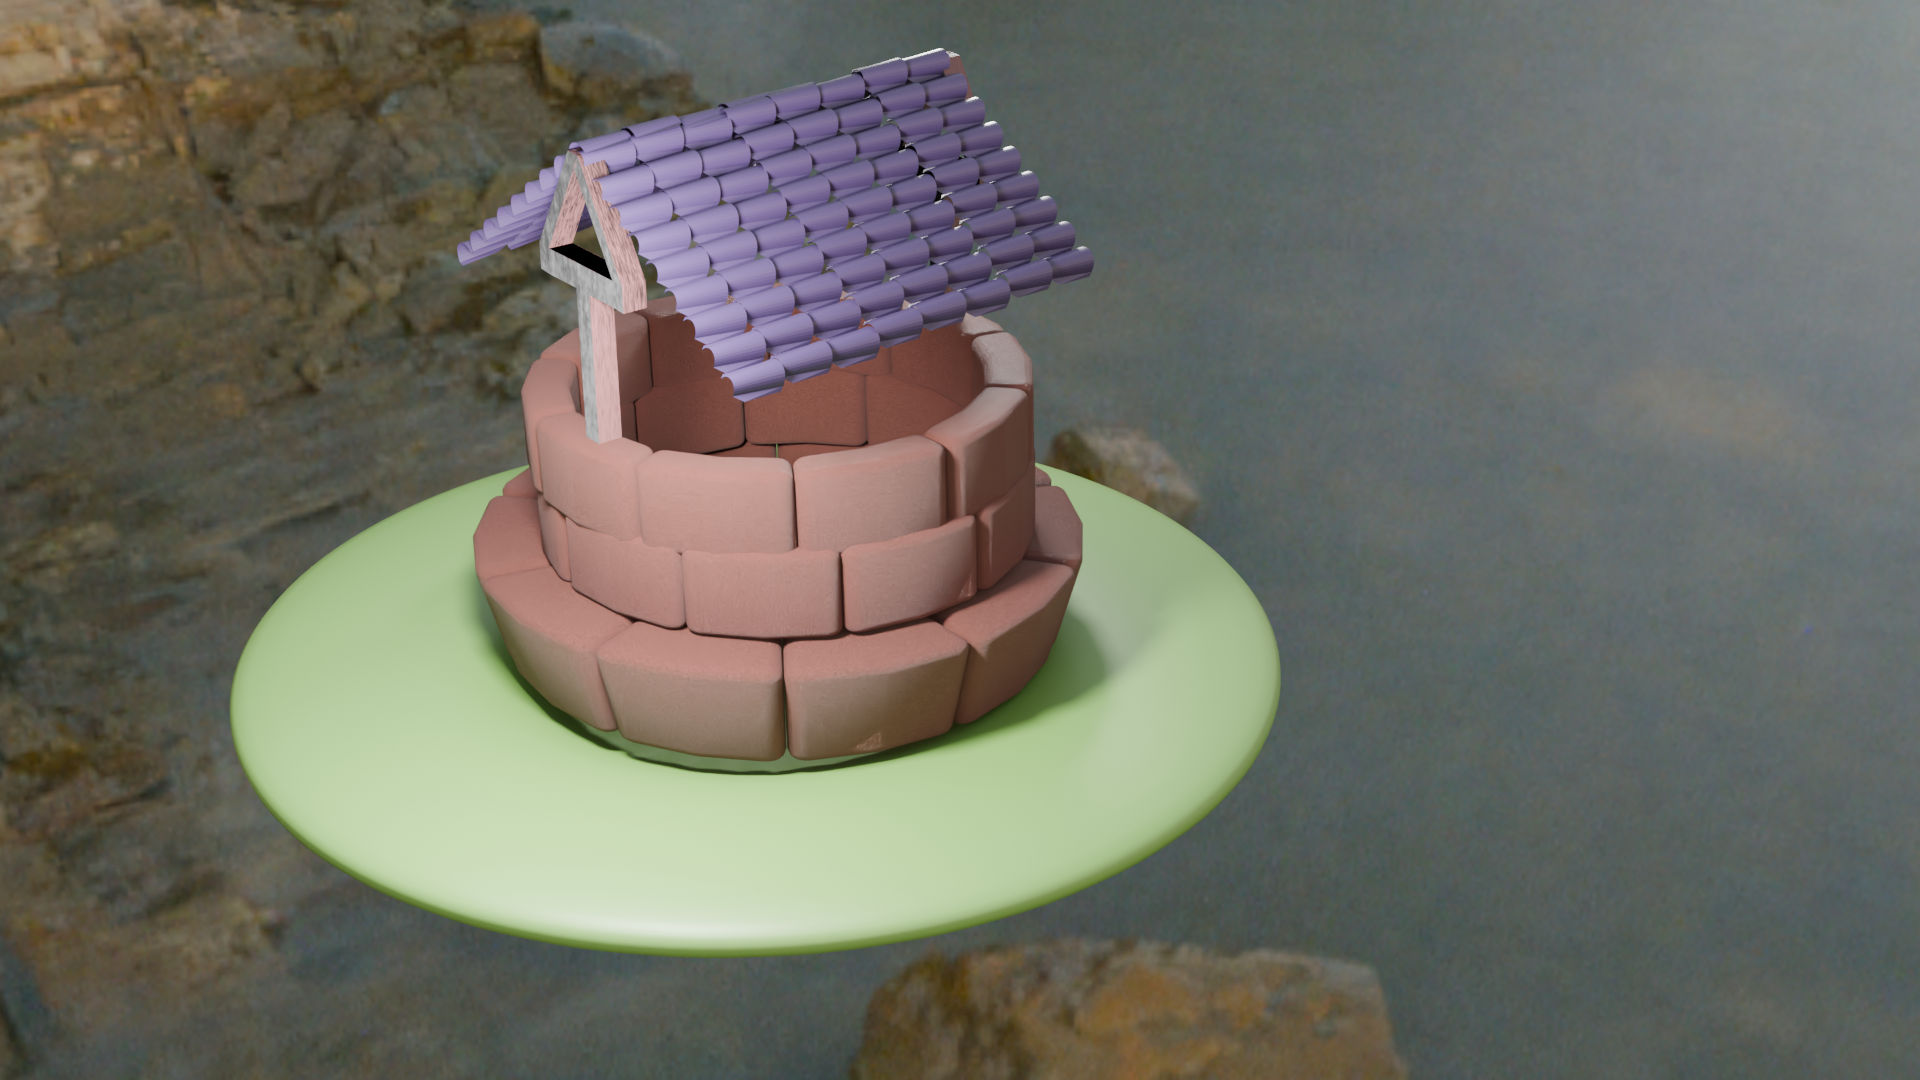
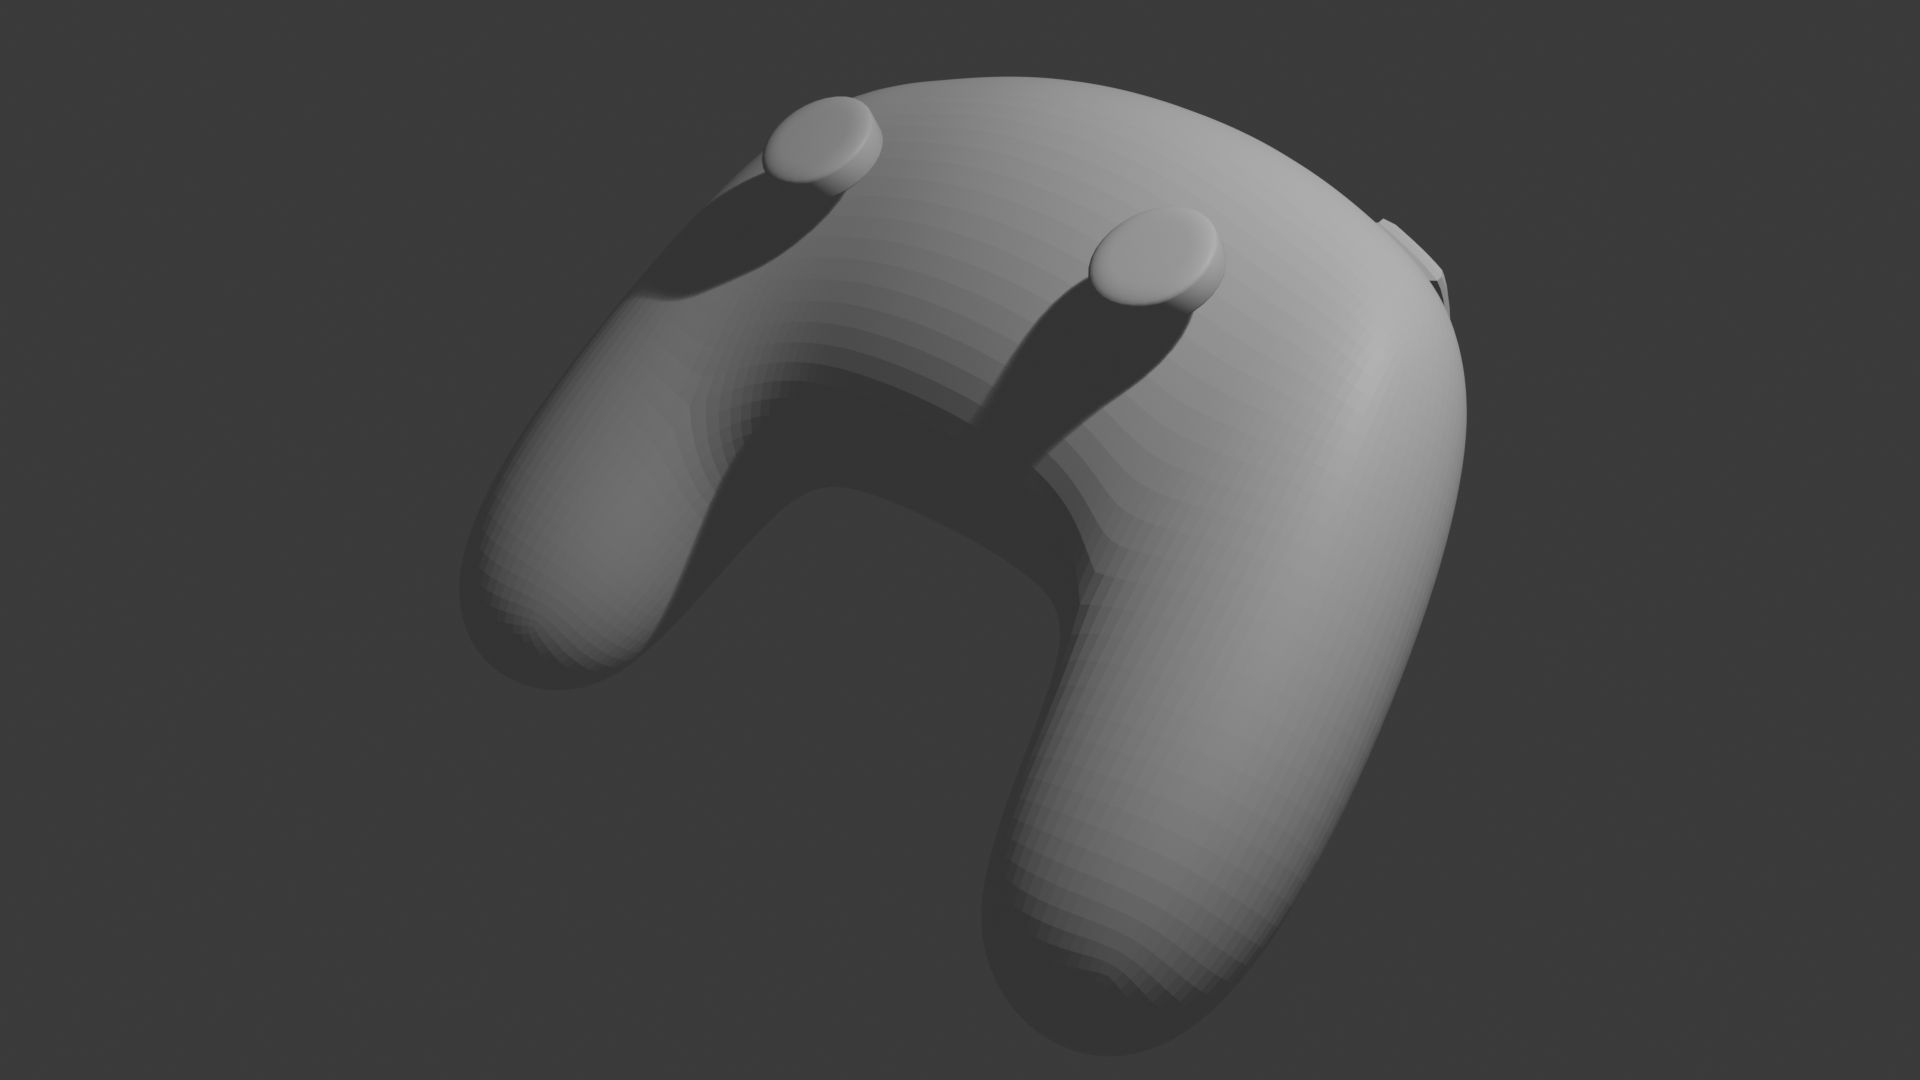
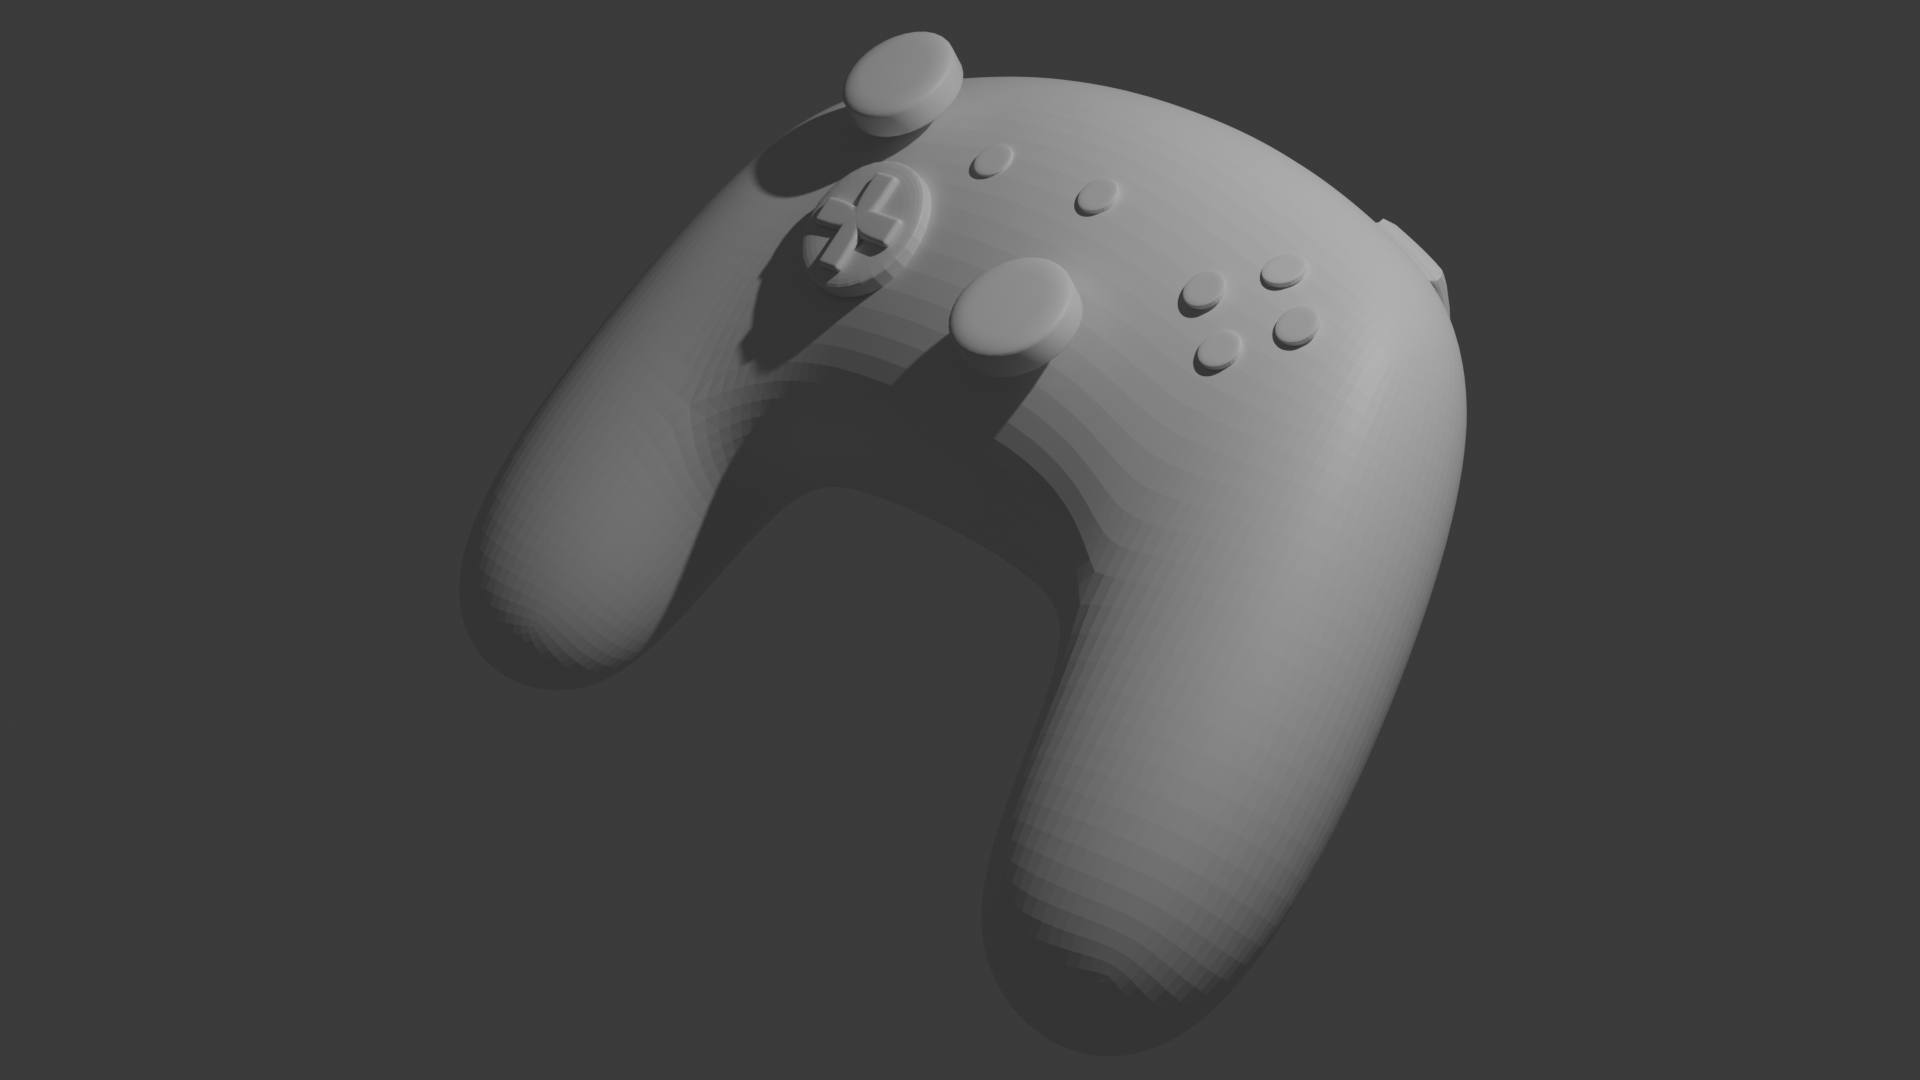
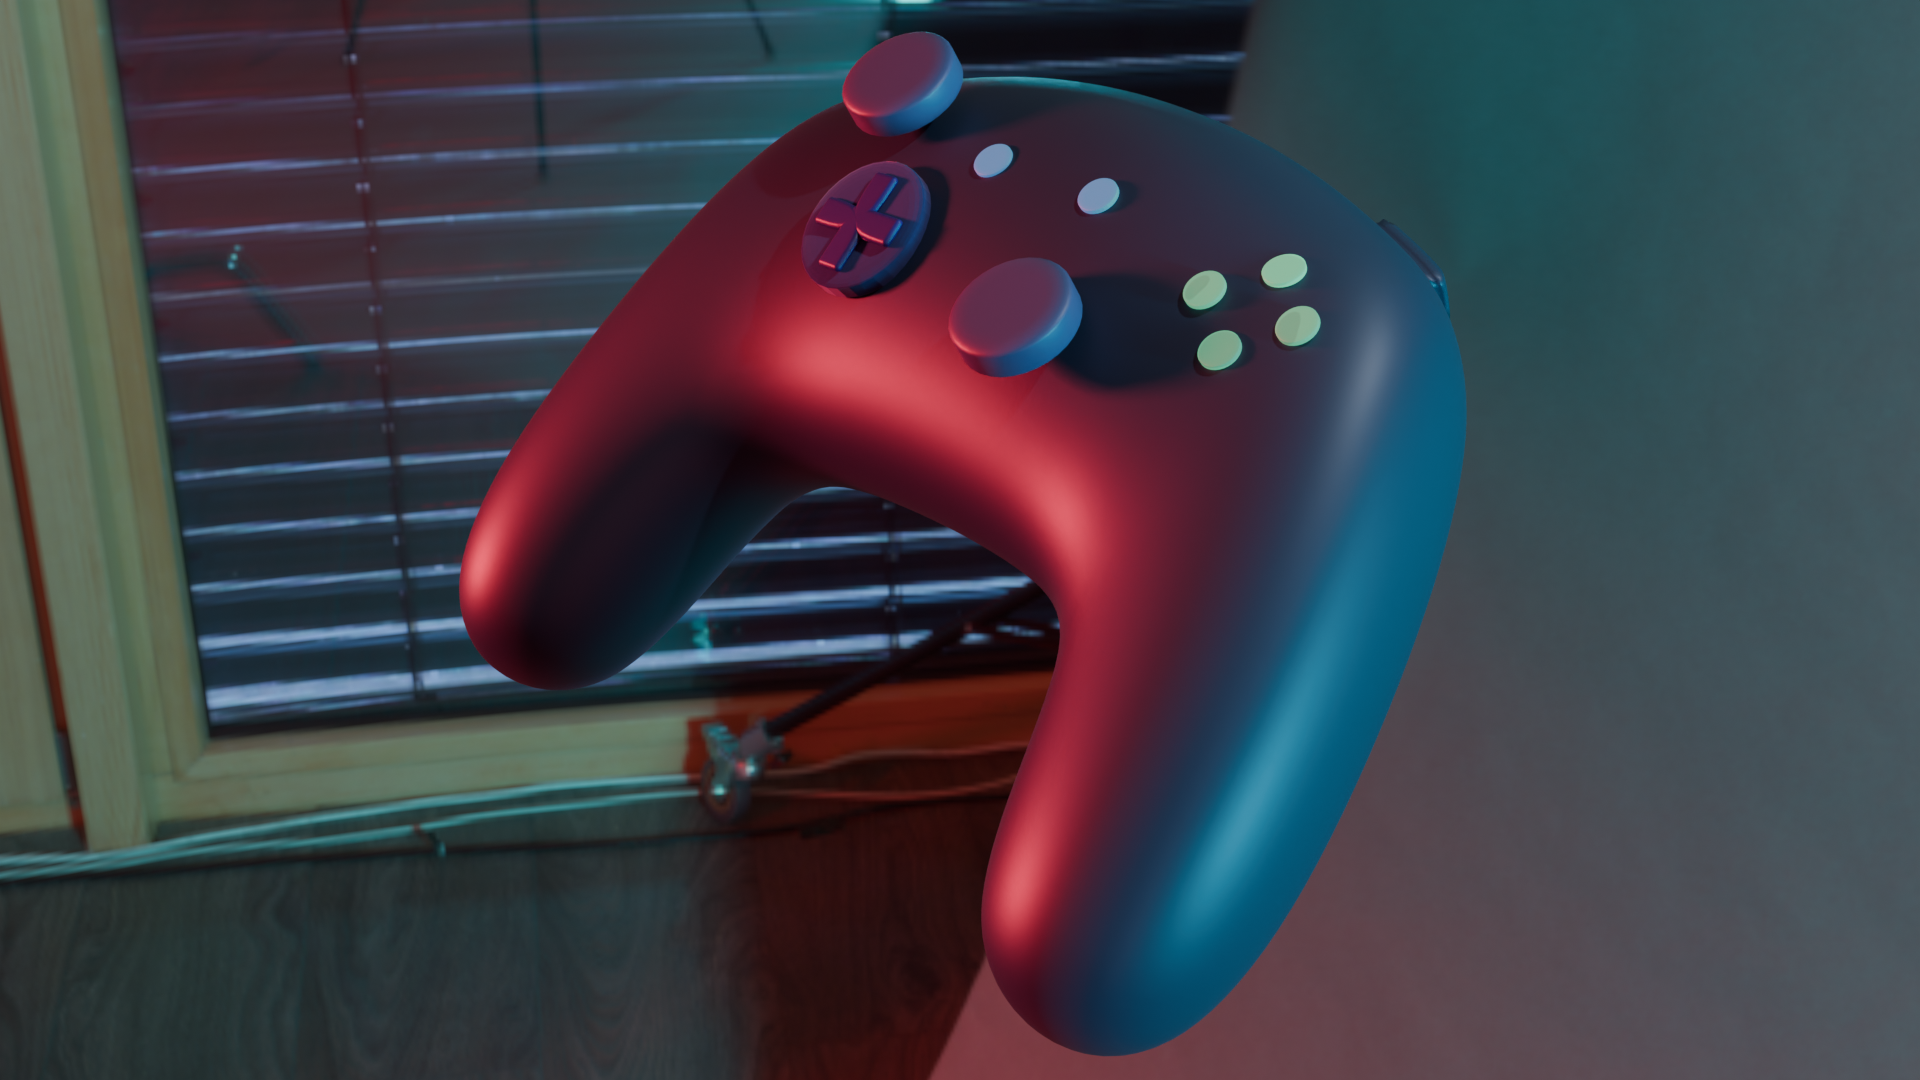
      <img src= I added a bunch of spheres to the cheese shape, using a randomzier to give them different sizes and positions to make them look like holes. I then added a boolean modifier to the cheese shape to make it match the spheres. I deleted the spheres to leave holes in the cheese shape. I then added a shade auto smooth to the cheese shape to make it look more natural. I added a yellow colour with the principled bsdf shader, importing a Hdri image to give the scene realistic lighting. I started with a cube shape and selected a face on the side, extruding it and rotating it to created a curved shape. I extruded the top to create the shape of the stem, and then added a subdivision surface modifier to smooth out the shape. I selected some of the edges and moved them slightly to create a more natural shape. I added a couple edge loops at the ends of the bananas to create more detail, making slight adjustments to the scale and shape. I did some texture painting in order to add colour, making using yellow for my main brush, and a softer brown and green for extra detail. I added a mix node in order to add some shine to the banana, and then added a Hdri image for realistic lighting. I started with a sphere shape and remove the vertecies on the top half, adding a deformation modifier to make it look similar to the shape of a boat. I then made slight adjustments to the ends of the boat to make it look more natural. I added a subdivision surface modifier to smooth out the shape, making additional adjustments to the edges. For the paddle holder, I added a torus shape and scaled it down, attaching a cylinder shape to the bottom and connecting it to the boat. I then added a boolean modifier to the boat shape to make it match the paddle holder. I created a paddle by making a cylinder shape and scaling it down, then adding a cube shape on top of it, flattening it and scaling it down as needed. I added colours using principled bsdf shaders, and added a Hdri image for realistic lighting. My first attempt at making a well, I started with a cube shape and scaled it down to create the base of the well, then adding an array to duplicate the shape into a loop. While I think it's a decent first attempt, I think the shapes are too blocky and the well as a whole looks very basic. Started with a cube and made it into a rectangular shape, adding a bevel modifier to smooth out the edges. I then added an array modifier to duplicate the shape, changing the angle of the modifier to make all the shapes connect in a circular formmation. I then duplicated the loop of shapes and scaled it down to create the upper part of the well. Proceeded to add a circle shape and extruded it to create the base of the well. I created a cube shape and scaled it up to act as a wooden beam, extruding faces from the sides and raising them to further shape the beam. I then selected bridge edge loops to connect the two sides of the beam together. I duplicated the beam and moved it to the other side of the well to act as the second beam. I then created a circle mesh, deleted half of it, and extruding it to create a roof shape. I added an array modifier to the roof shape to duplicate it, adjusting the pattern and then placing it on top of the beams. I used principled bsdf shaders to add colour to the well and ground. I added noise textures to the well and beams, to add detail and give a more realistic look. I then added a Hdri image and adjusted the lighting, making the scene look more professional I started with a cube shape, adding a subdivision surface modifier to make it closer to a sphere. I then stretched it out into an oval, adding 4 loop cuts and selected a couple faces from one end, extruding them to create the handles of the controller. I continued to adjust the faces and edges to make the shape look more organic and controller-like. I extruded a few faces on the top to create trigger buttons, and then added a cylinder shape to create the joystick. I added a bevel modifier to the joystick to smooth it out I added a bunch of sphere and flattened them to serve as buttons, beveling and scattering them across the controllers. For the D-pad I added a cube shape and extruded the face to create the cross shape, beveling it to smooth it out. I went into the shader editor and added principled bsdf shader to add colours to the controller and buttons. I gave the controller a metallic look by adjusting the roughness and metallic values, lowering the alpha on the buttons to make them look more like plastic. I then added a Hdri image to give the scene realistic lighting and

Design Challenge 2
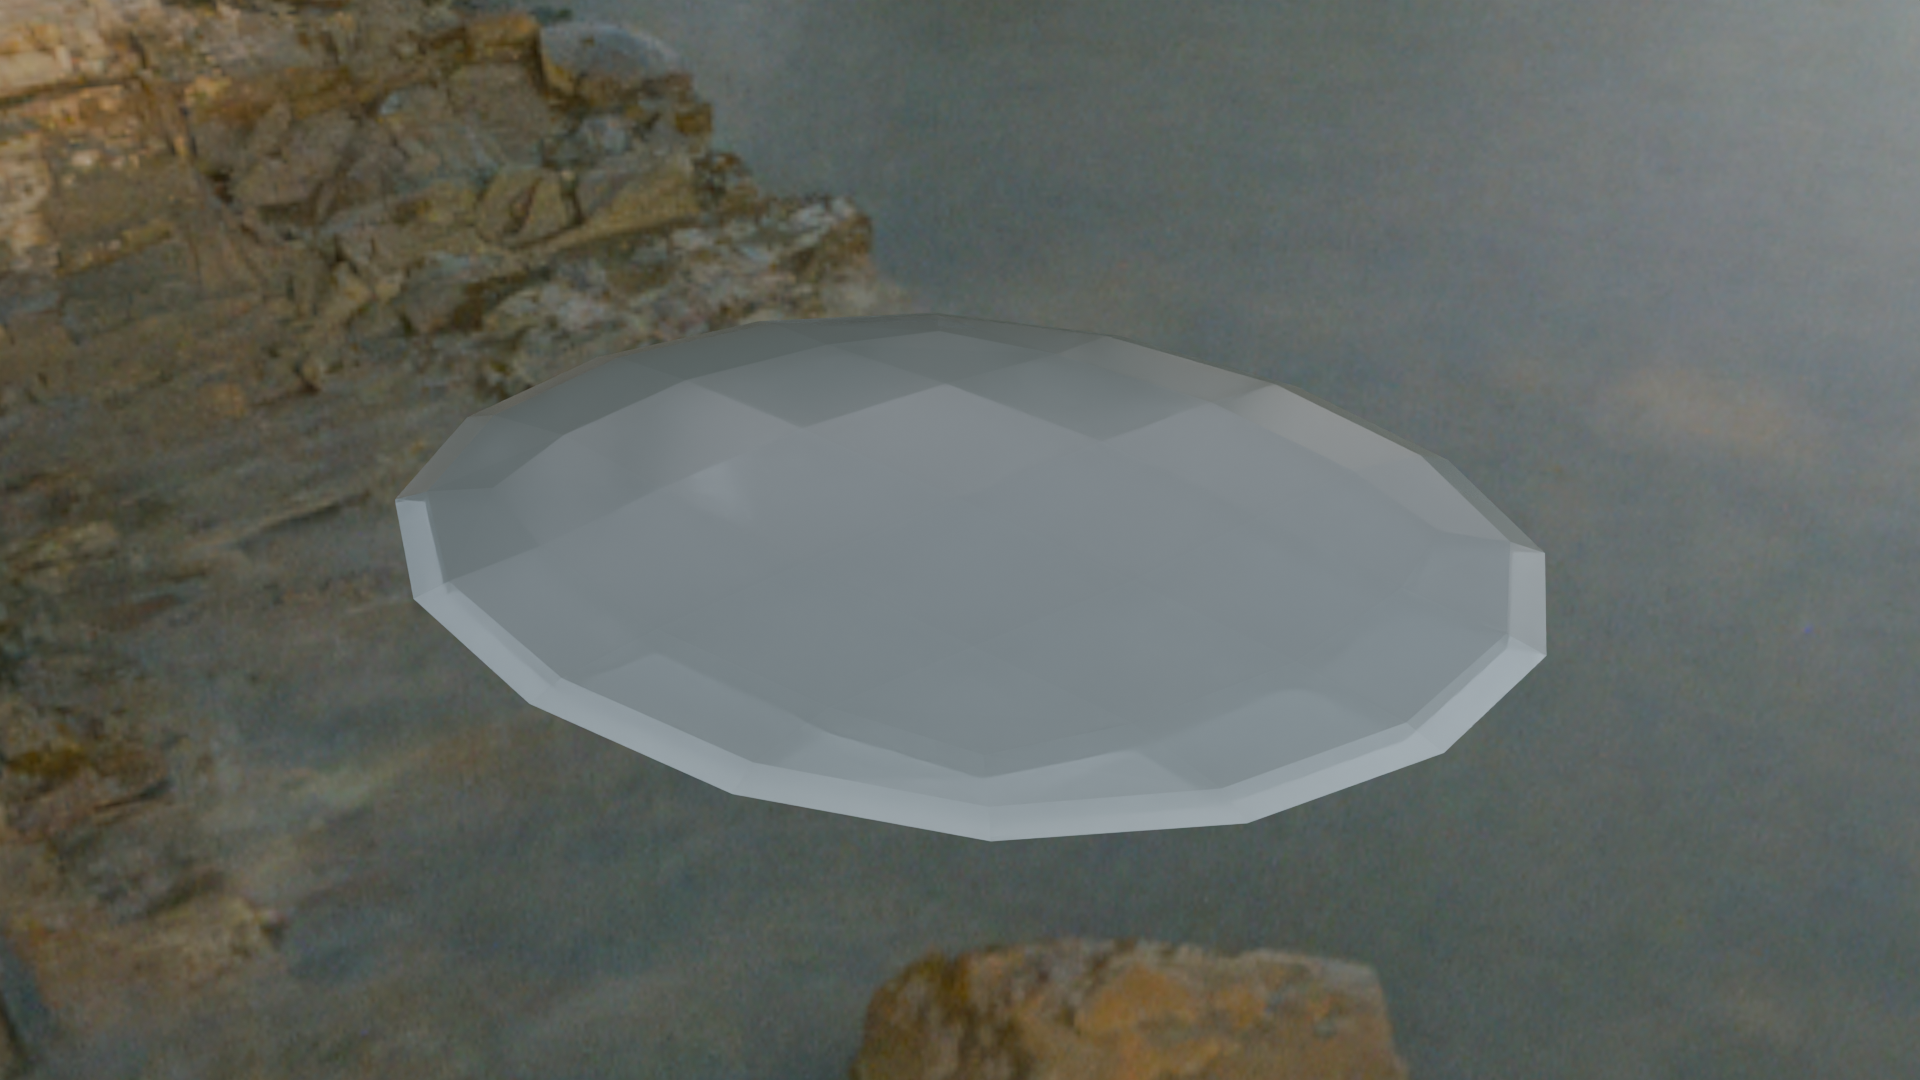
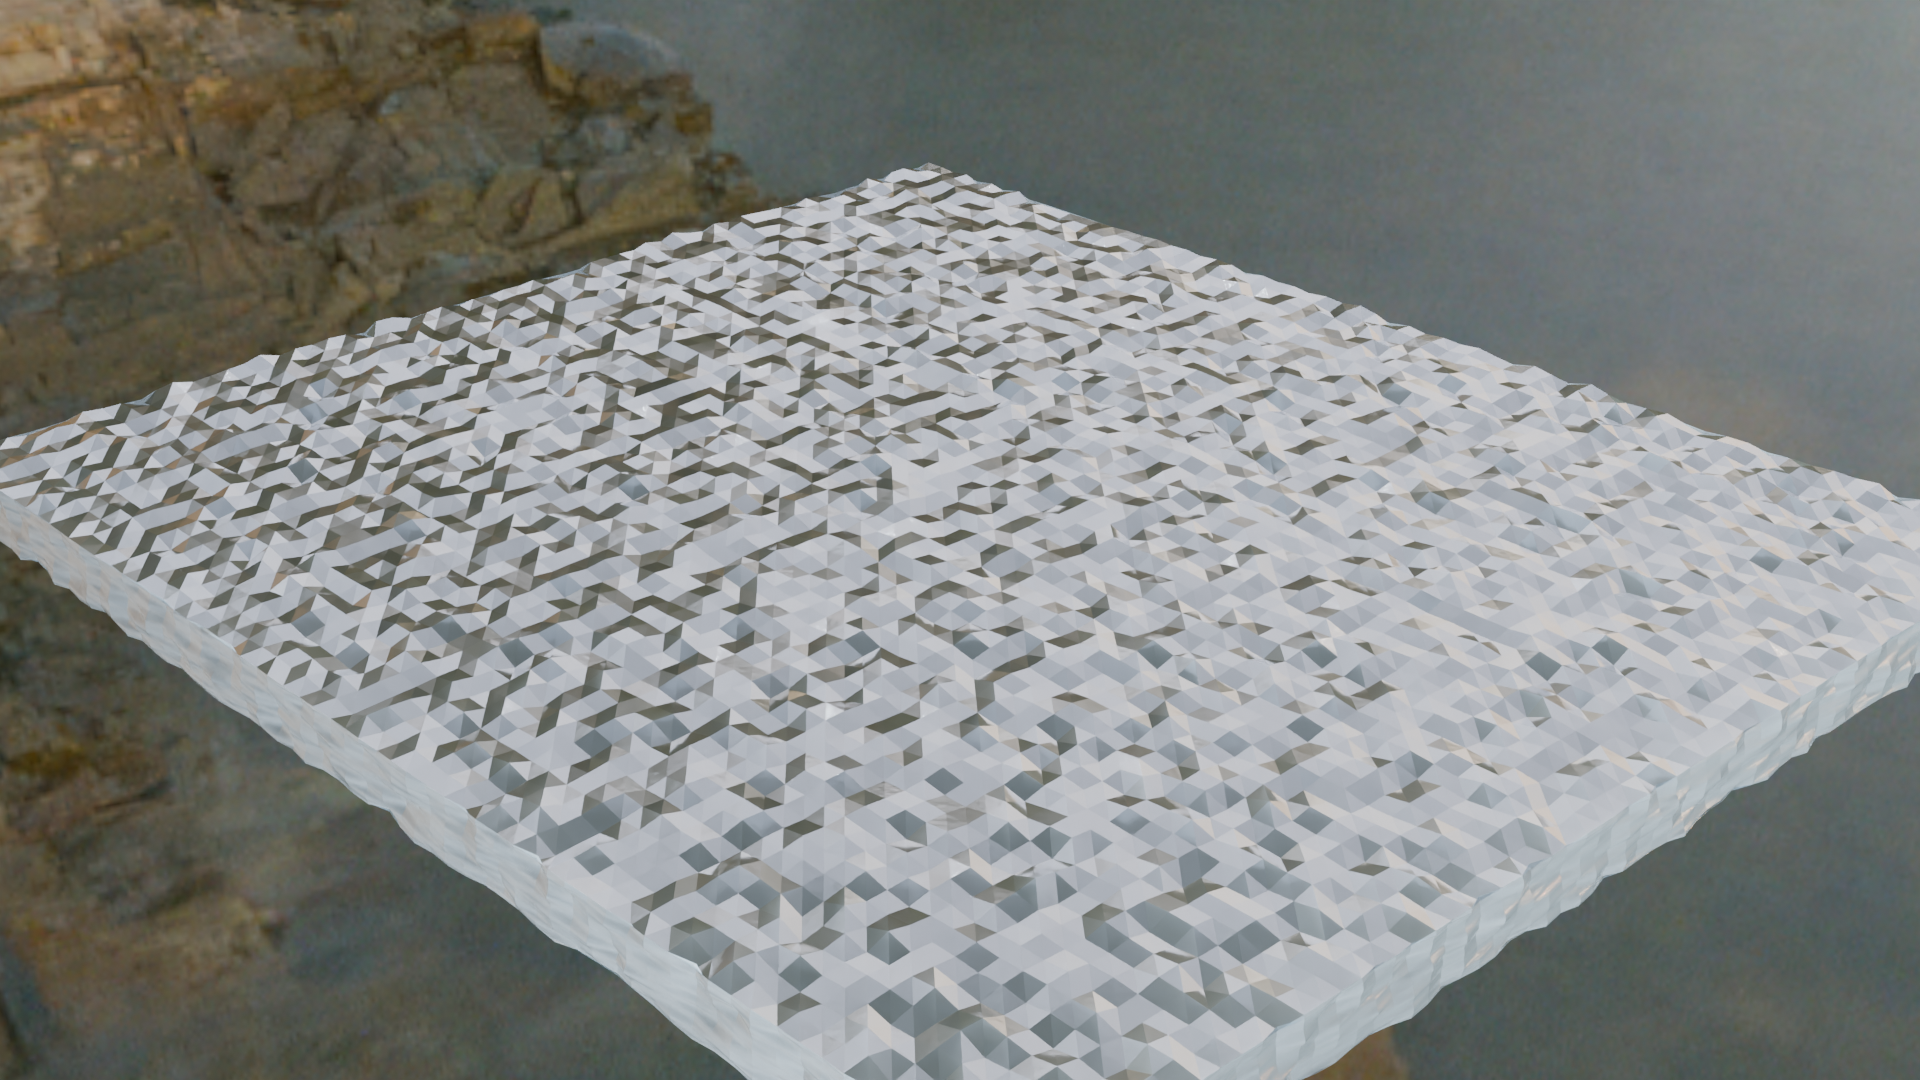
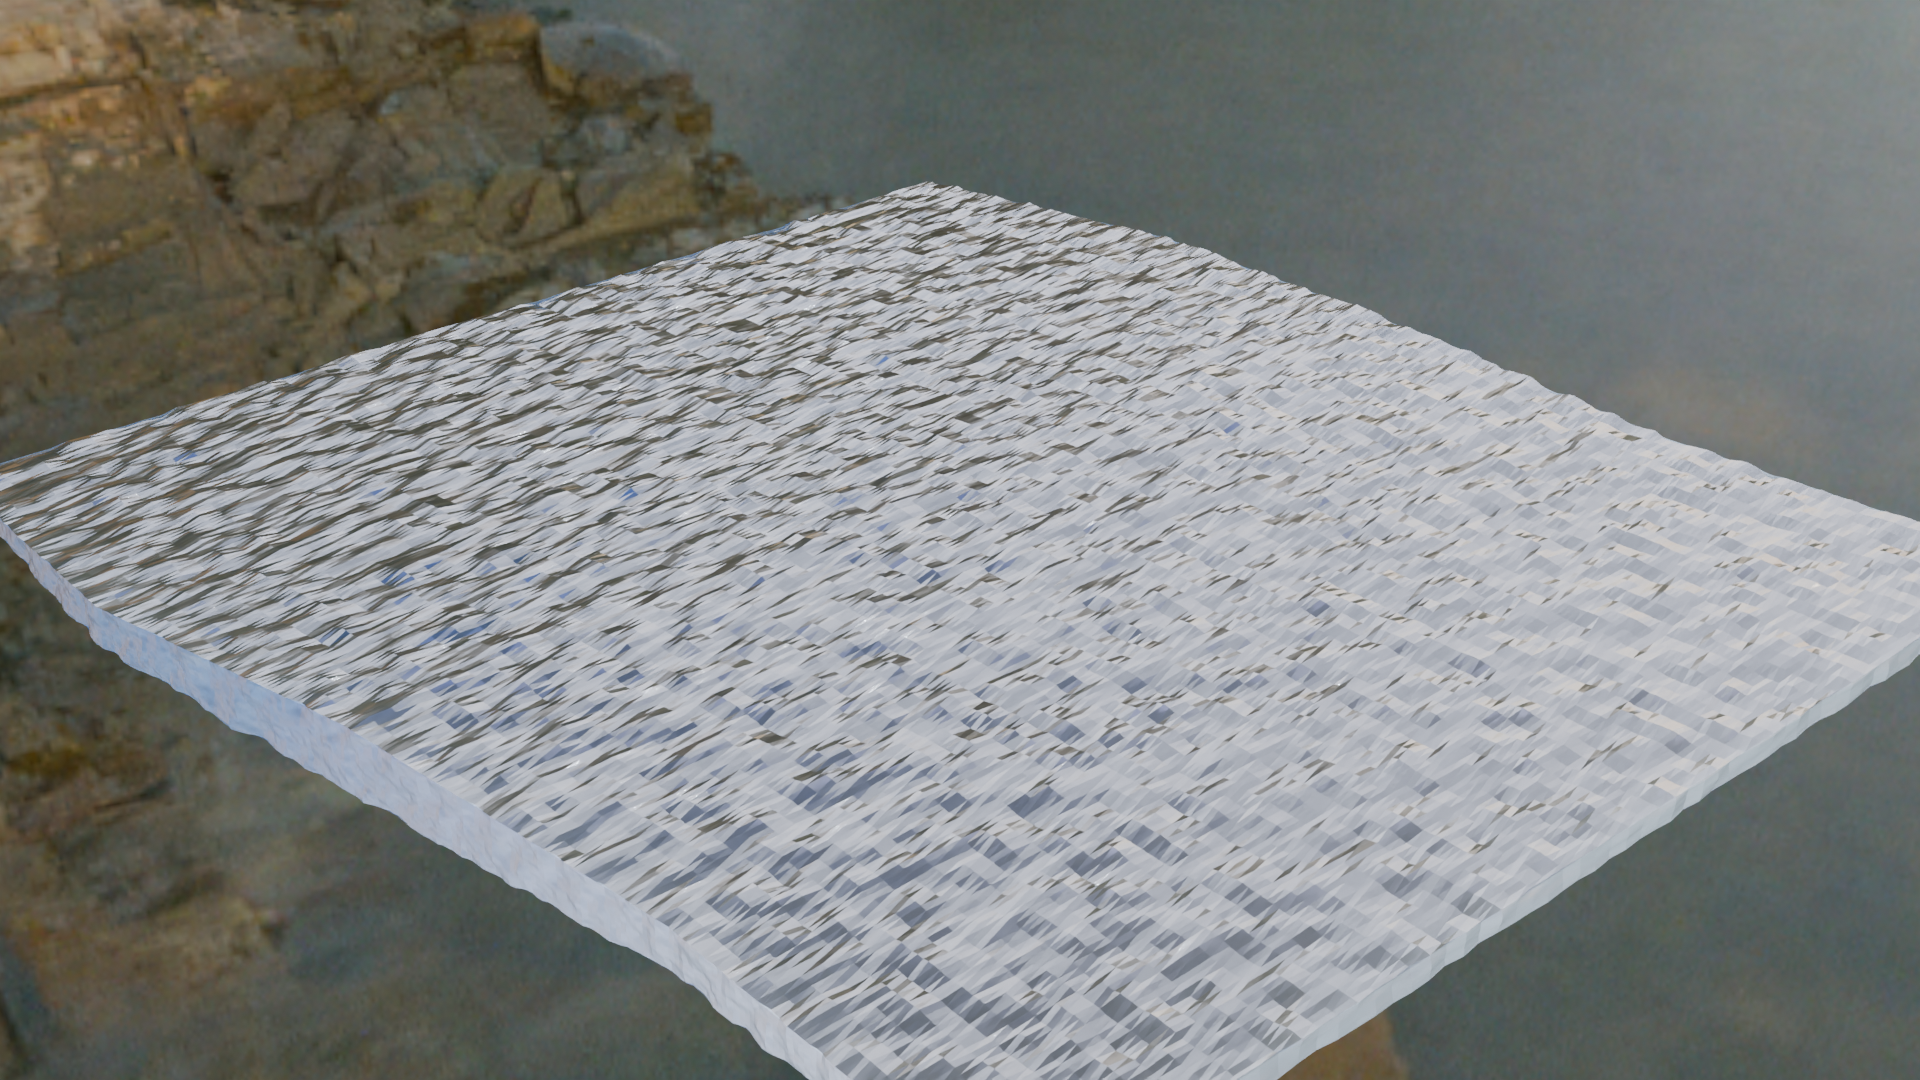
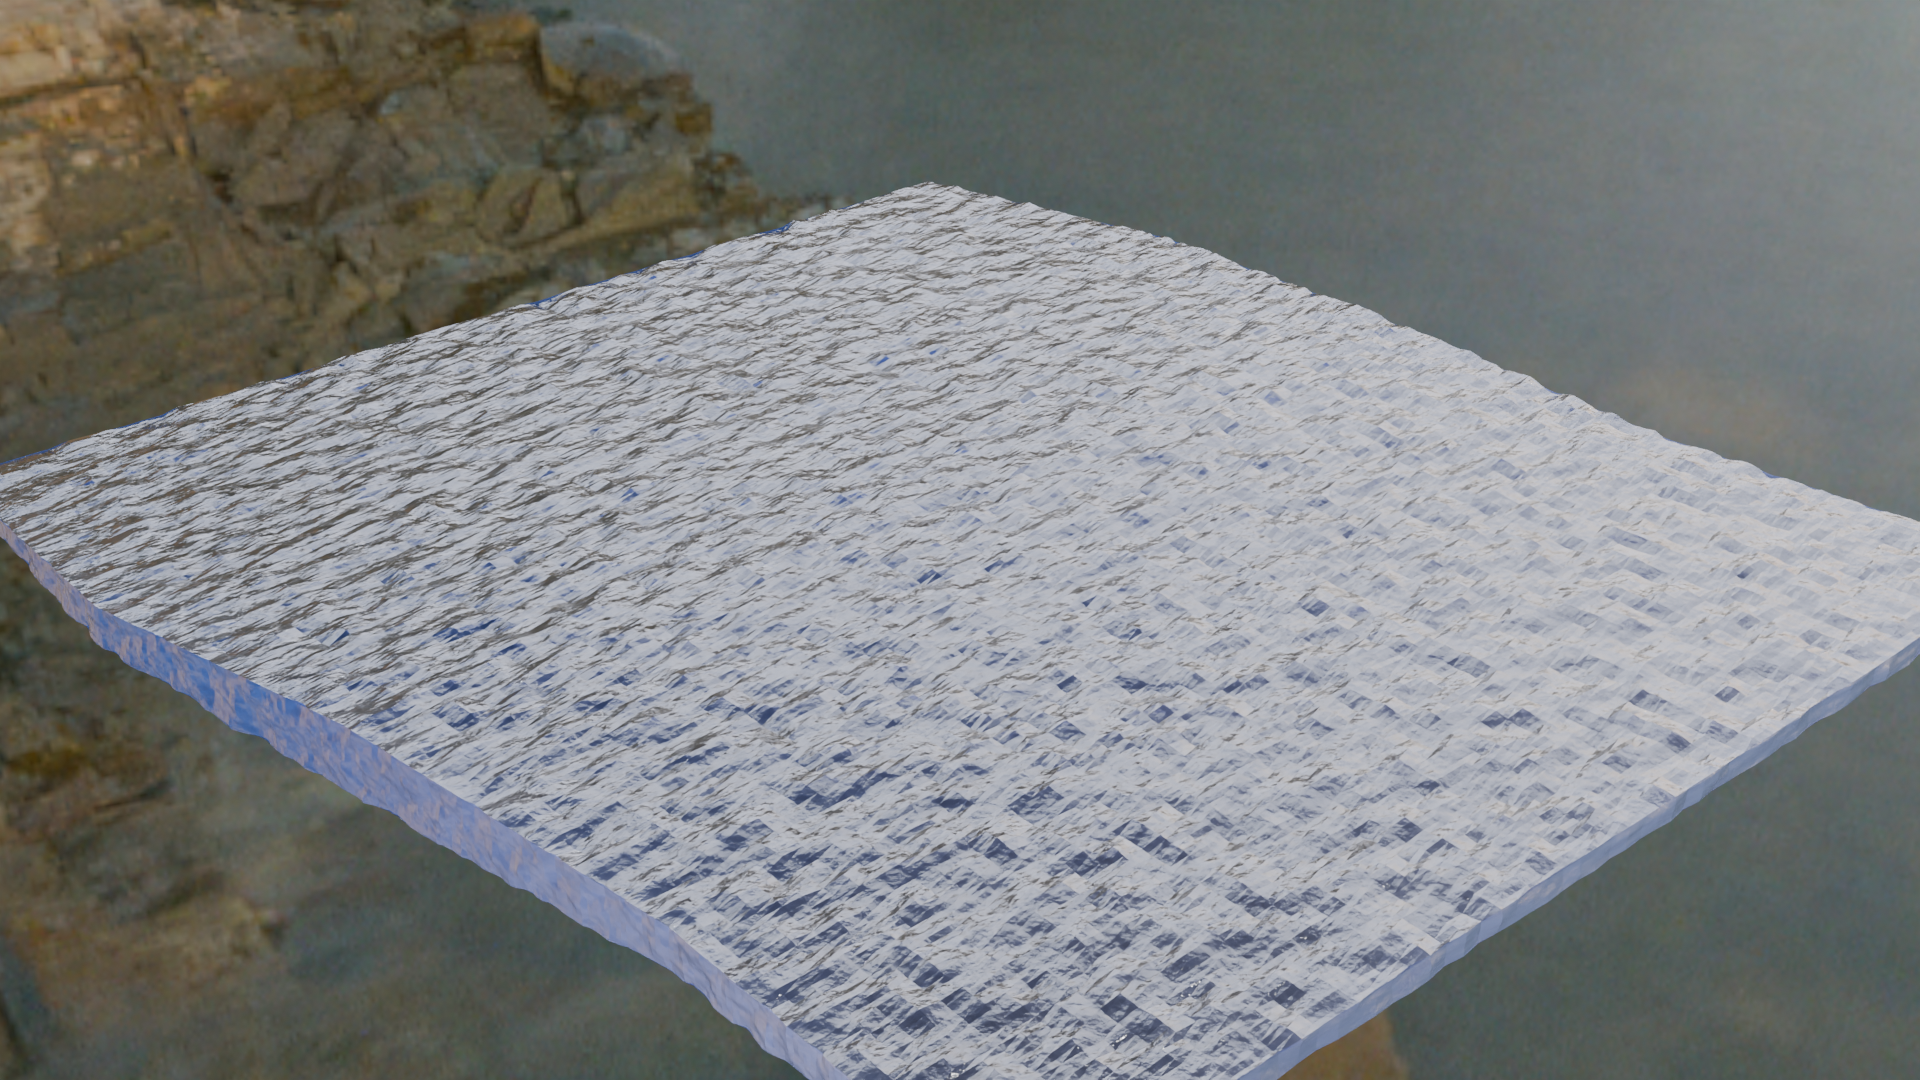
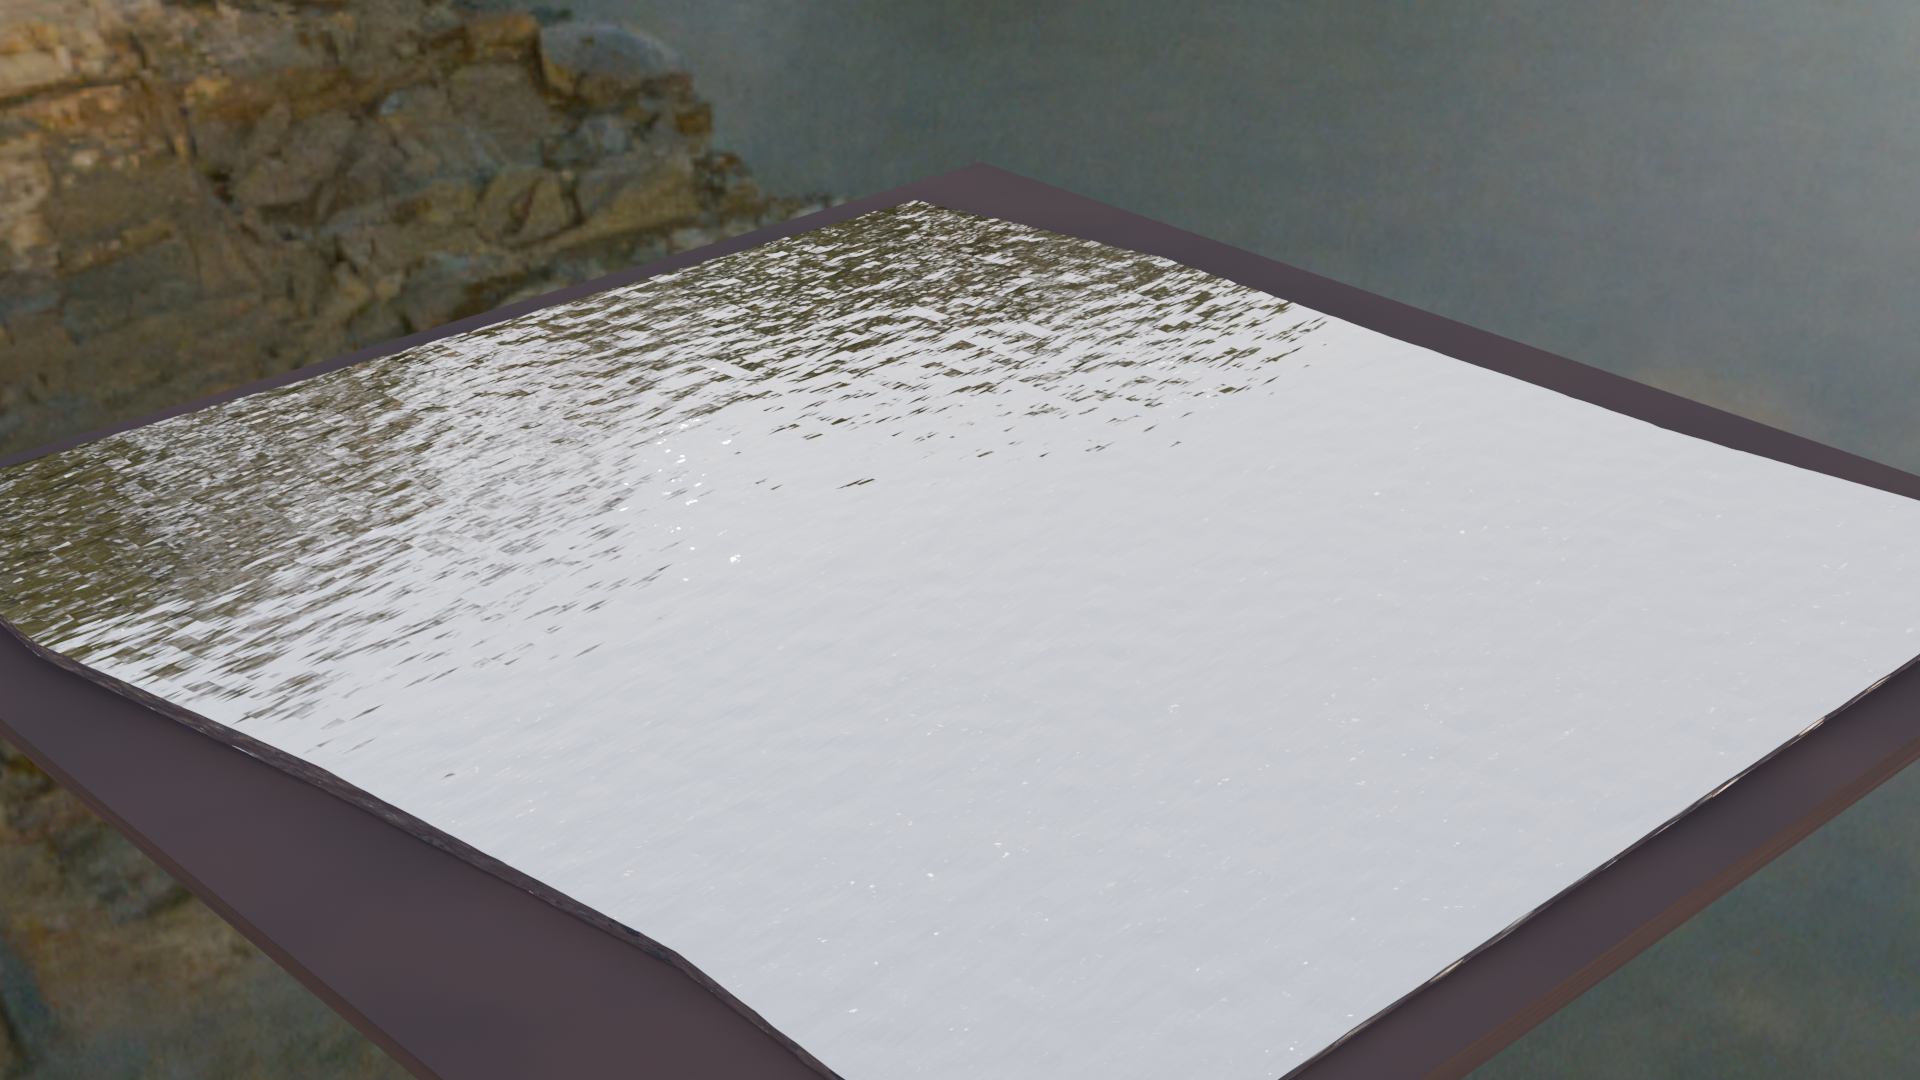
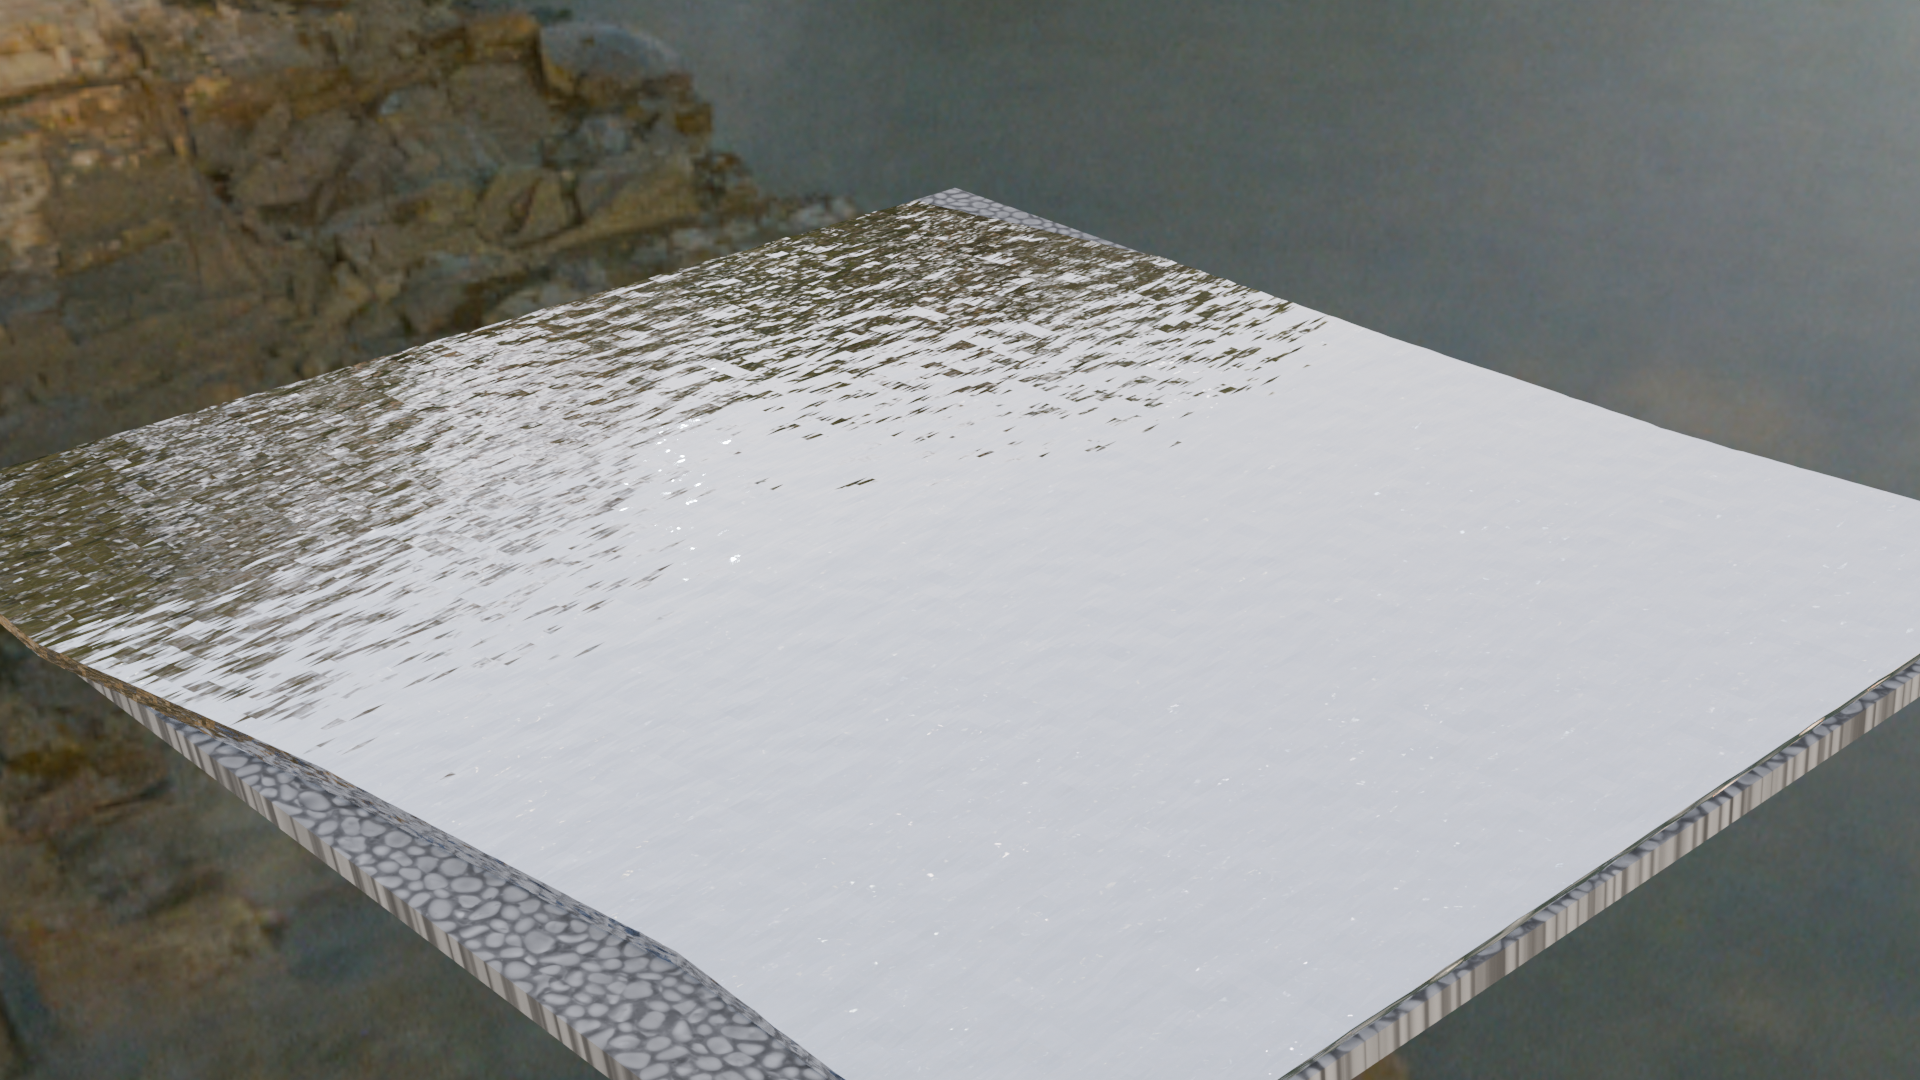
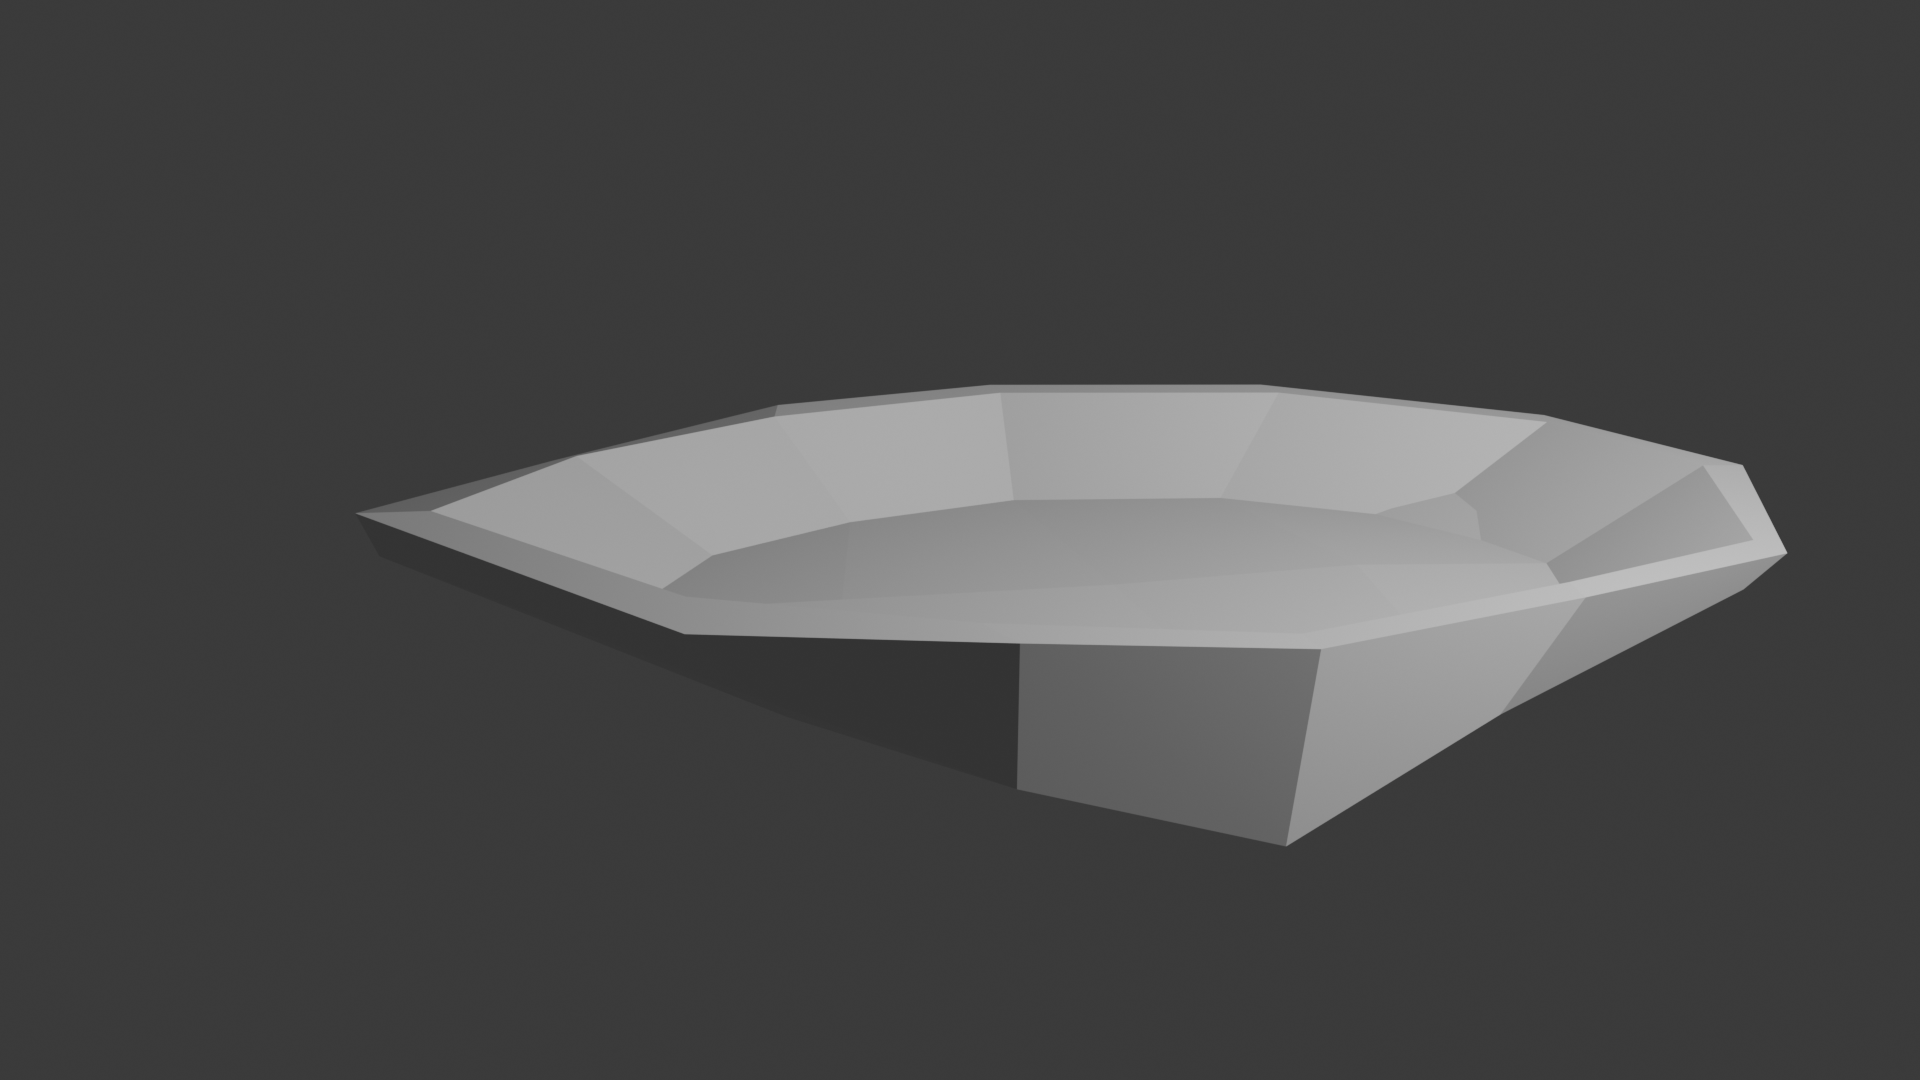
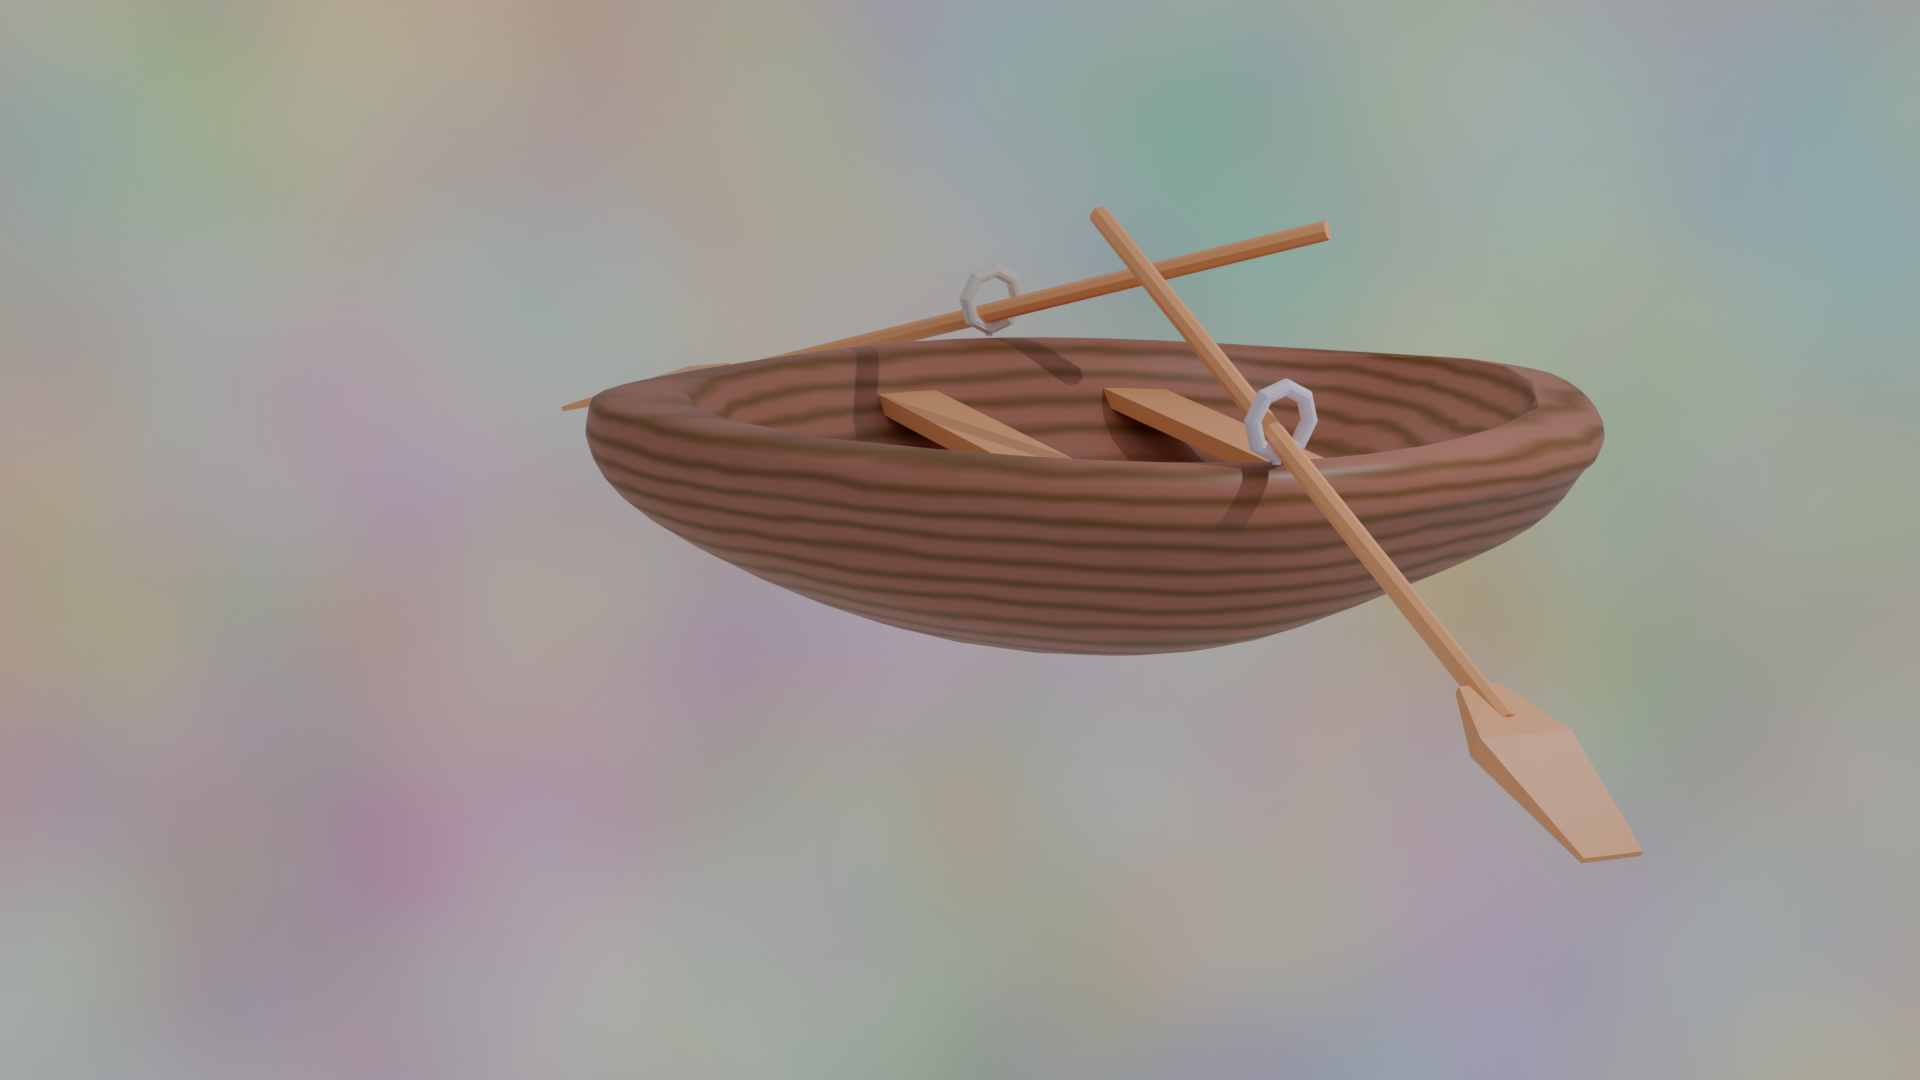
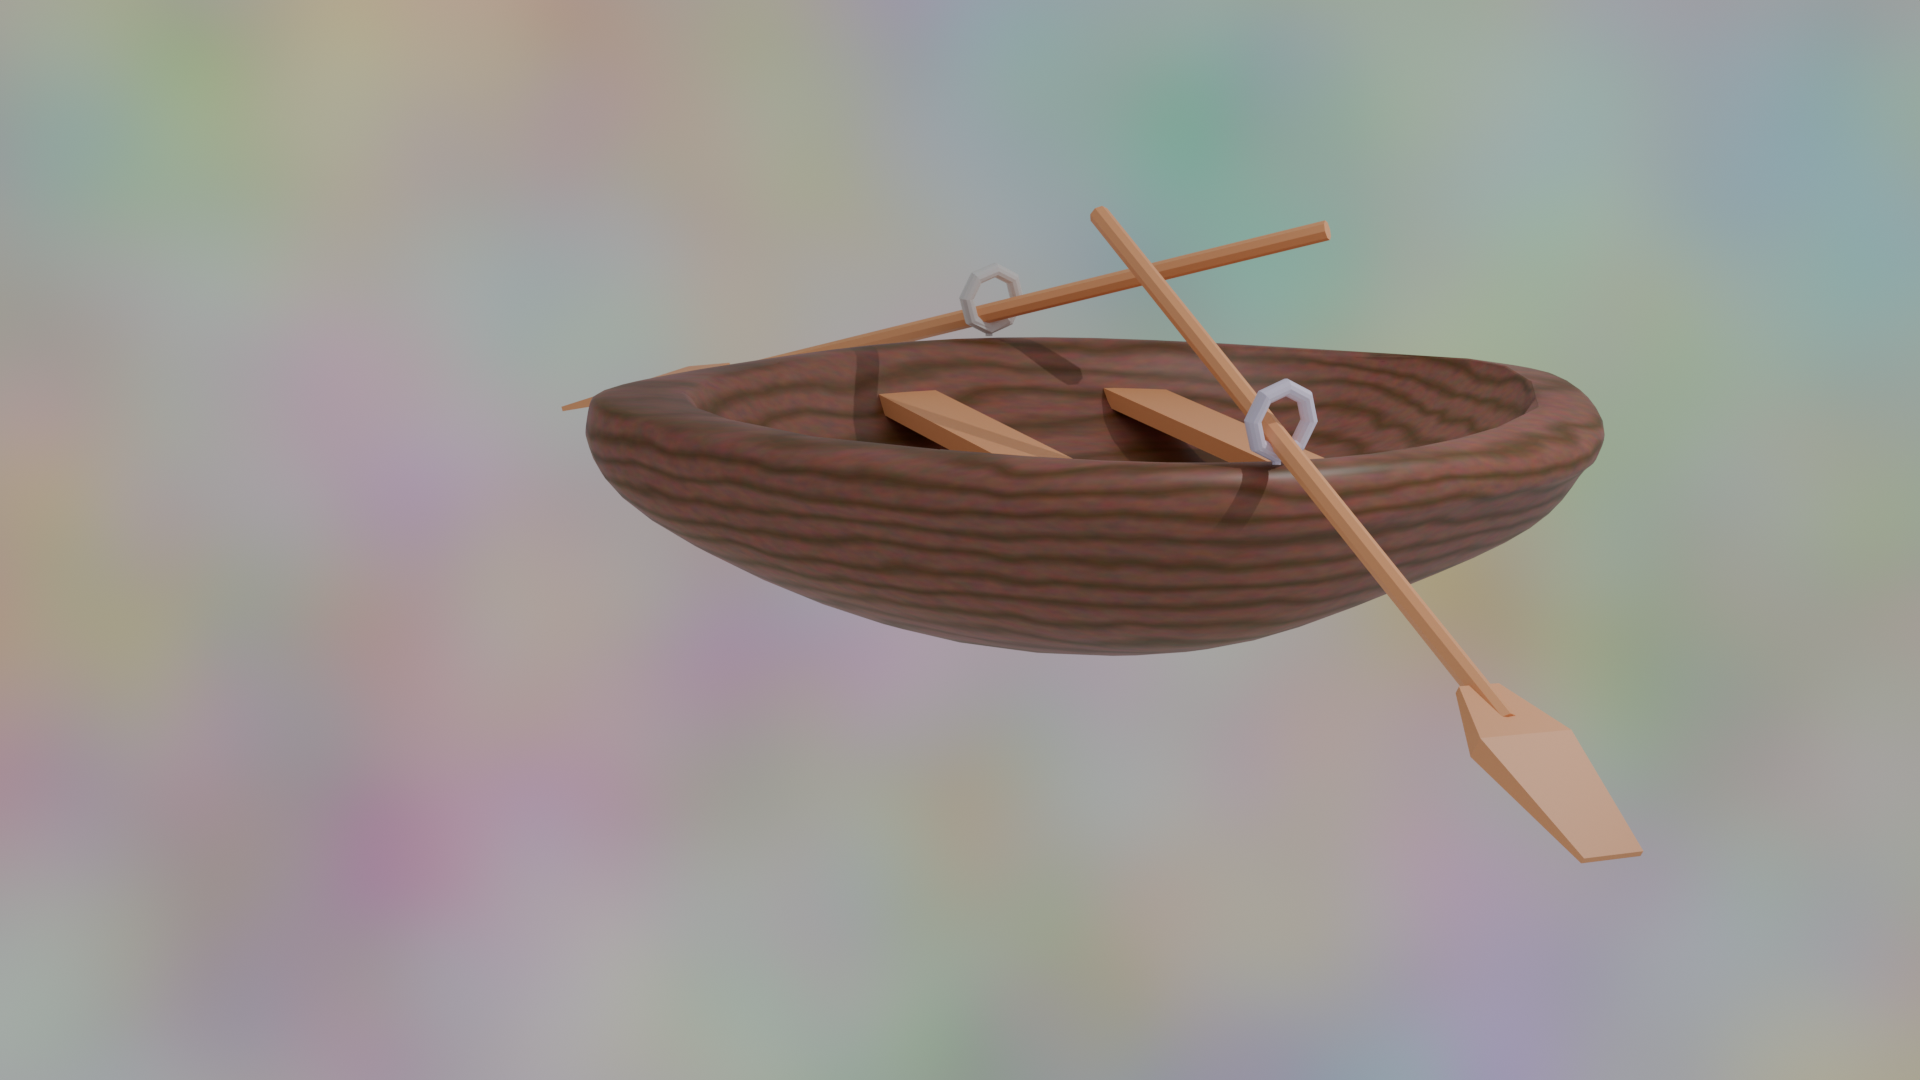
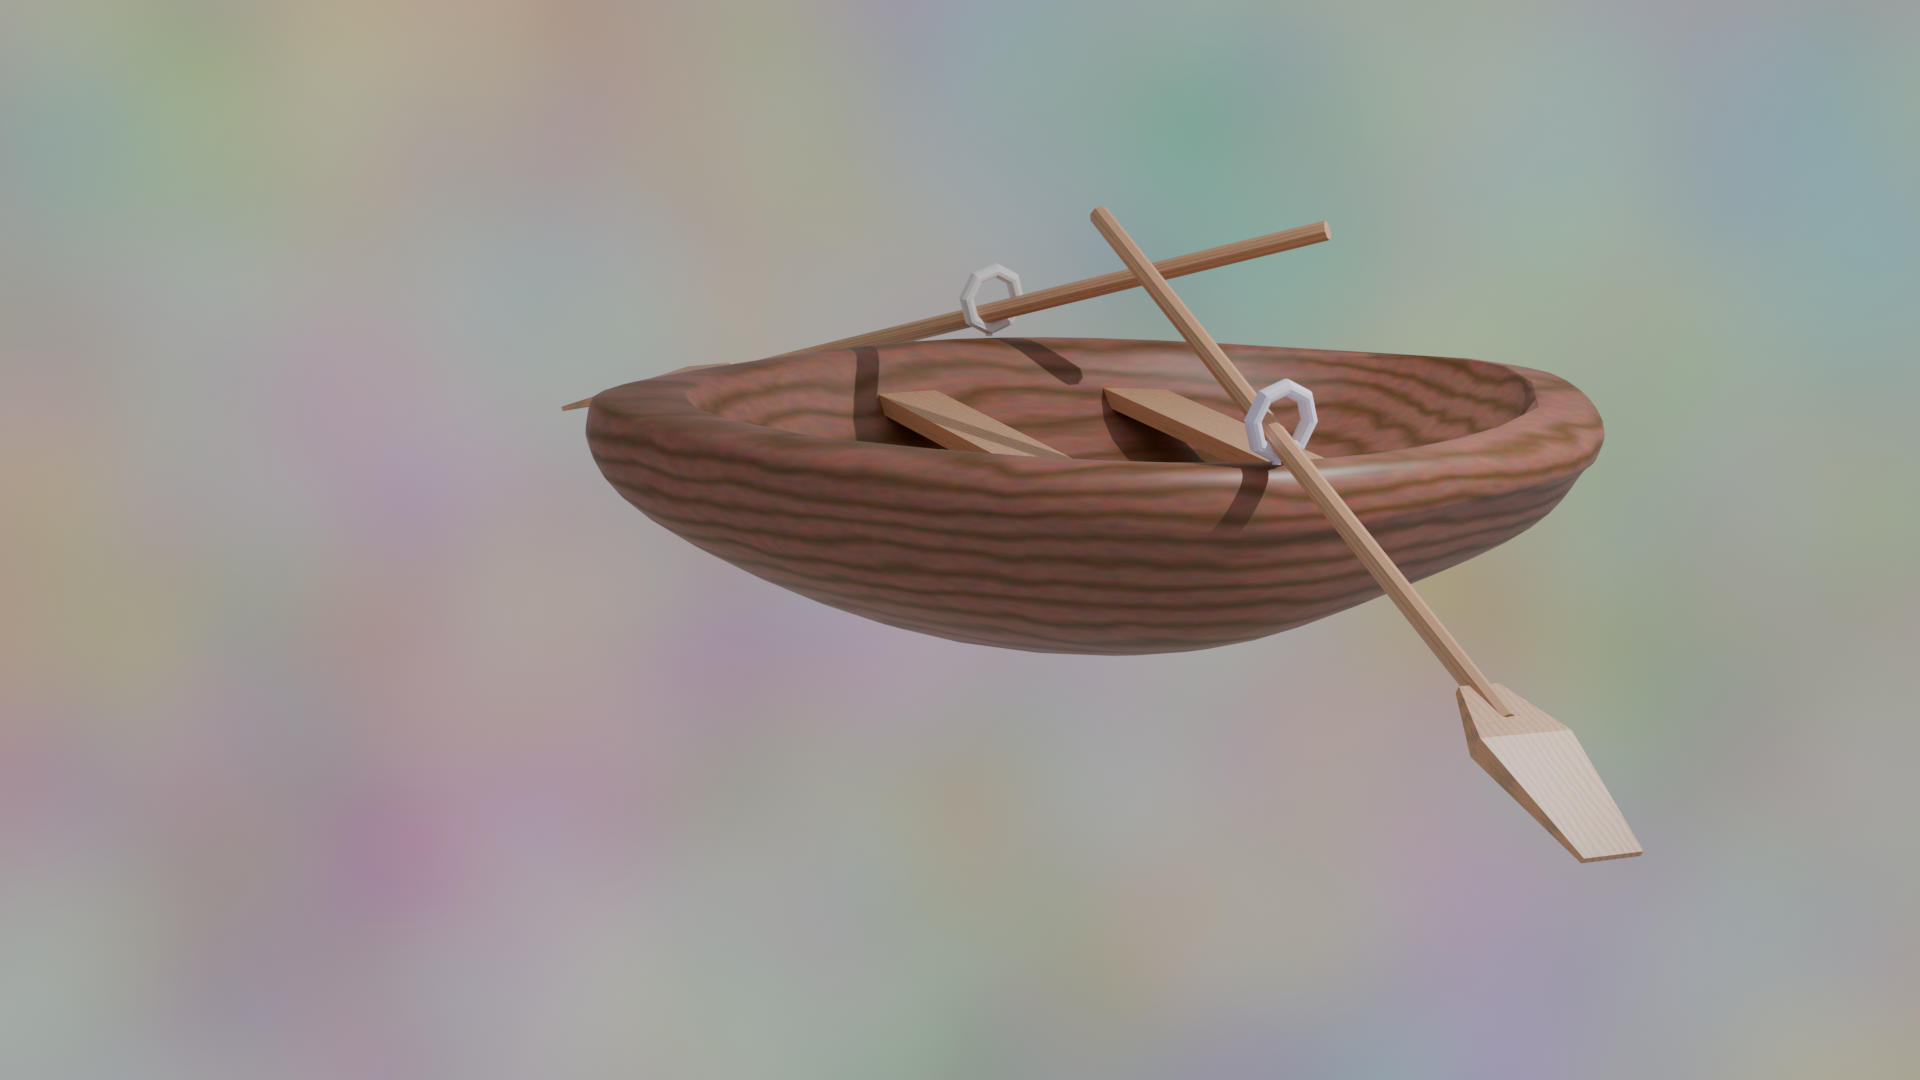
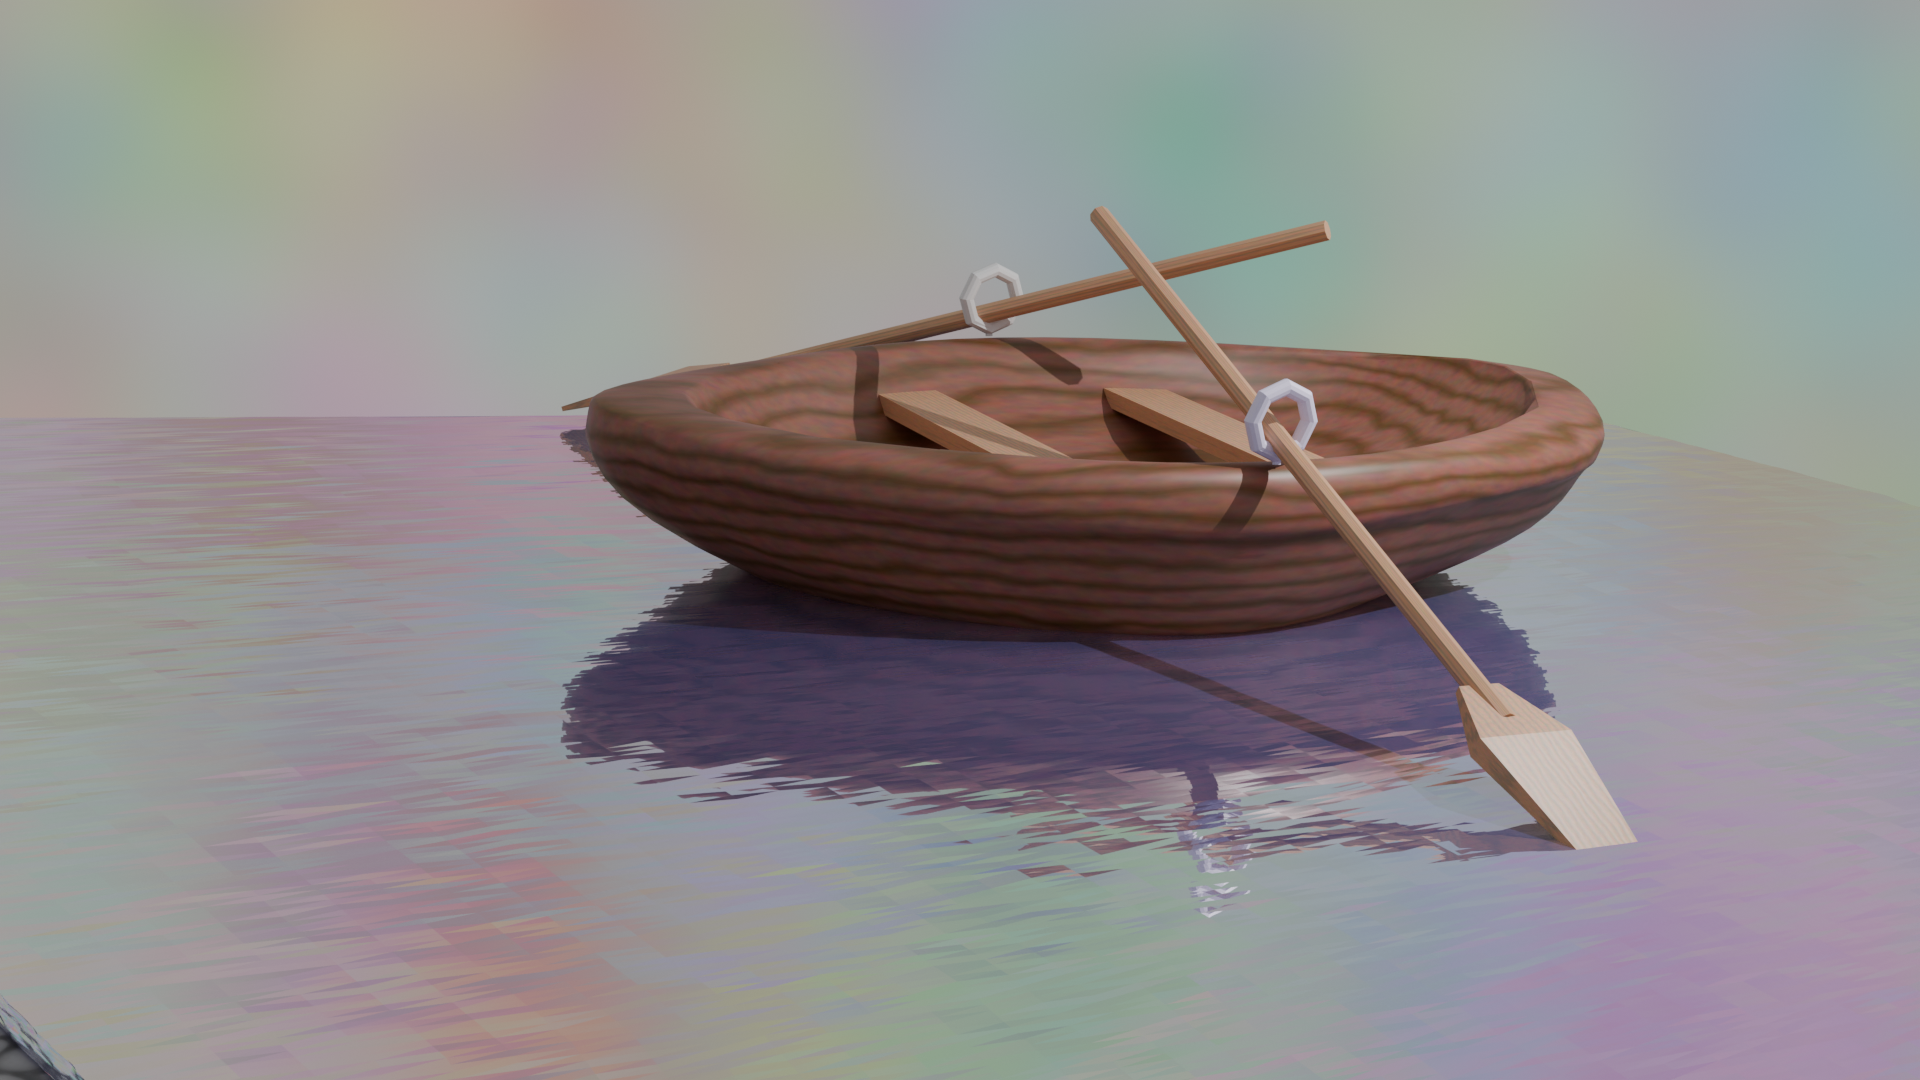
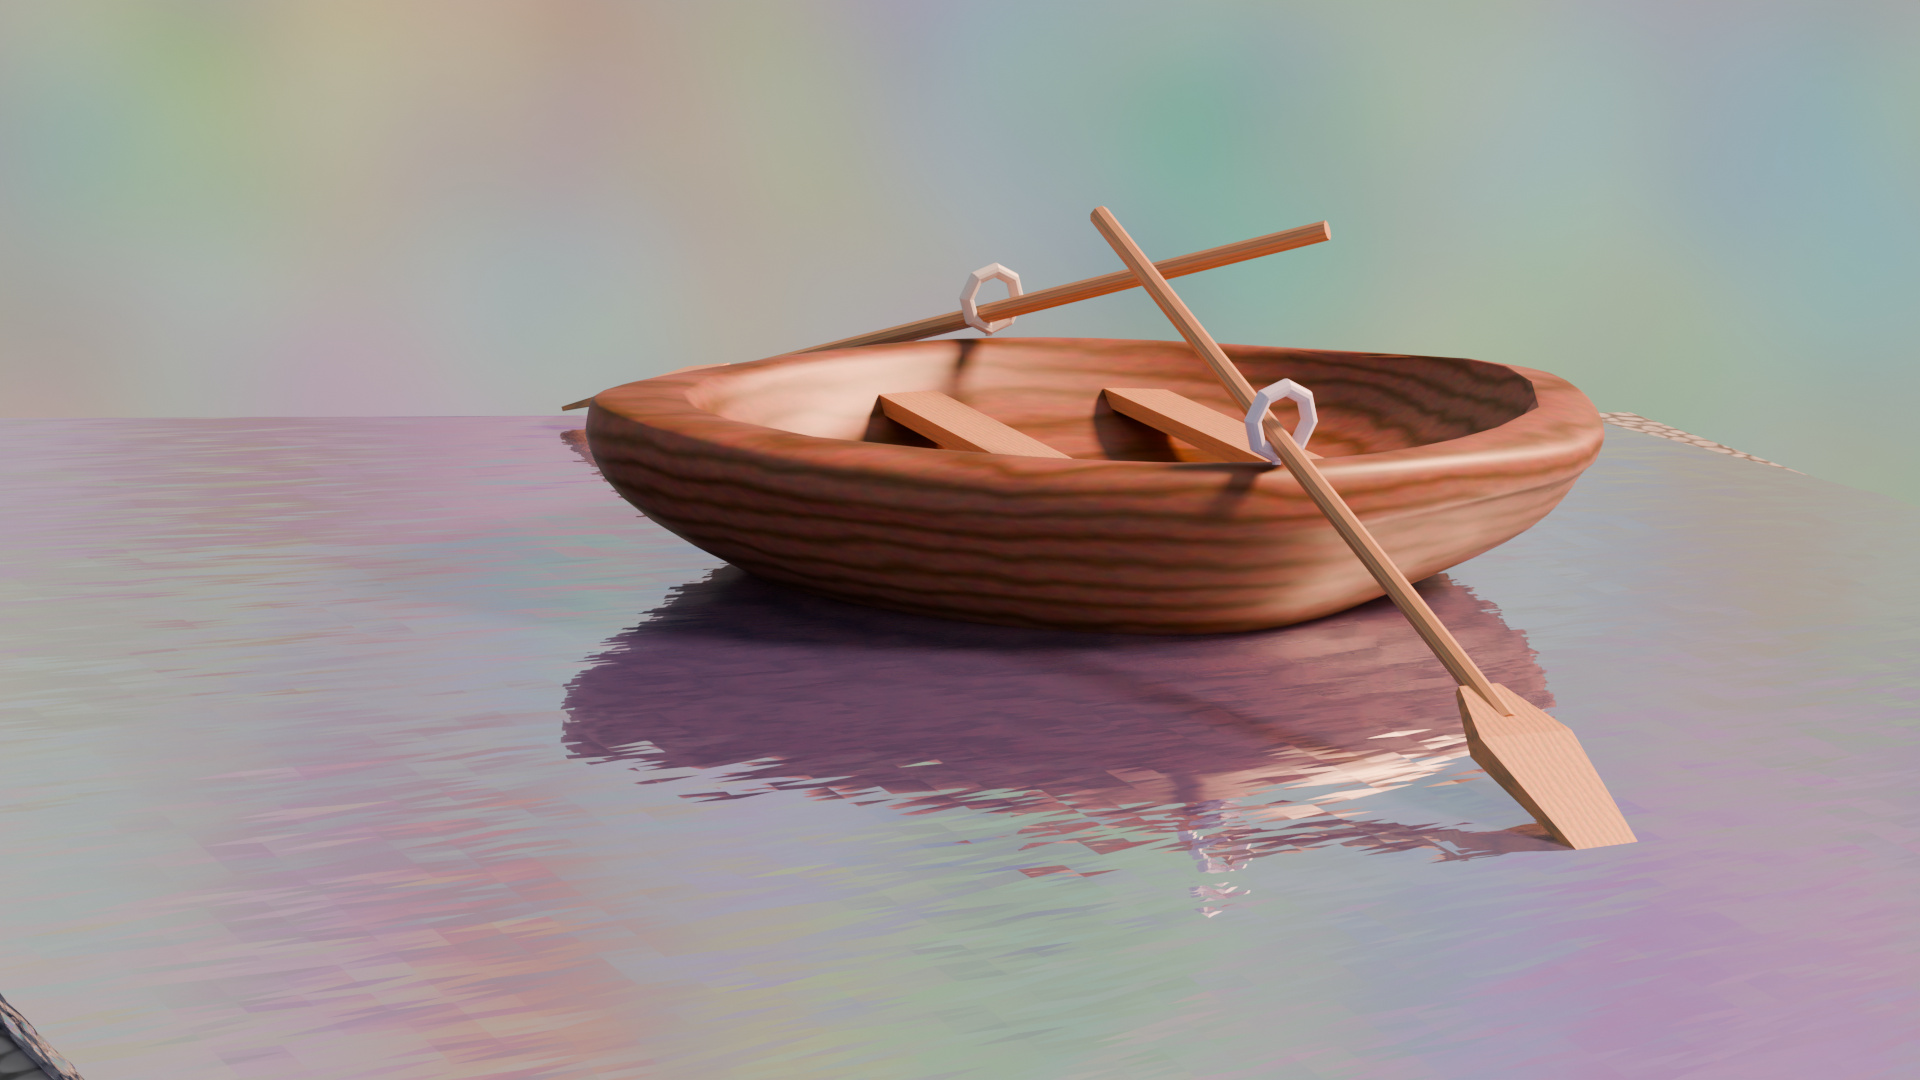
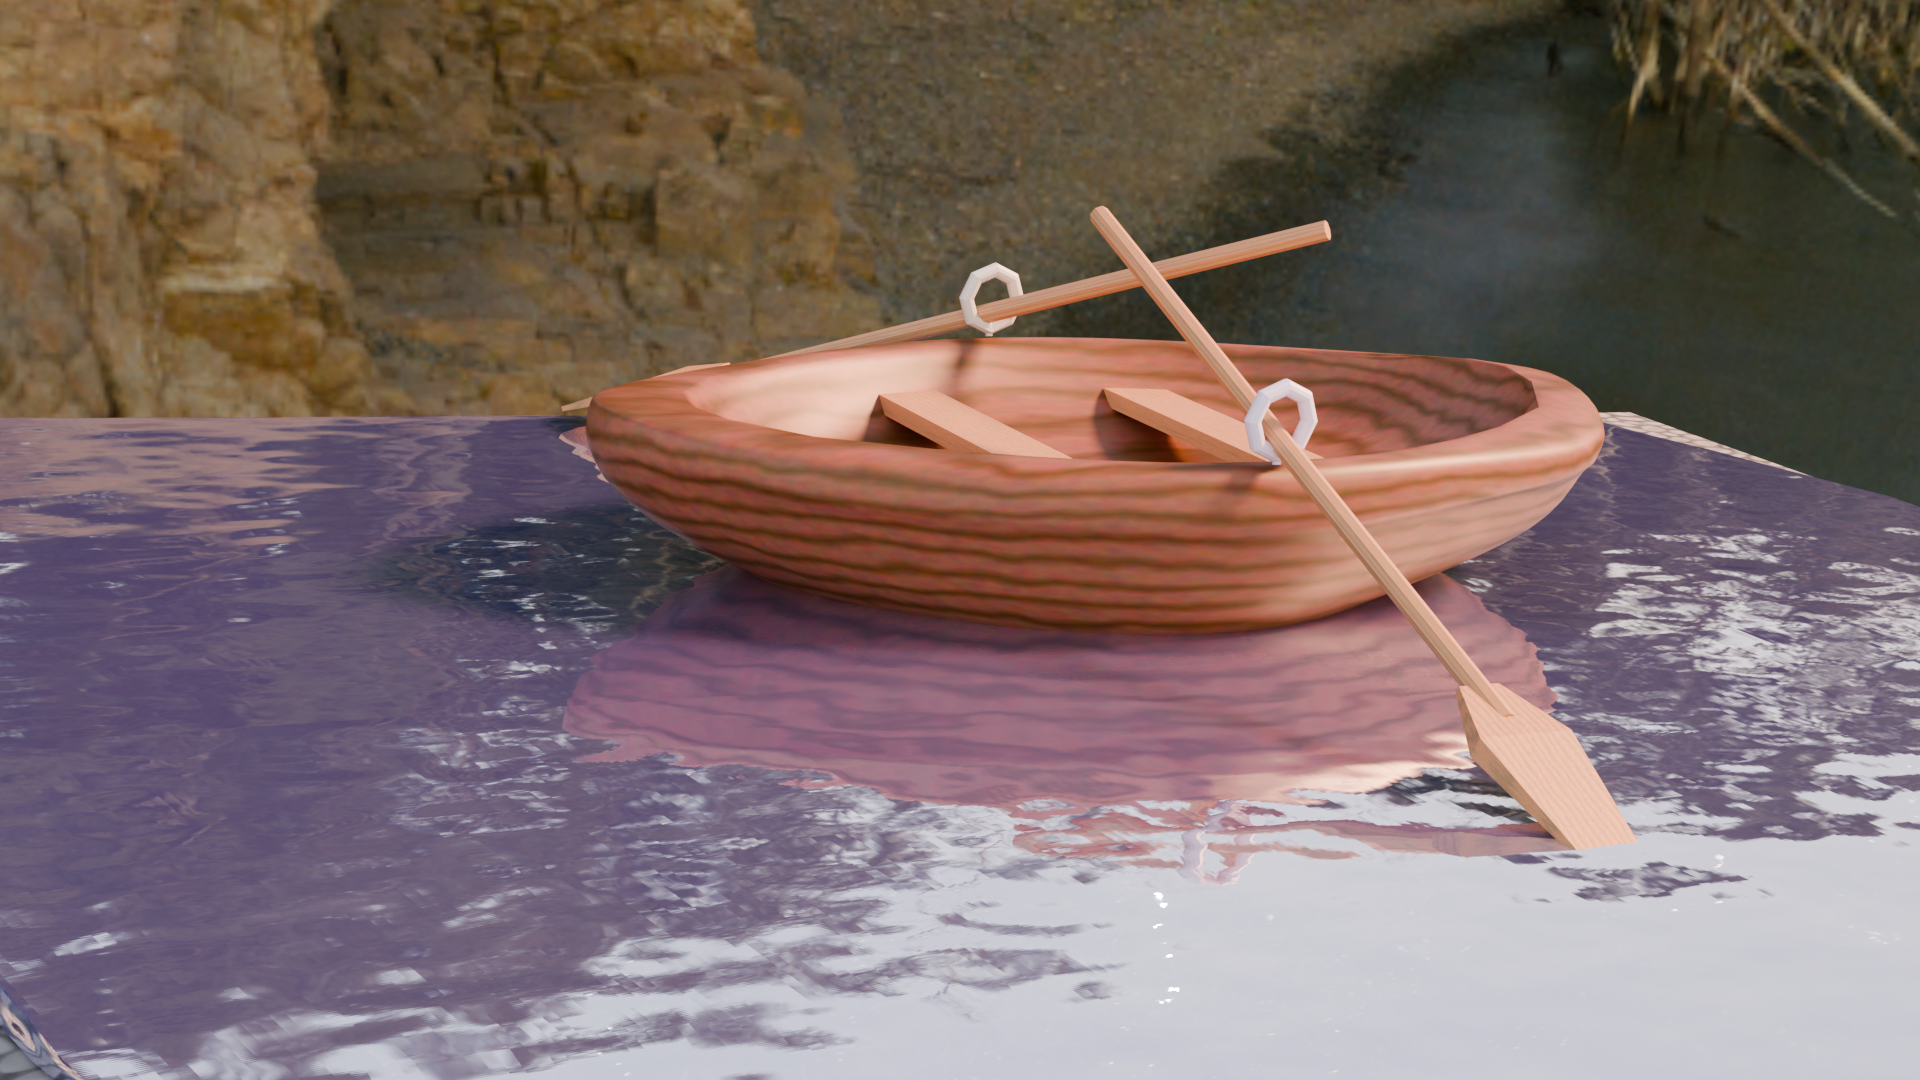
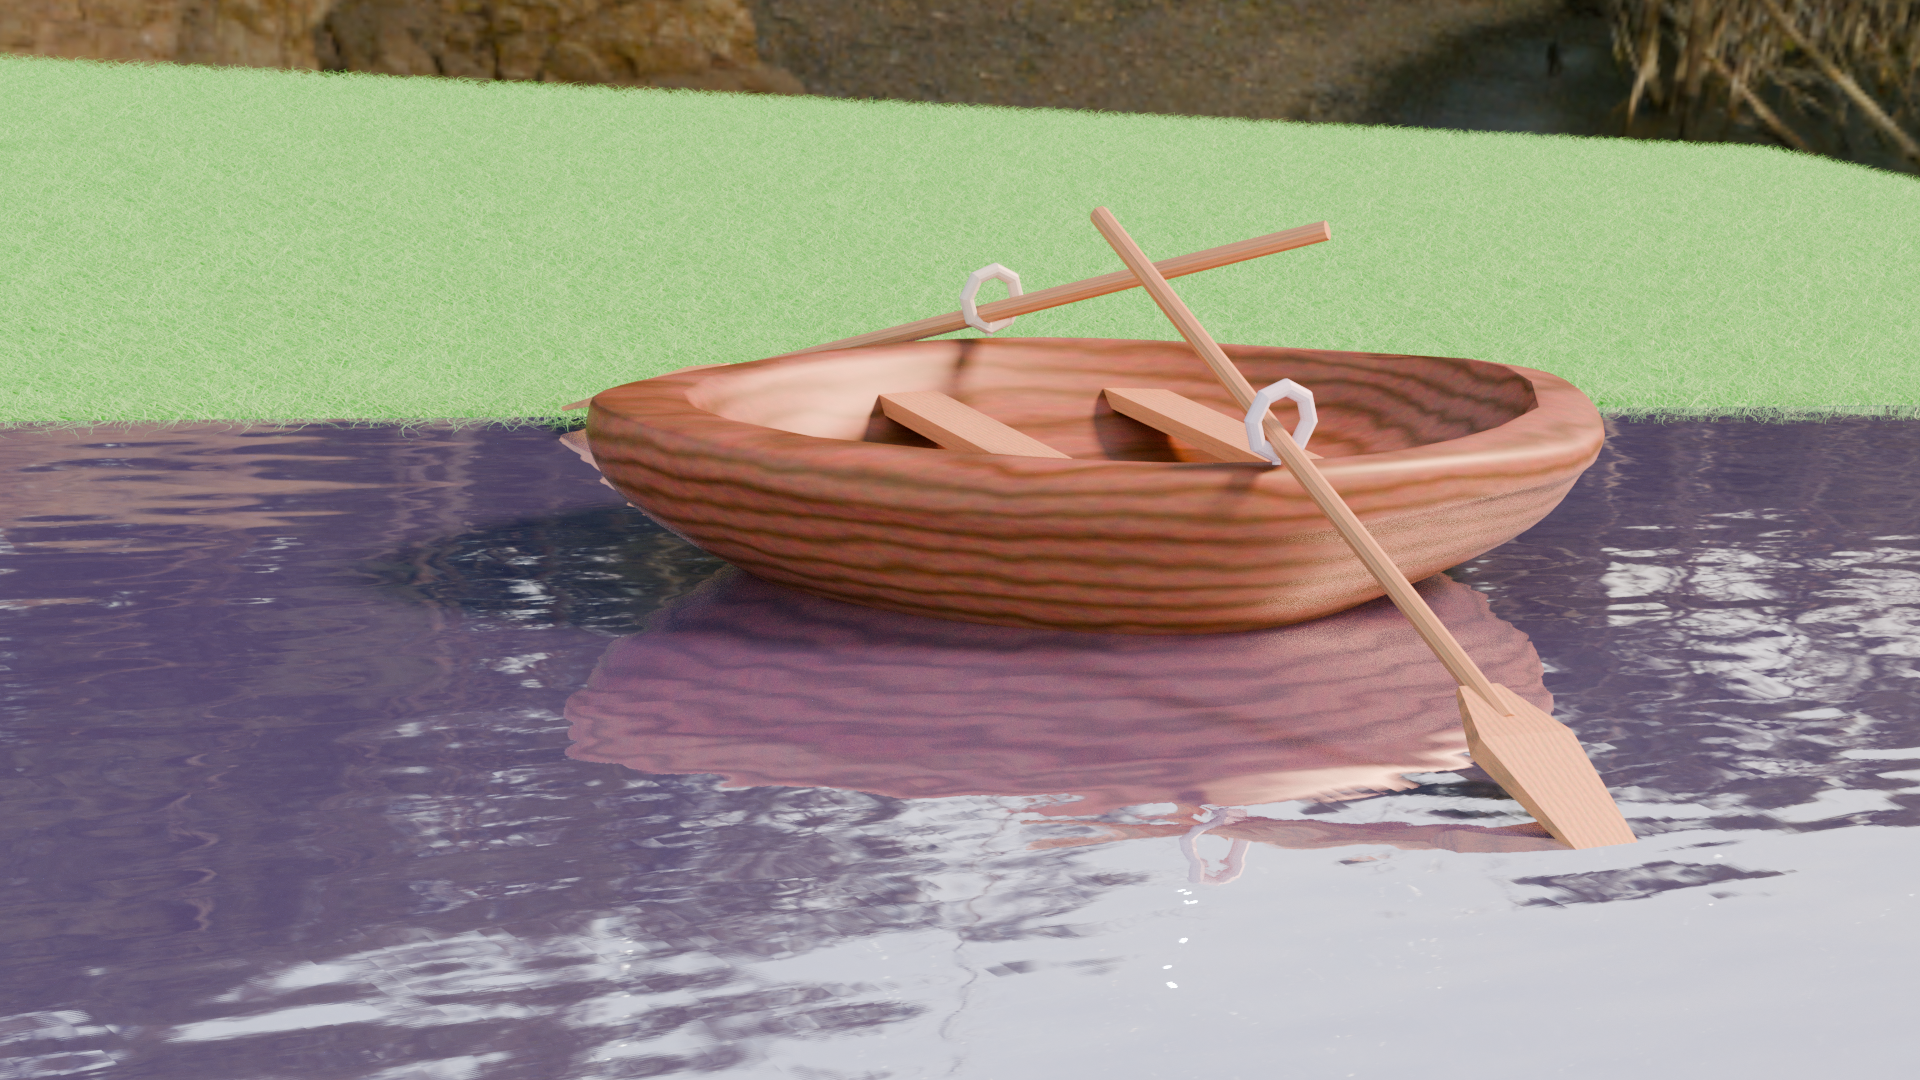
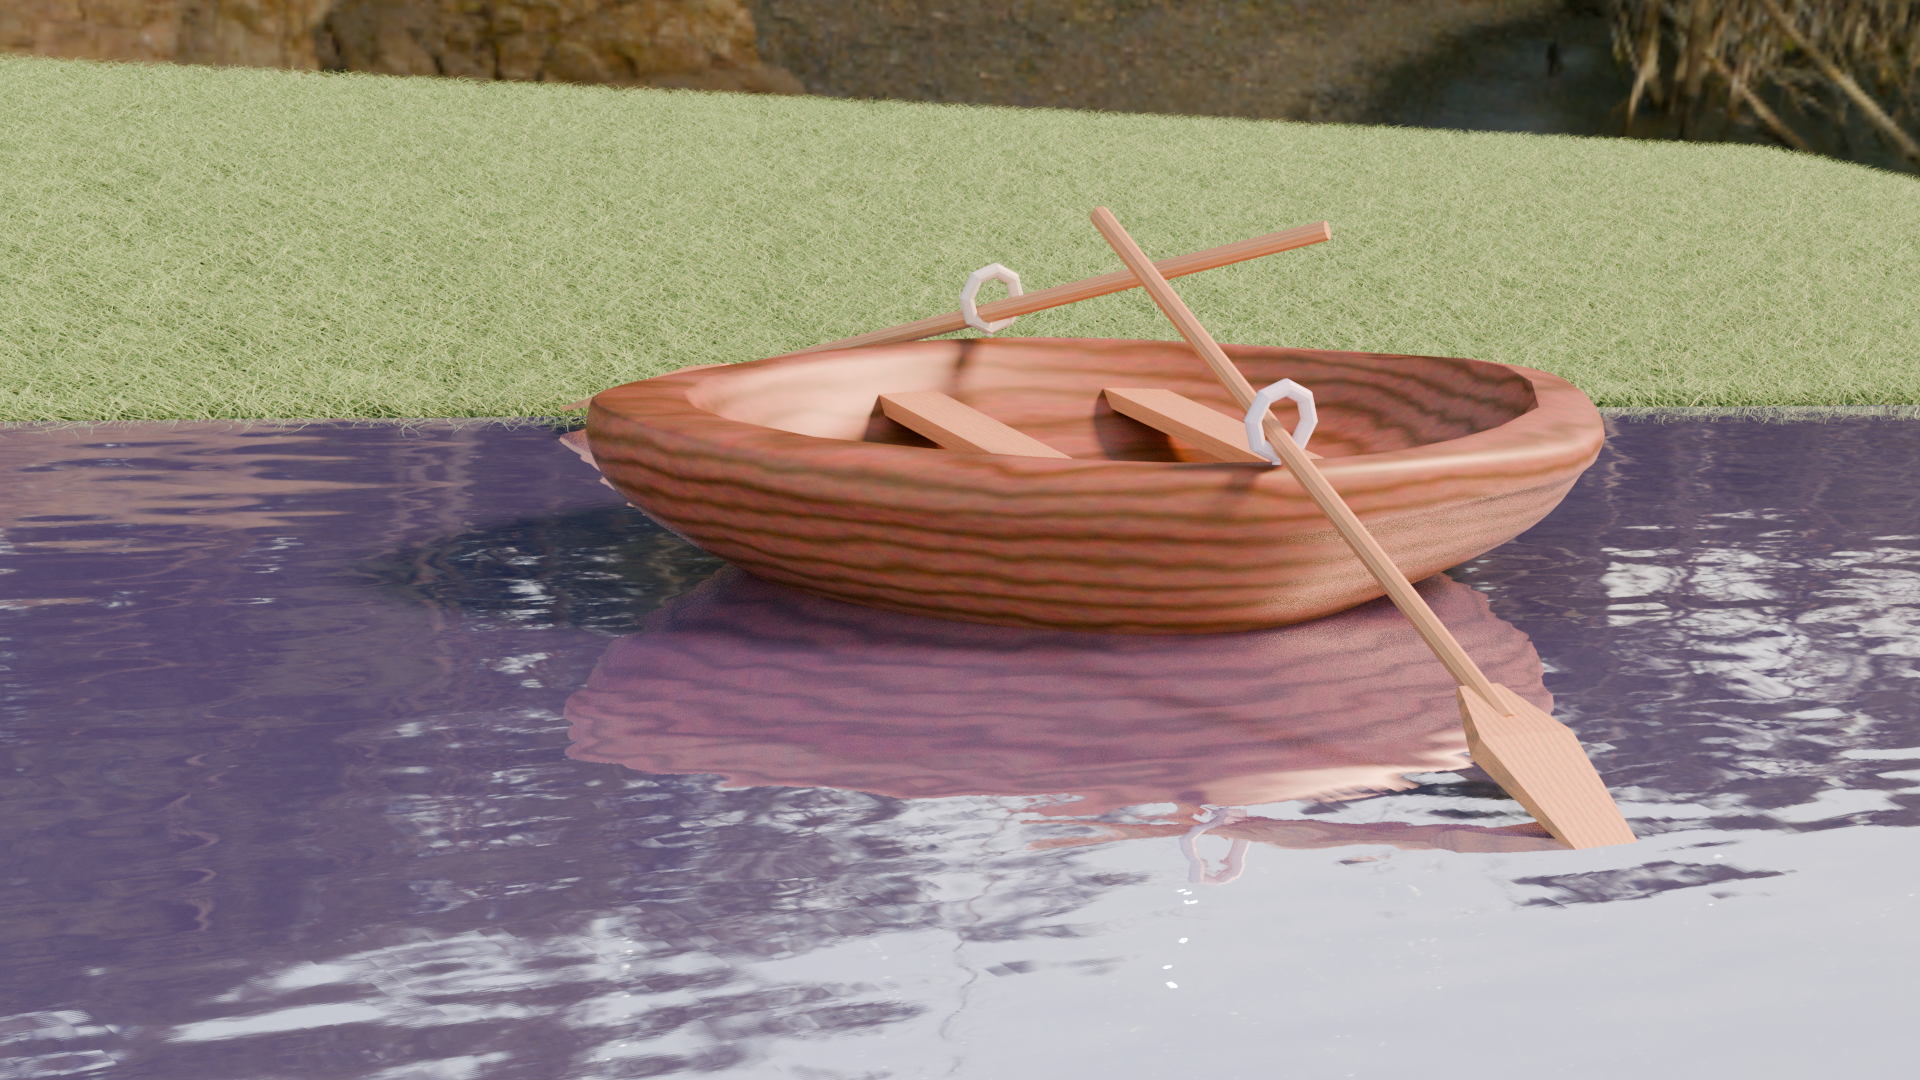
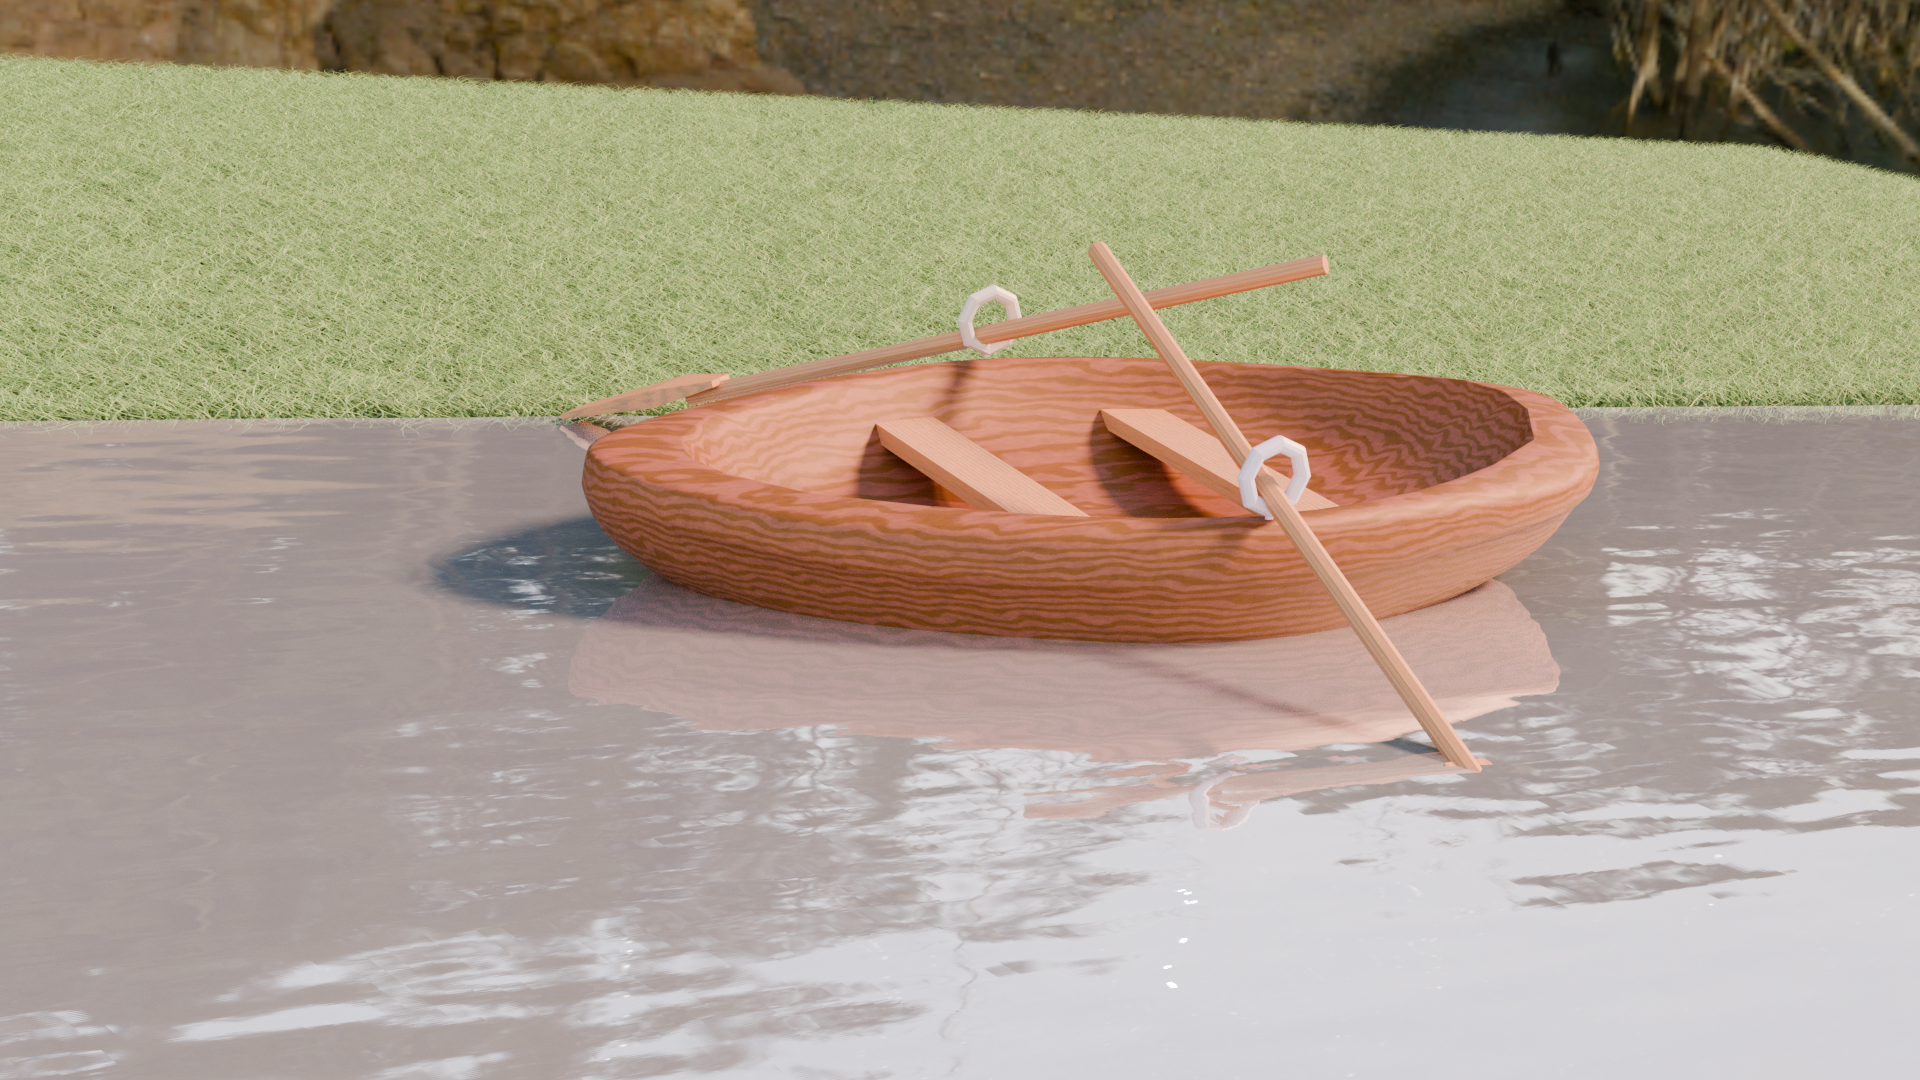
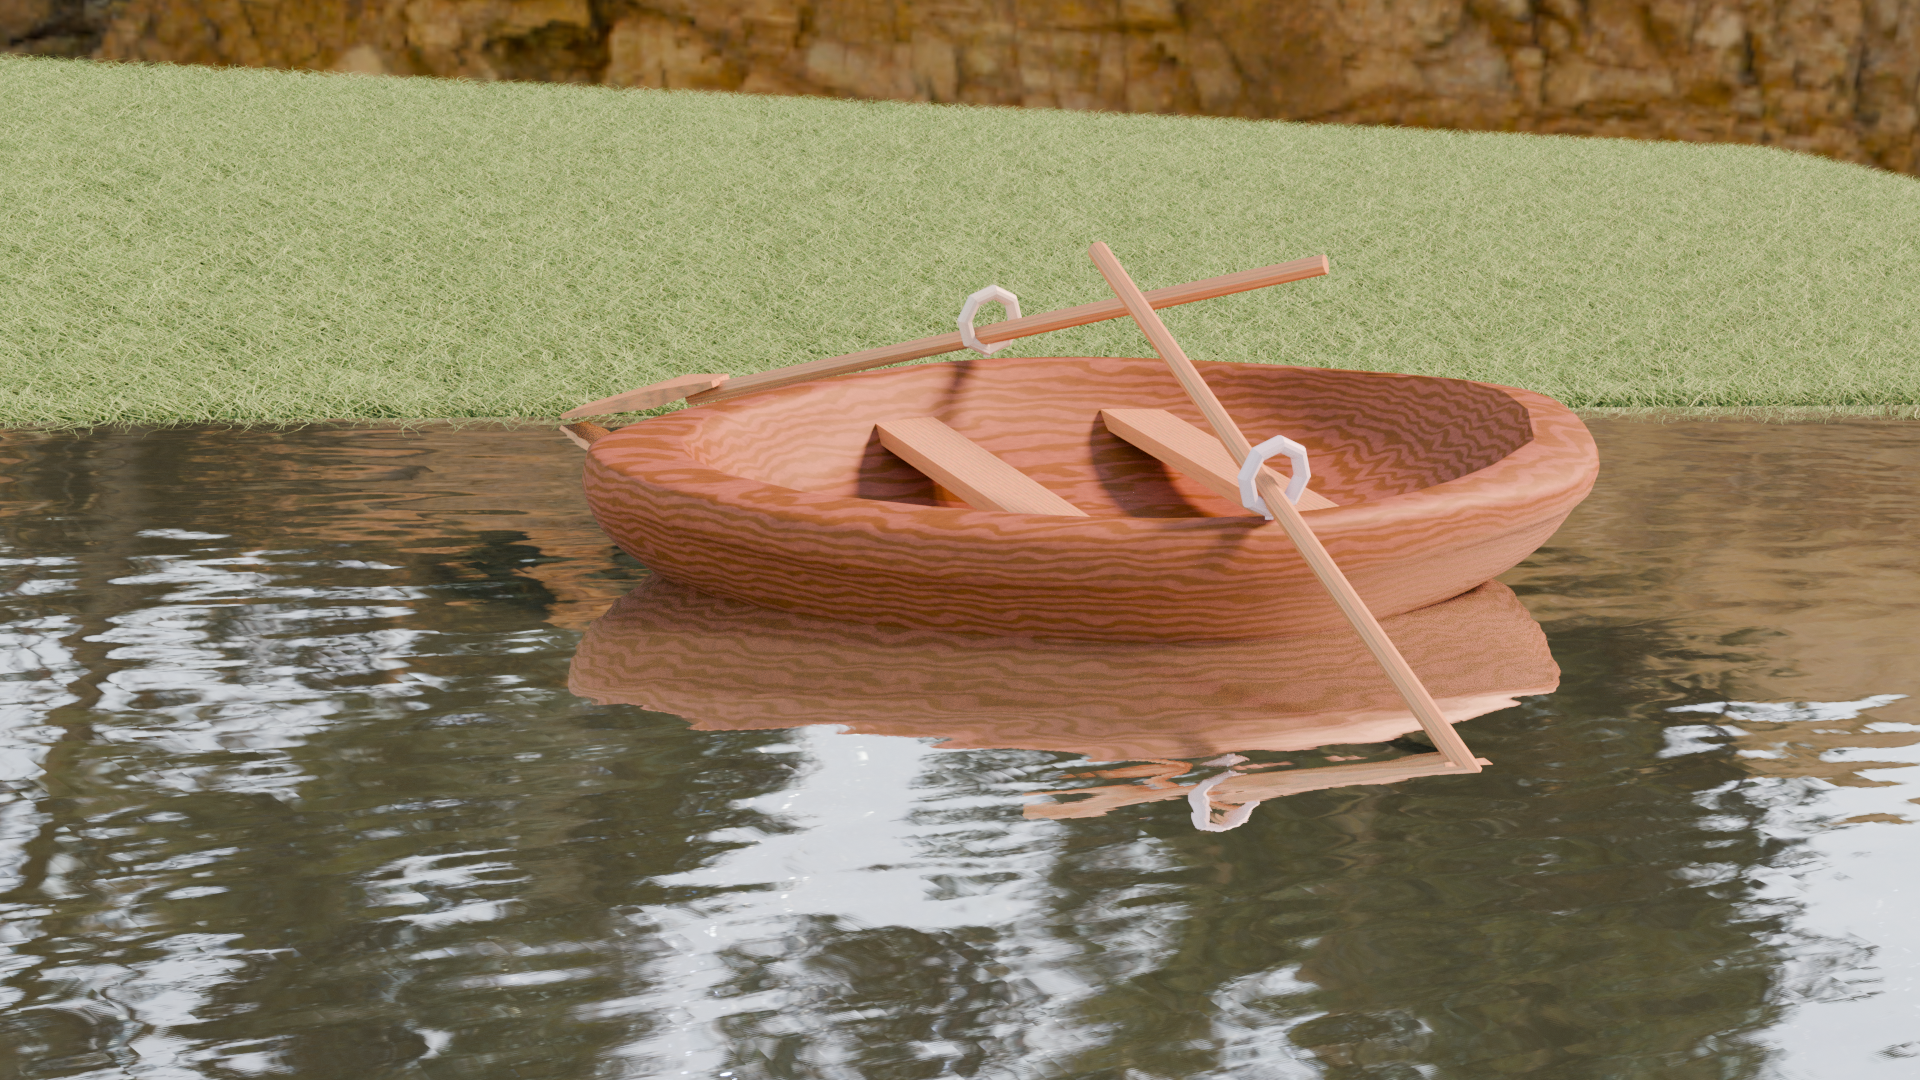
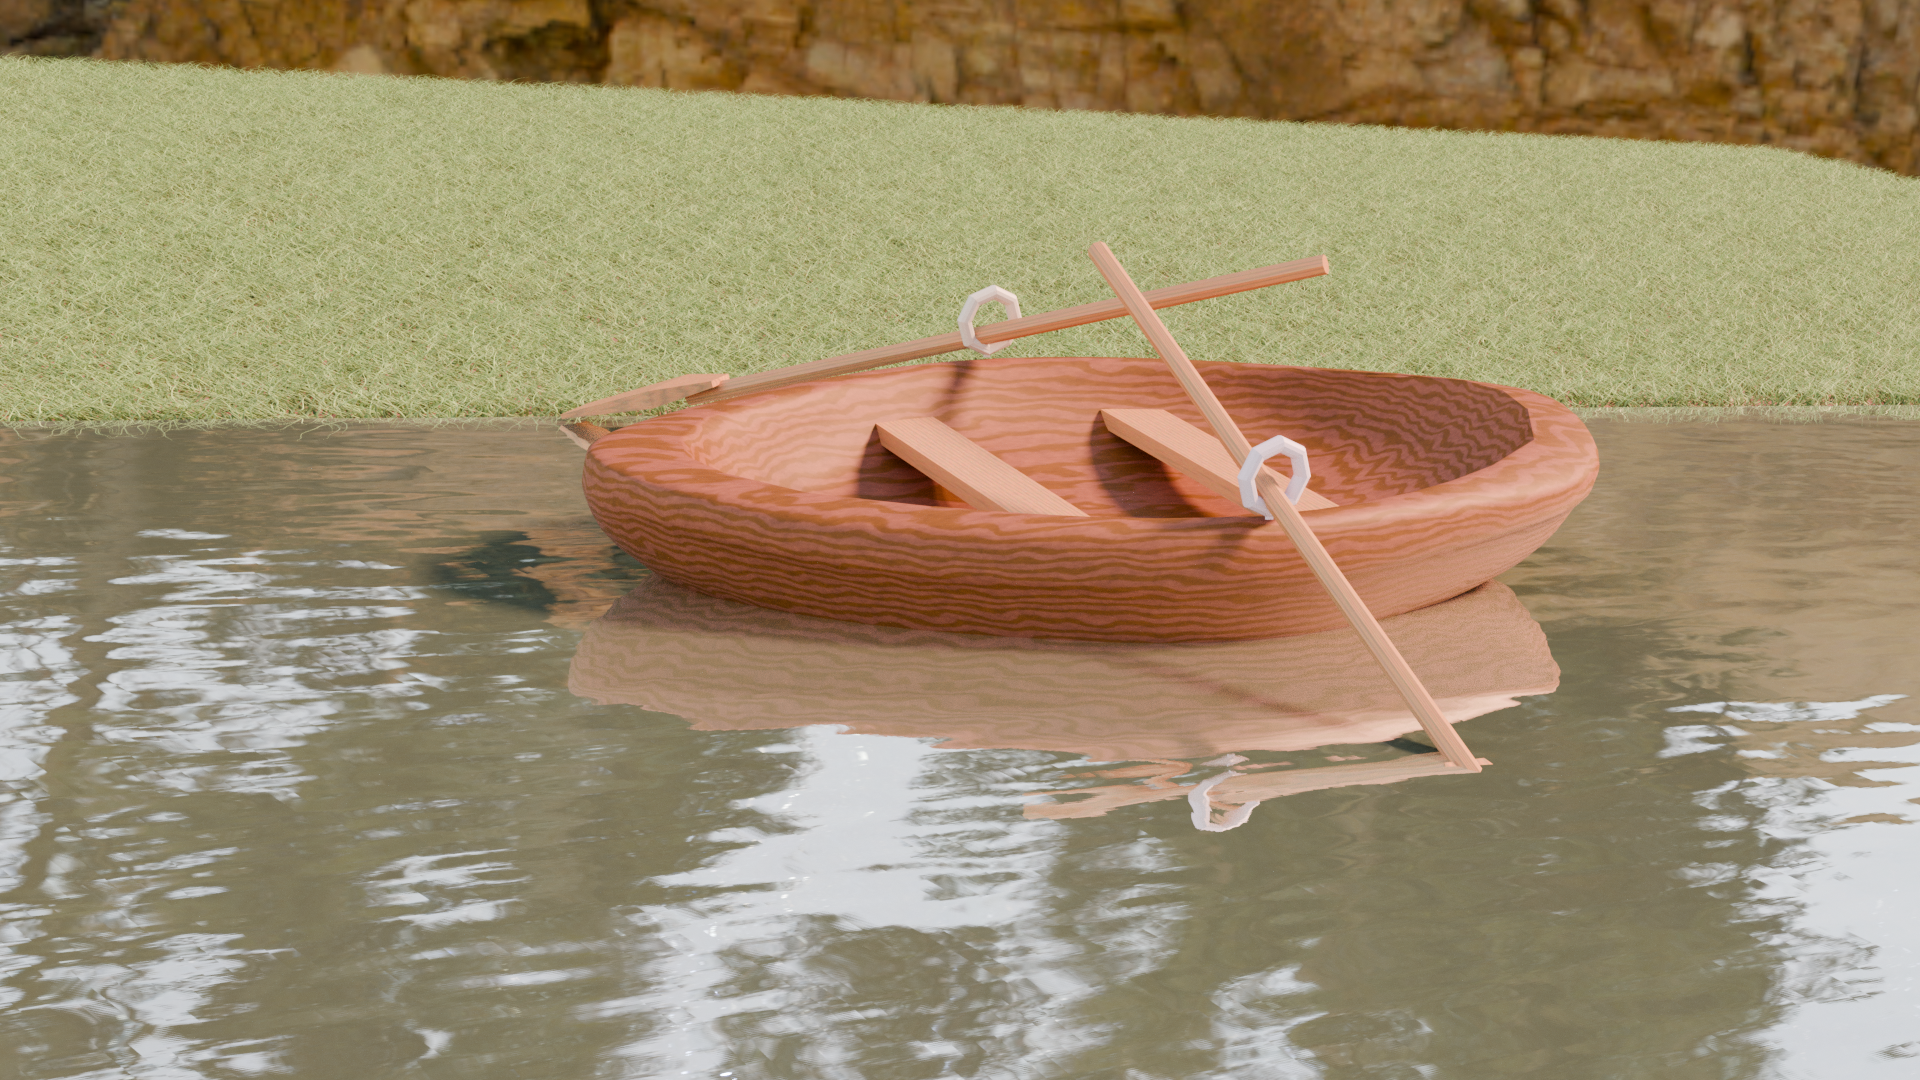
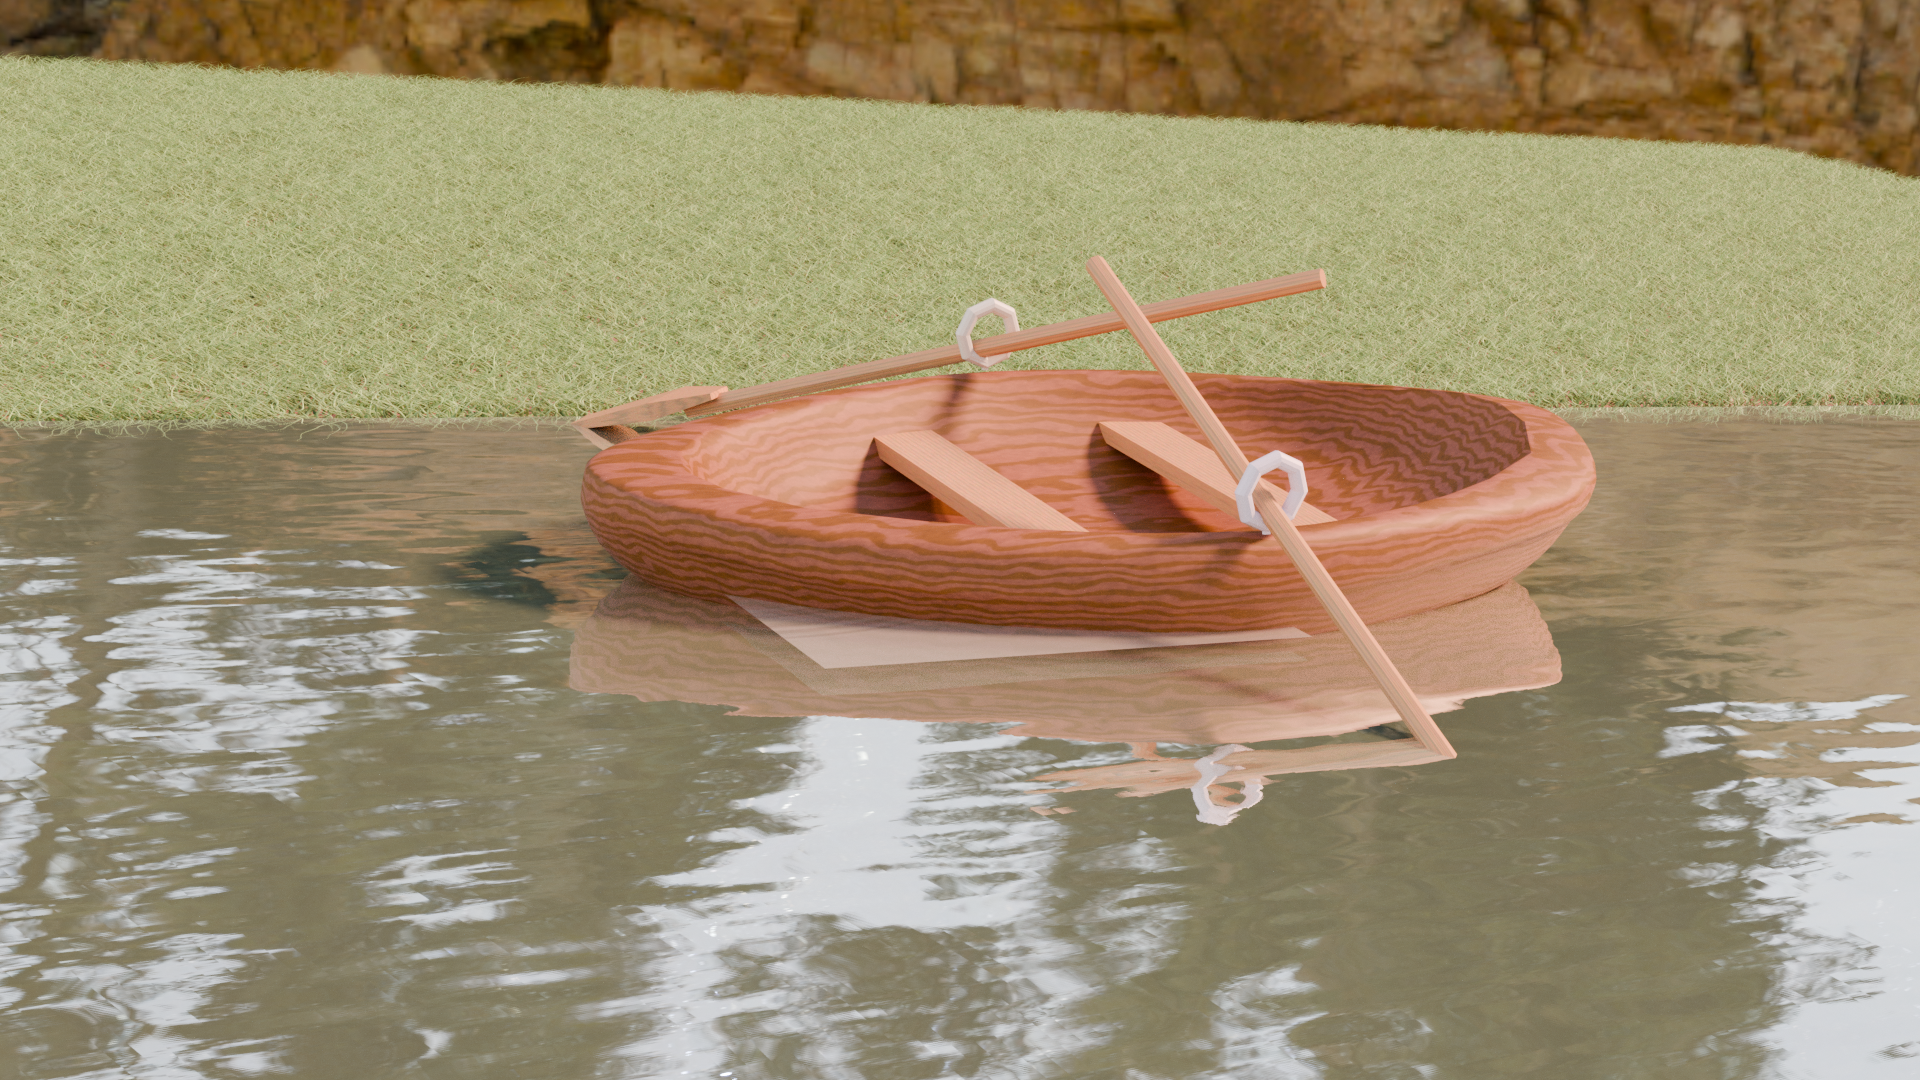
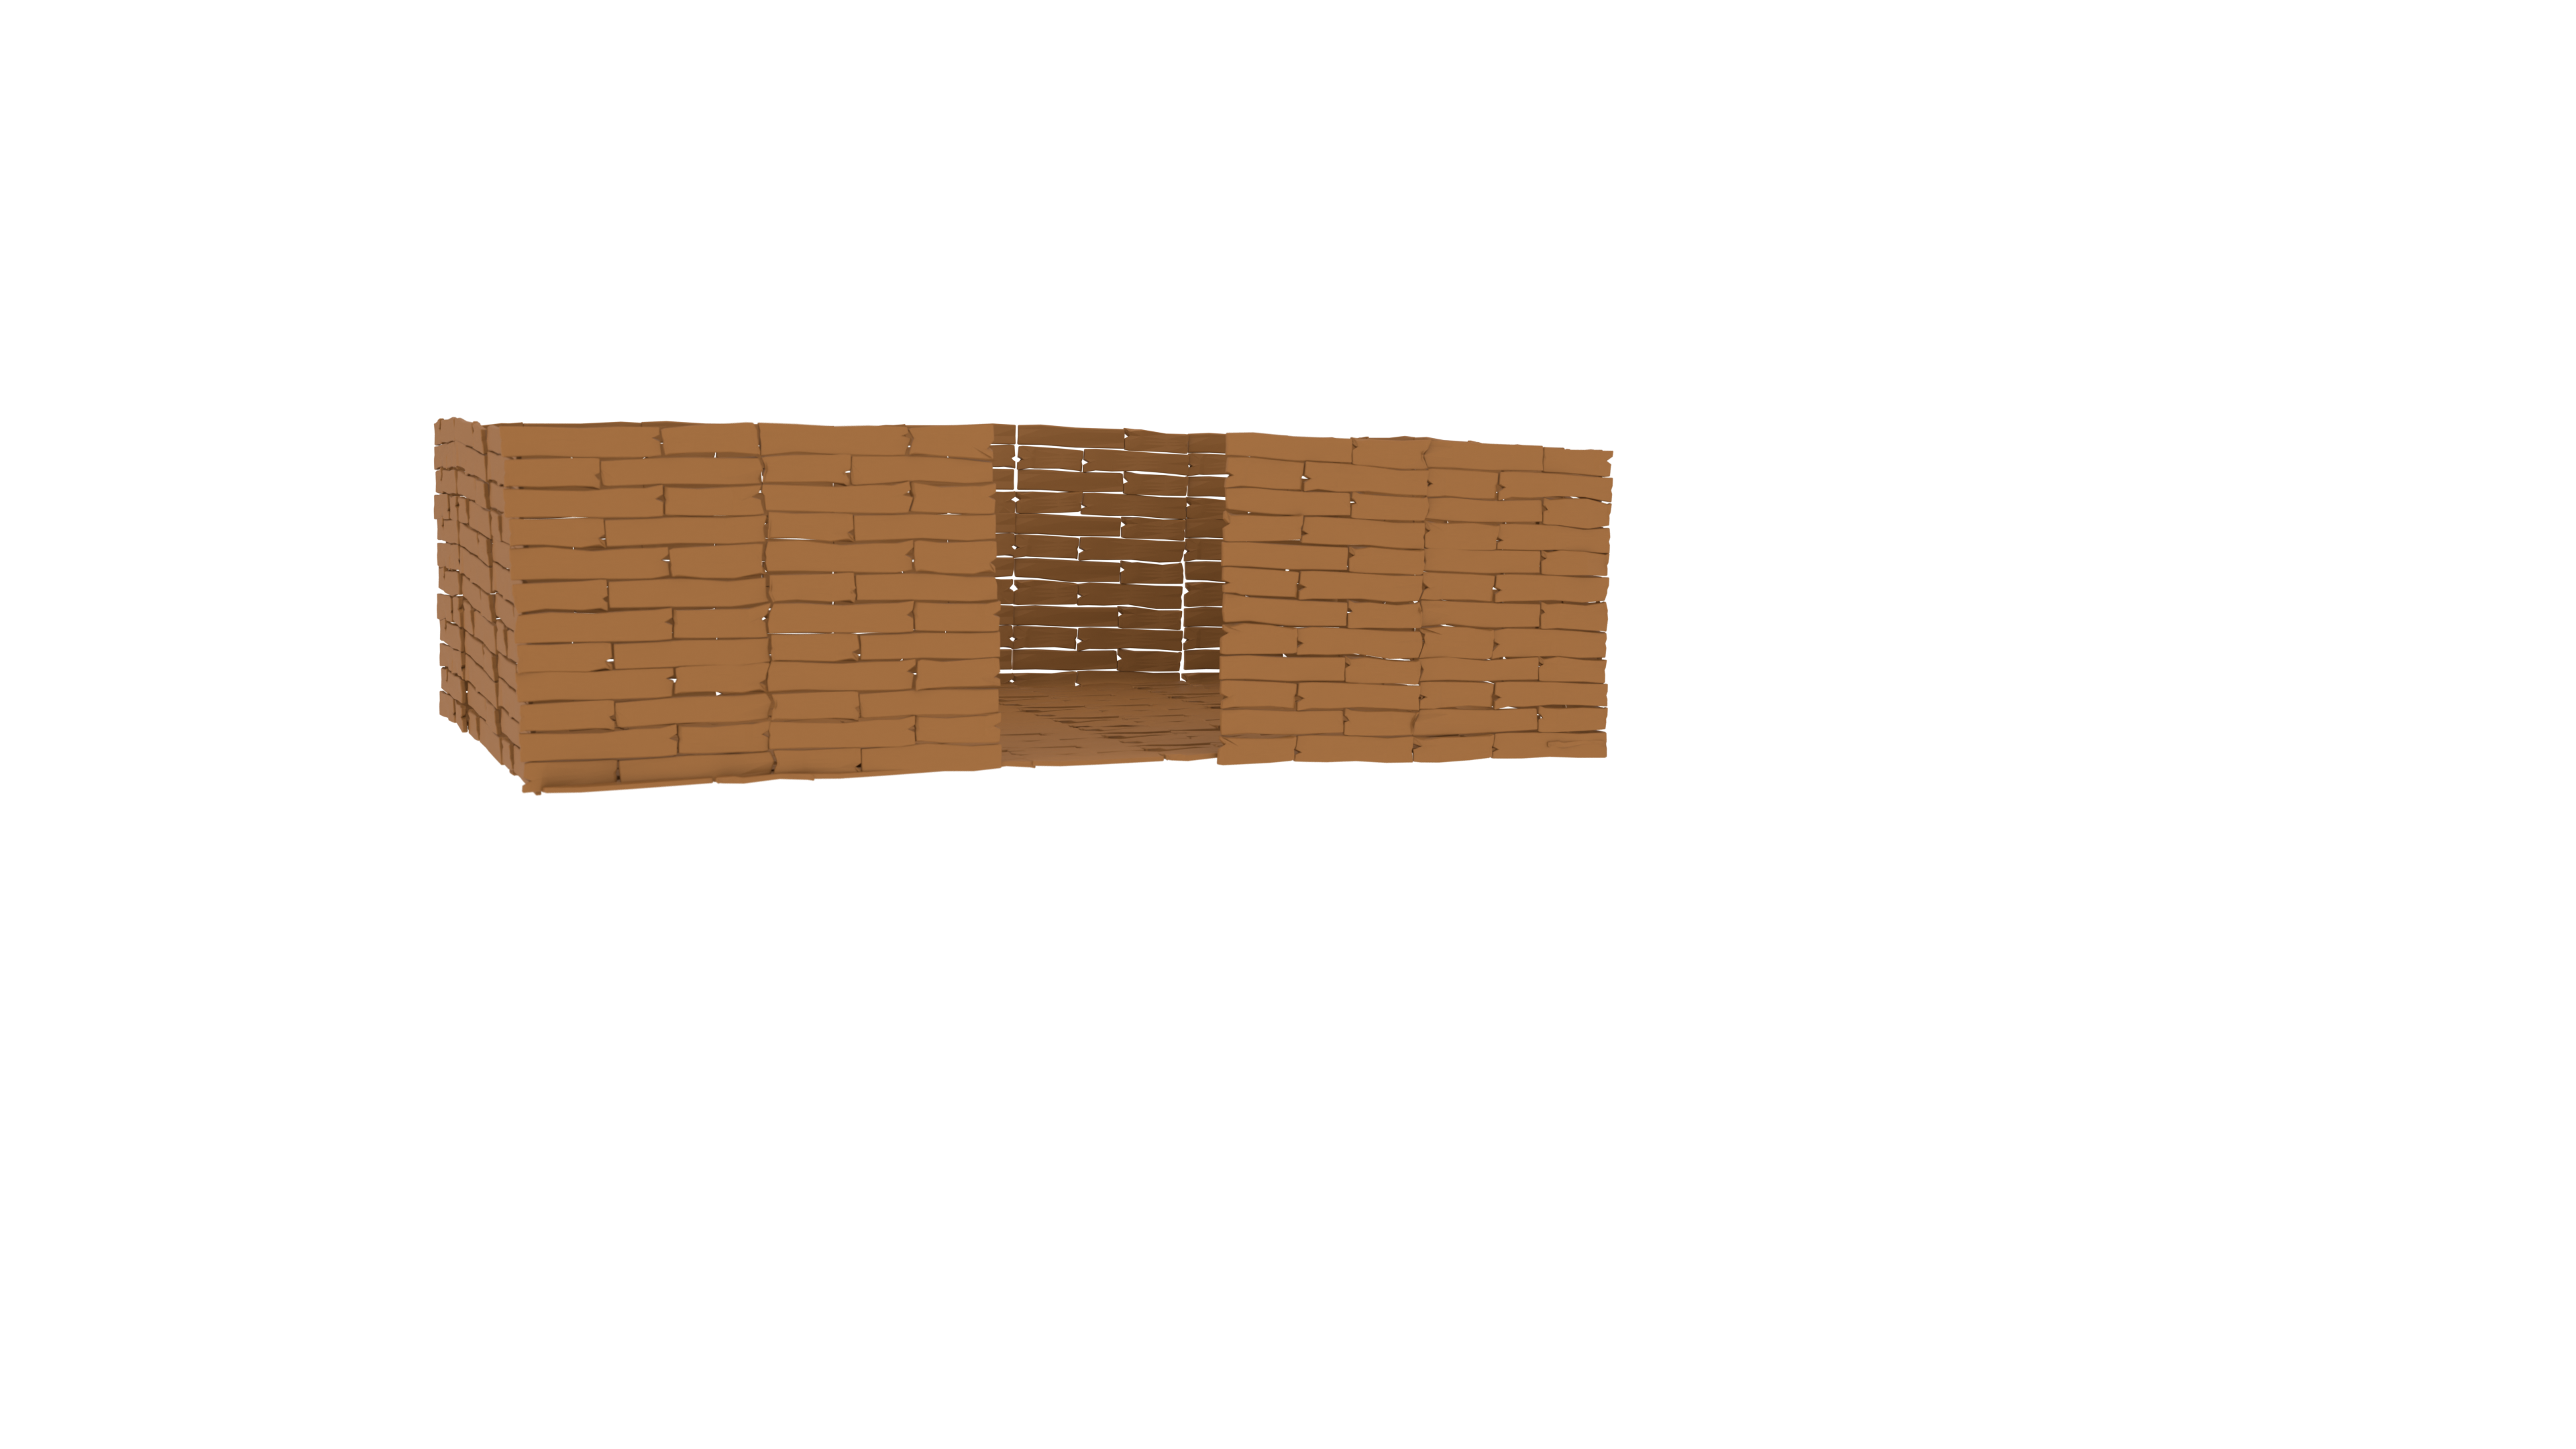
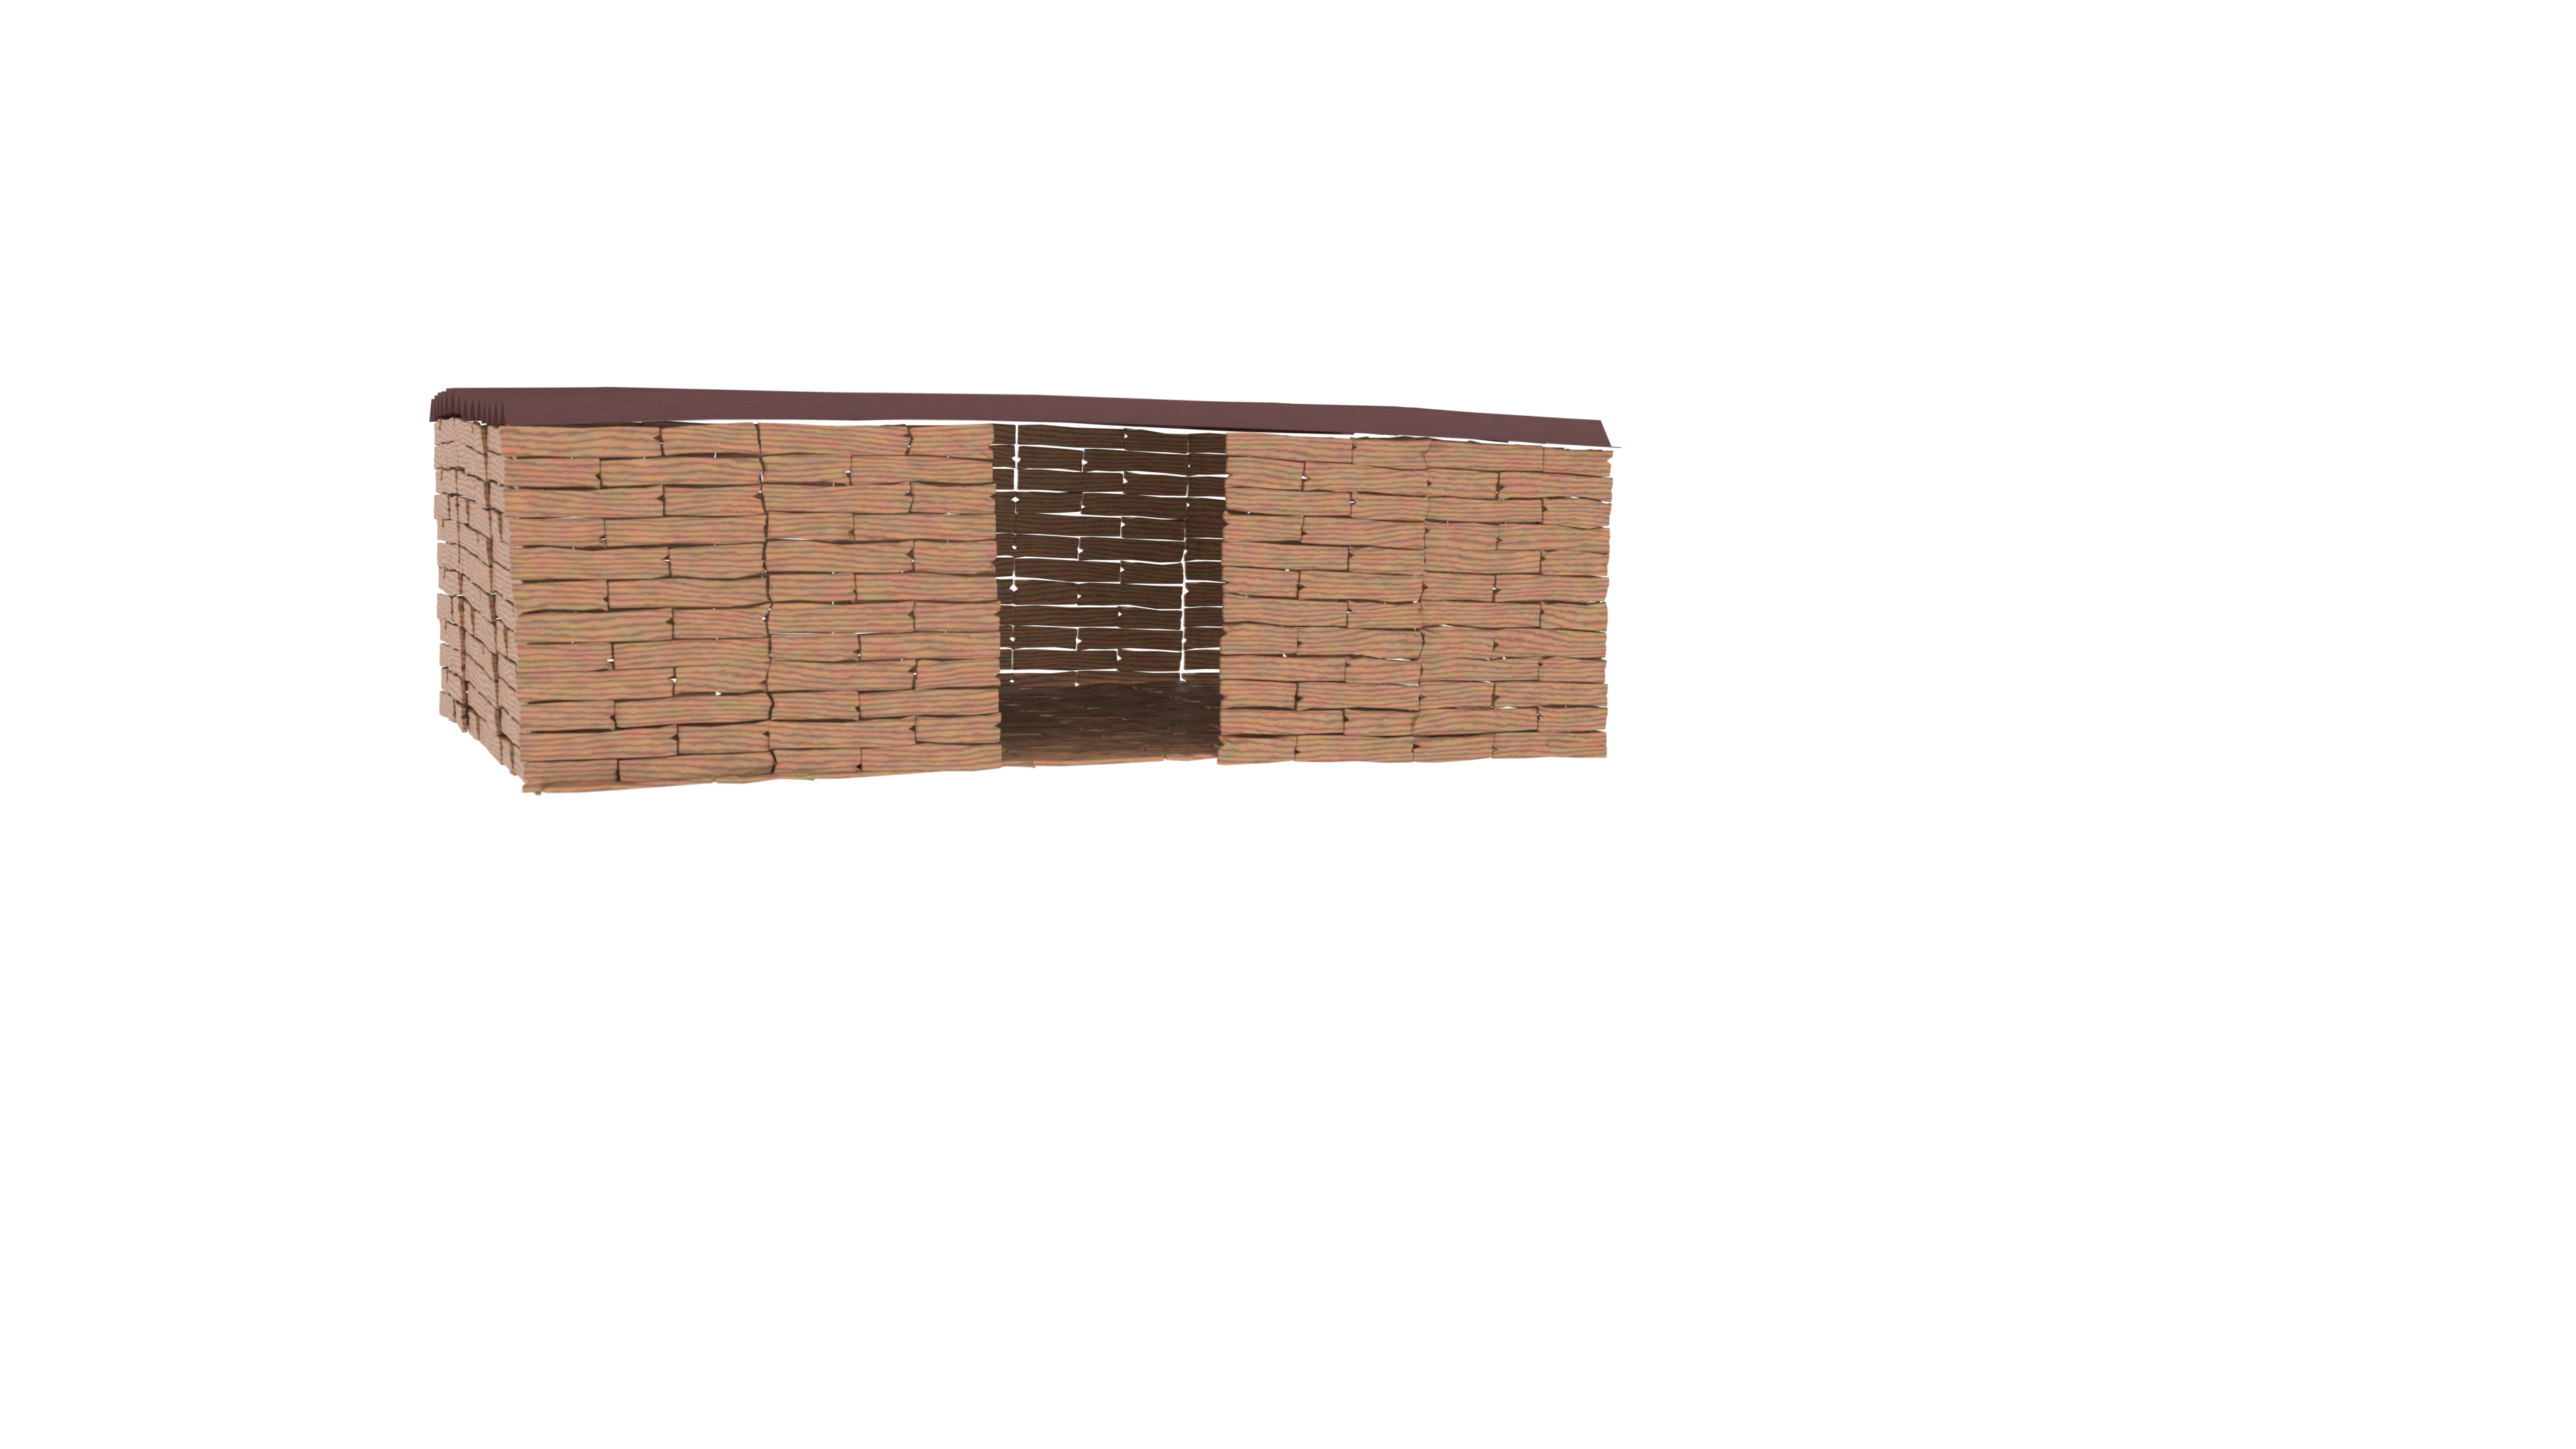
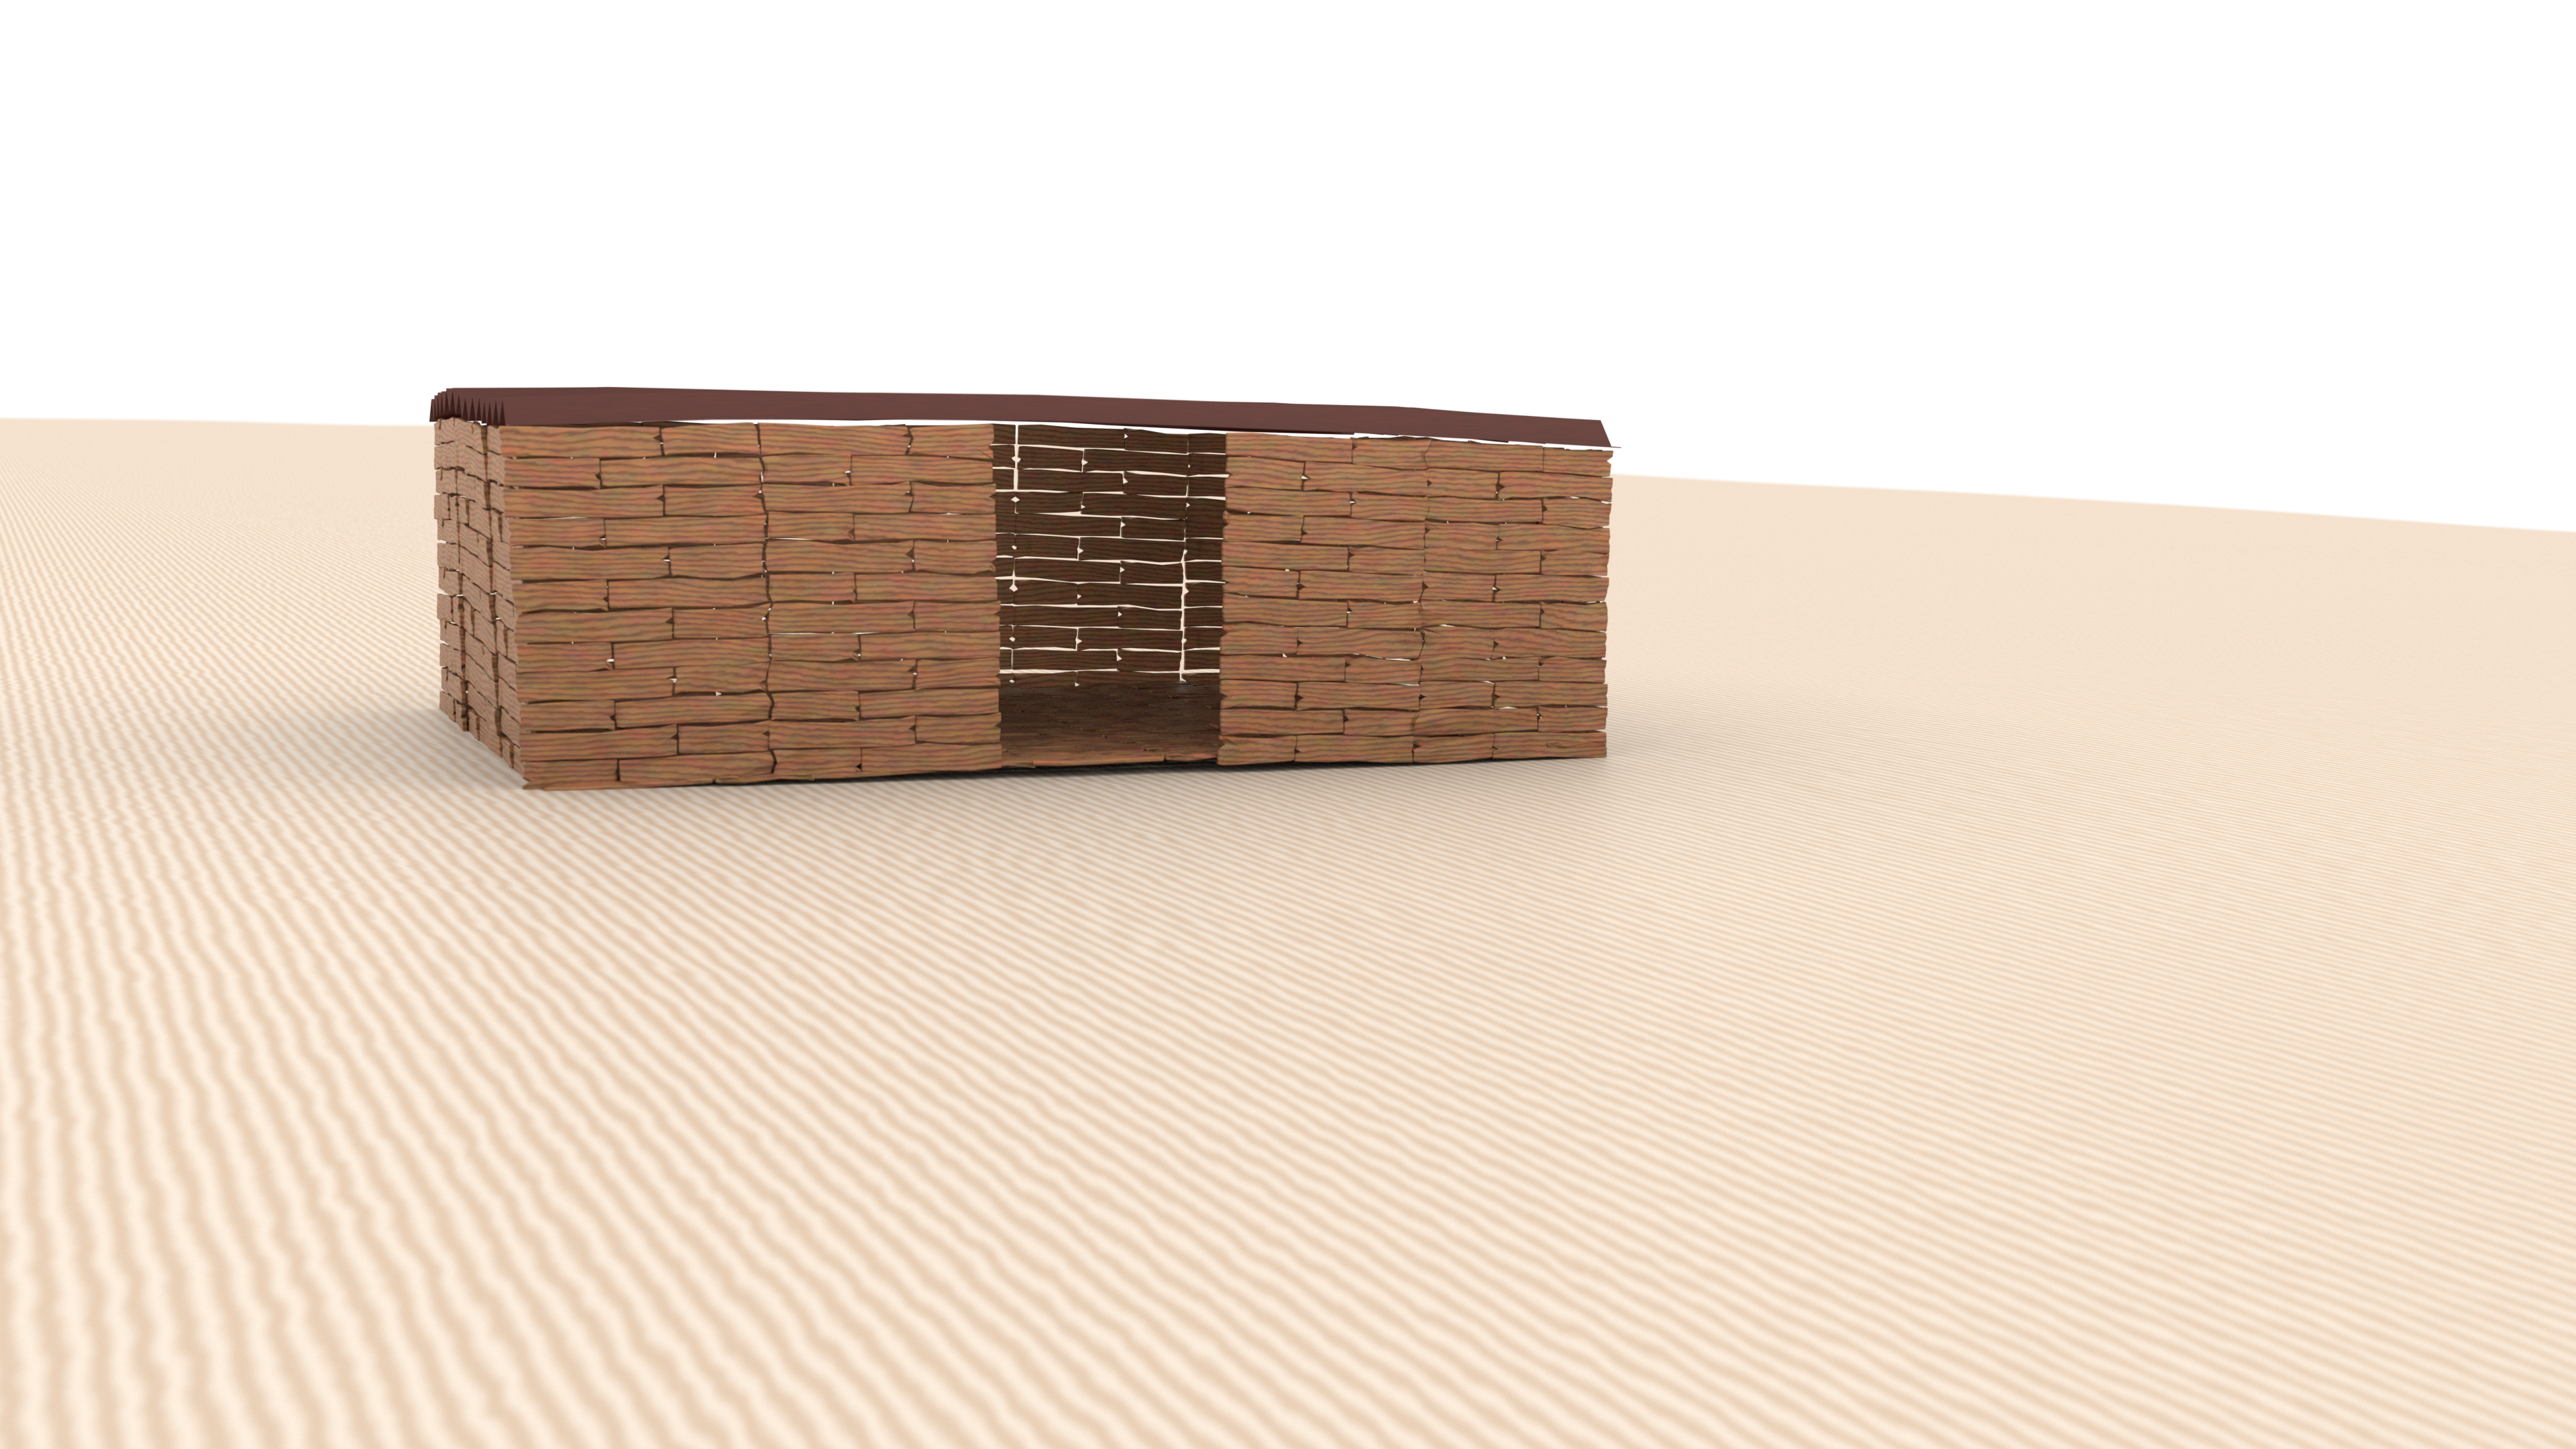
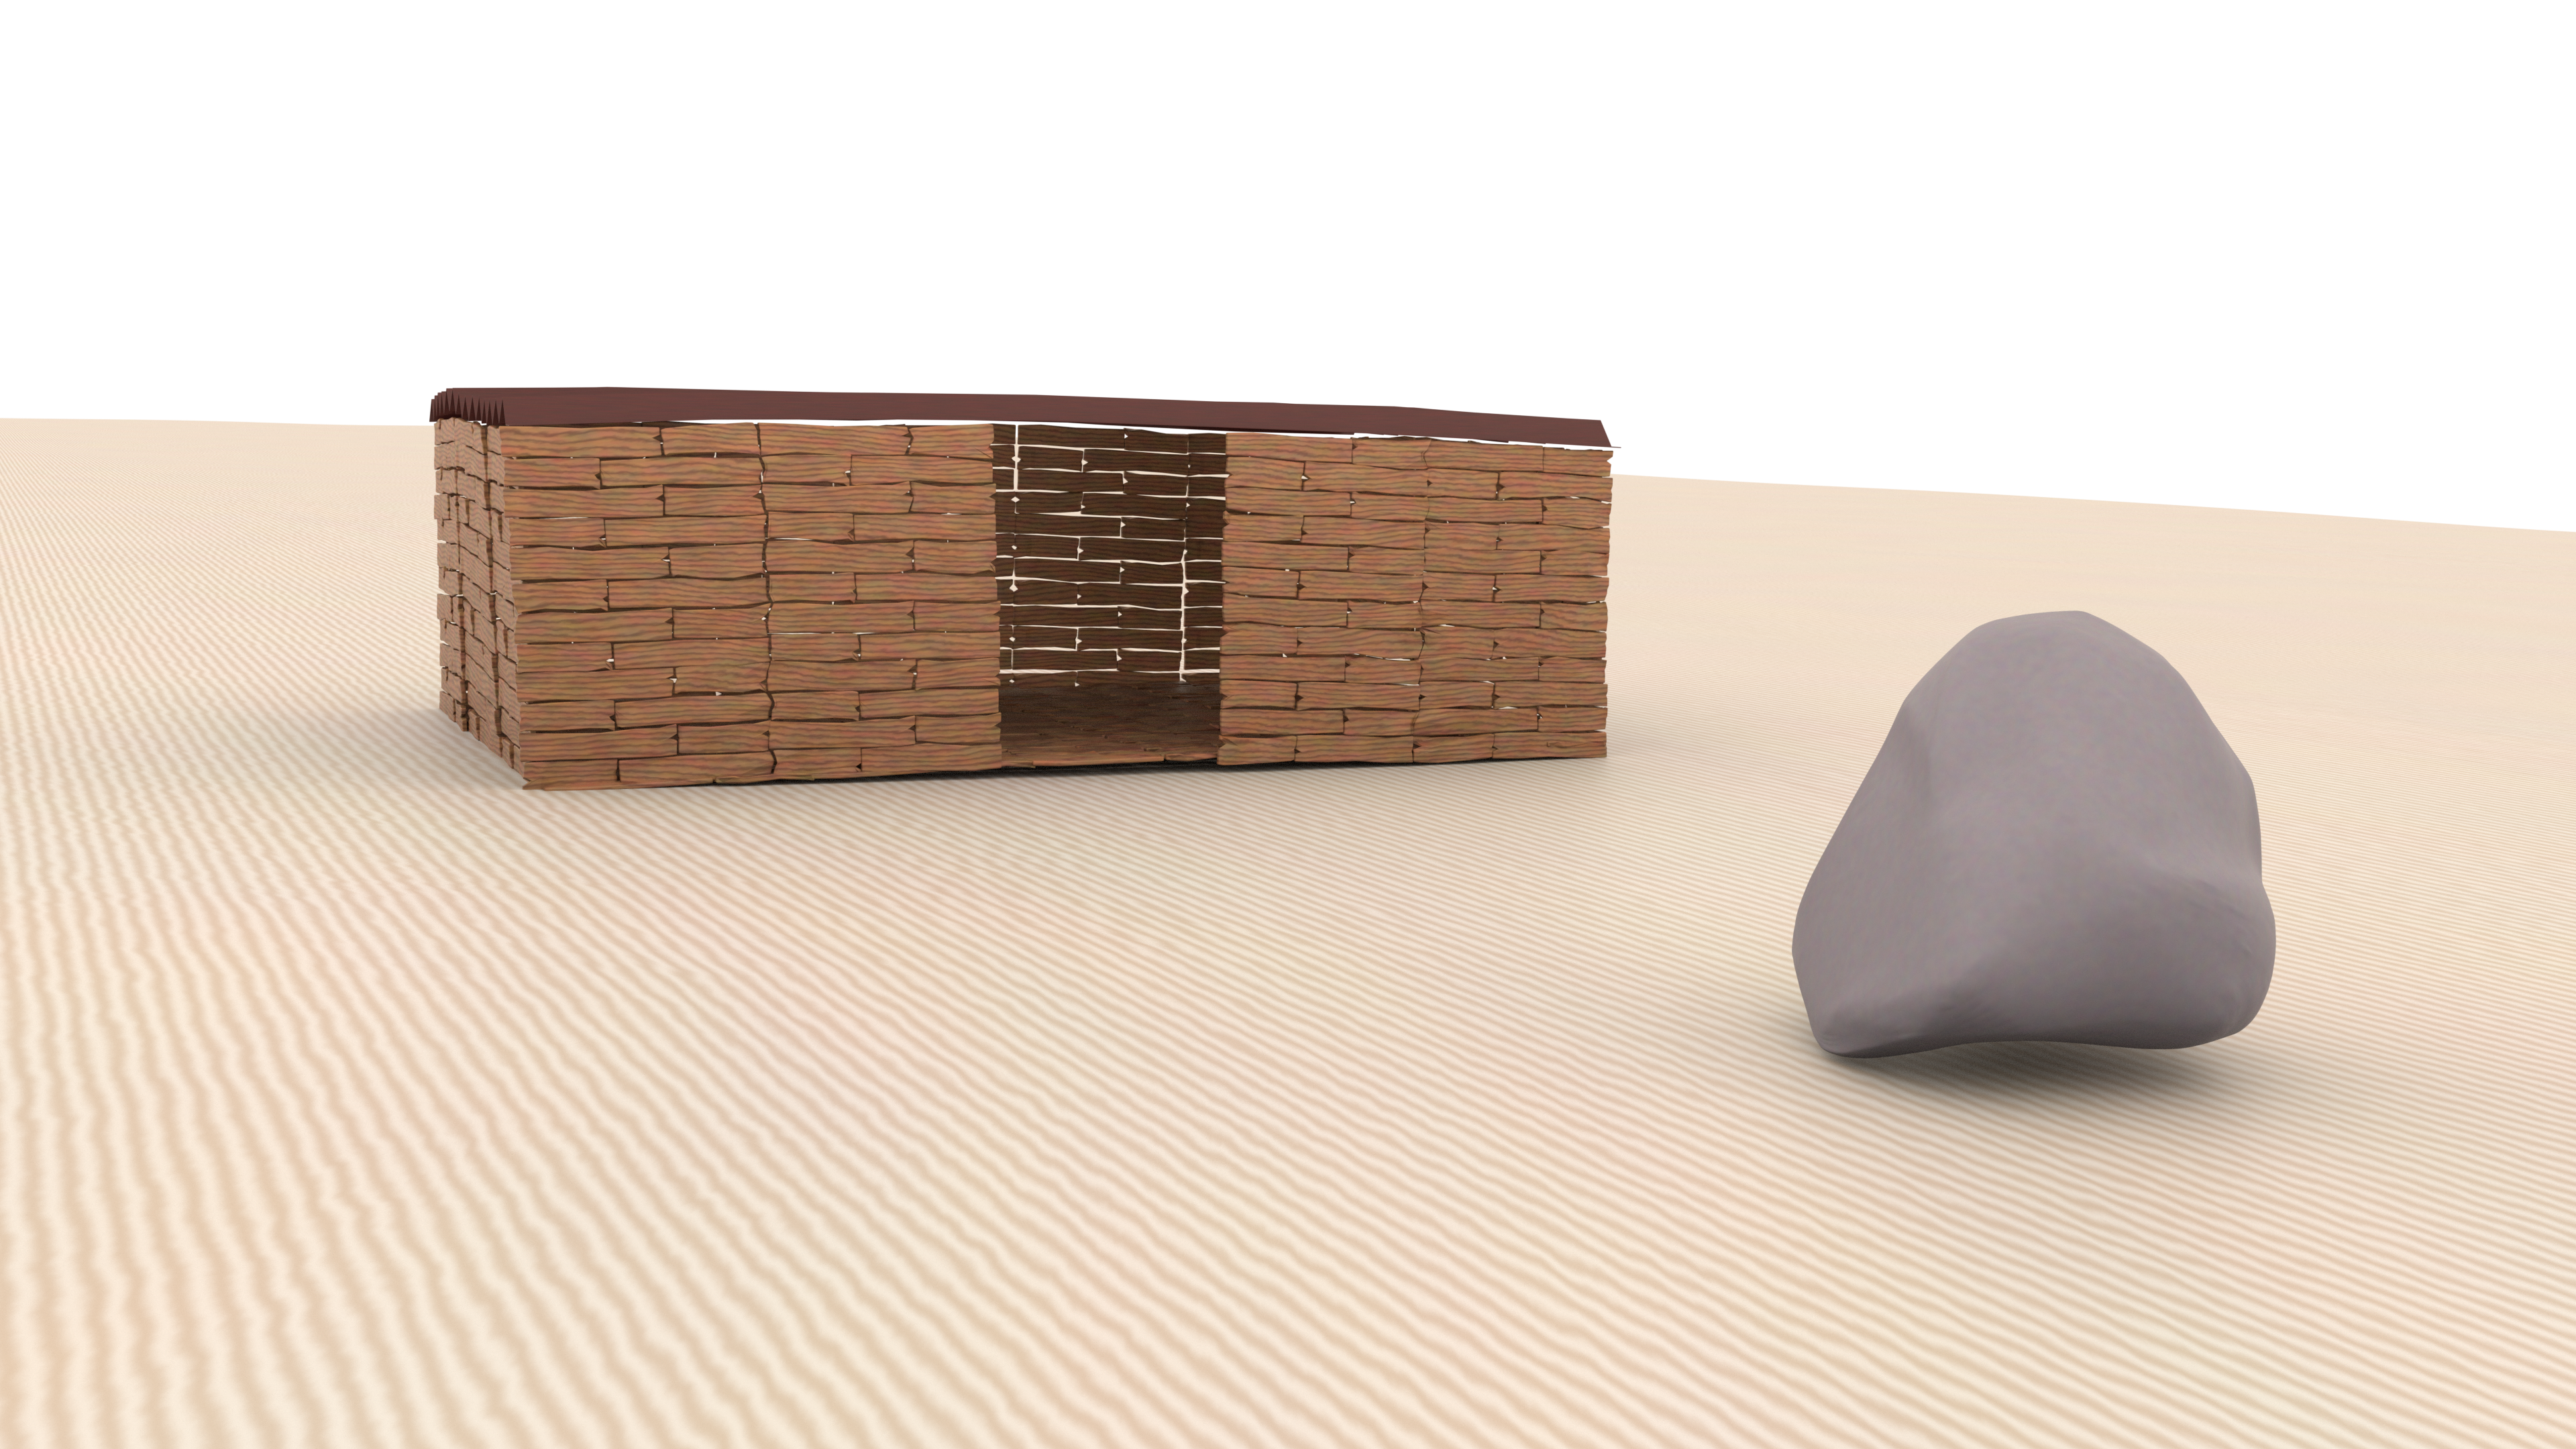
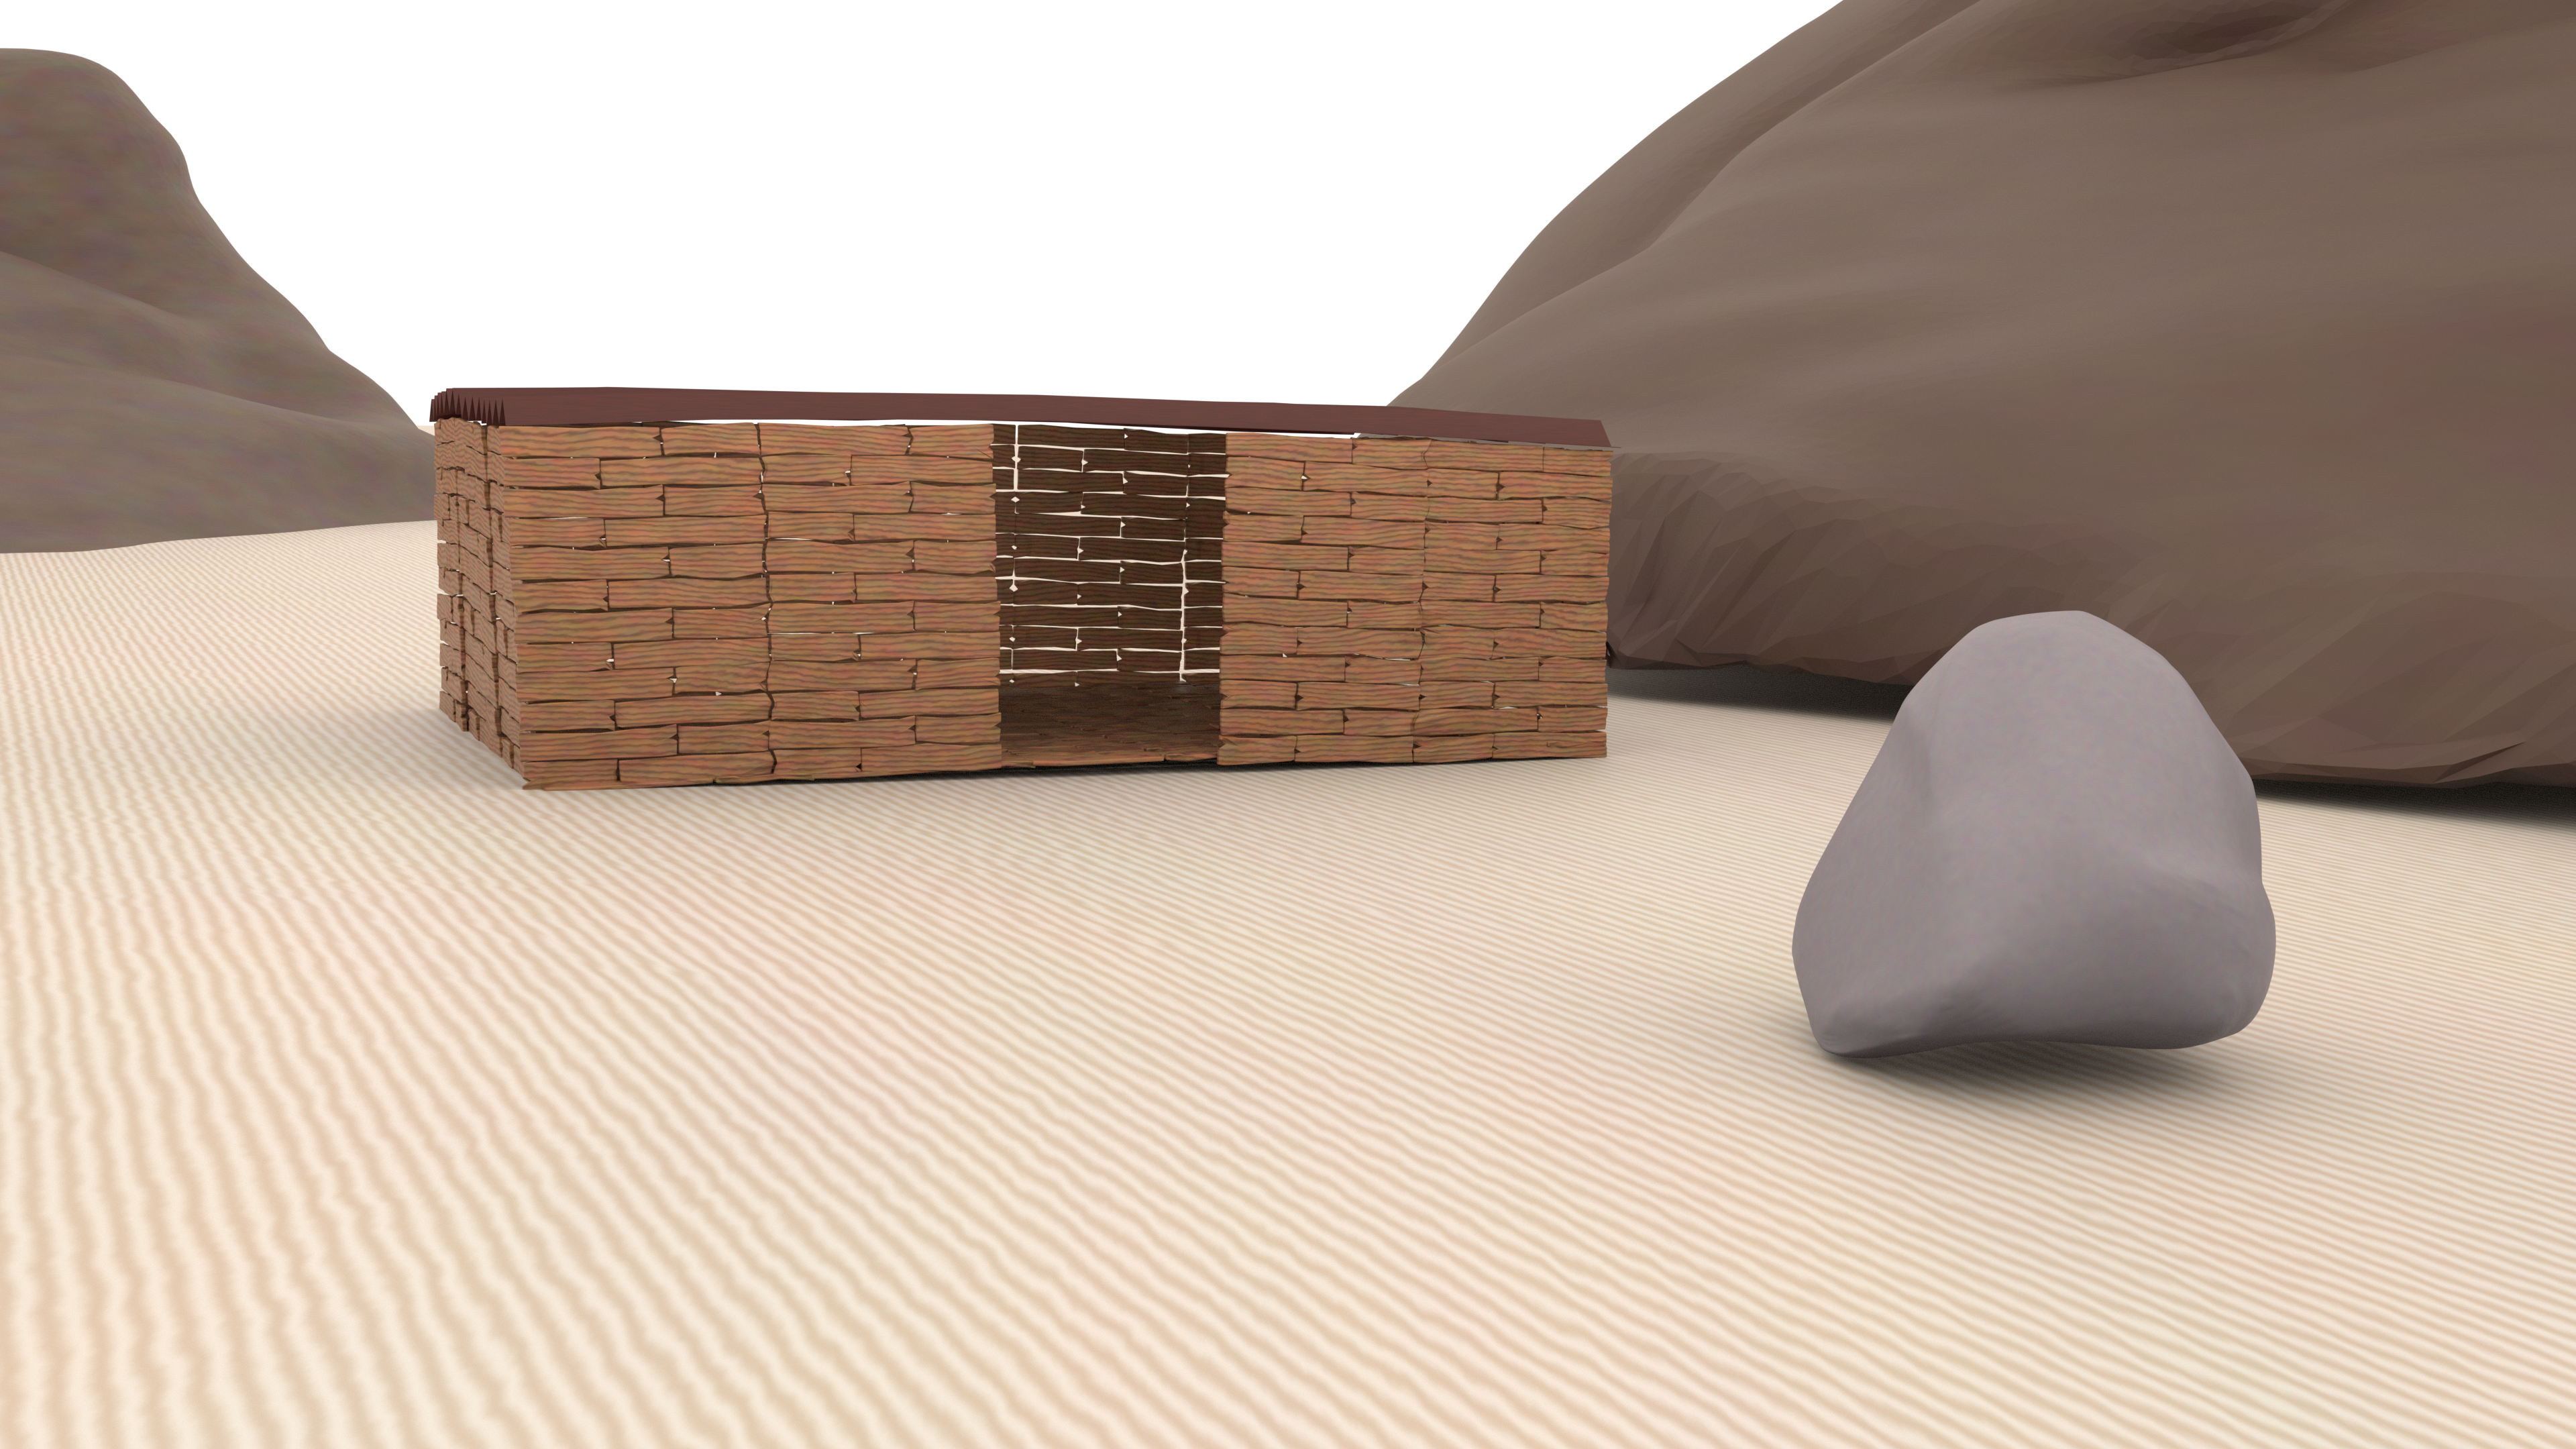
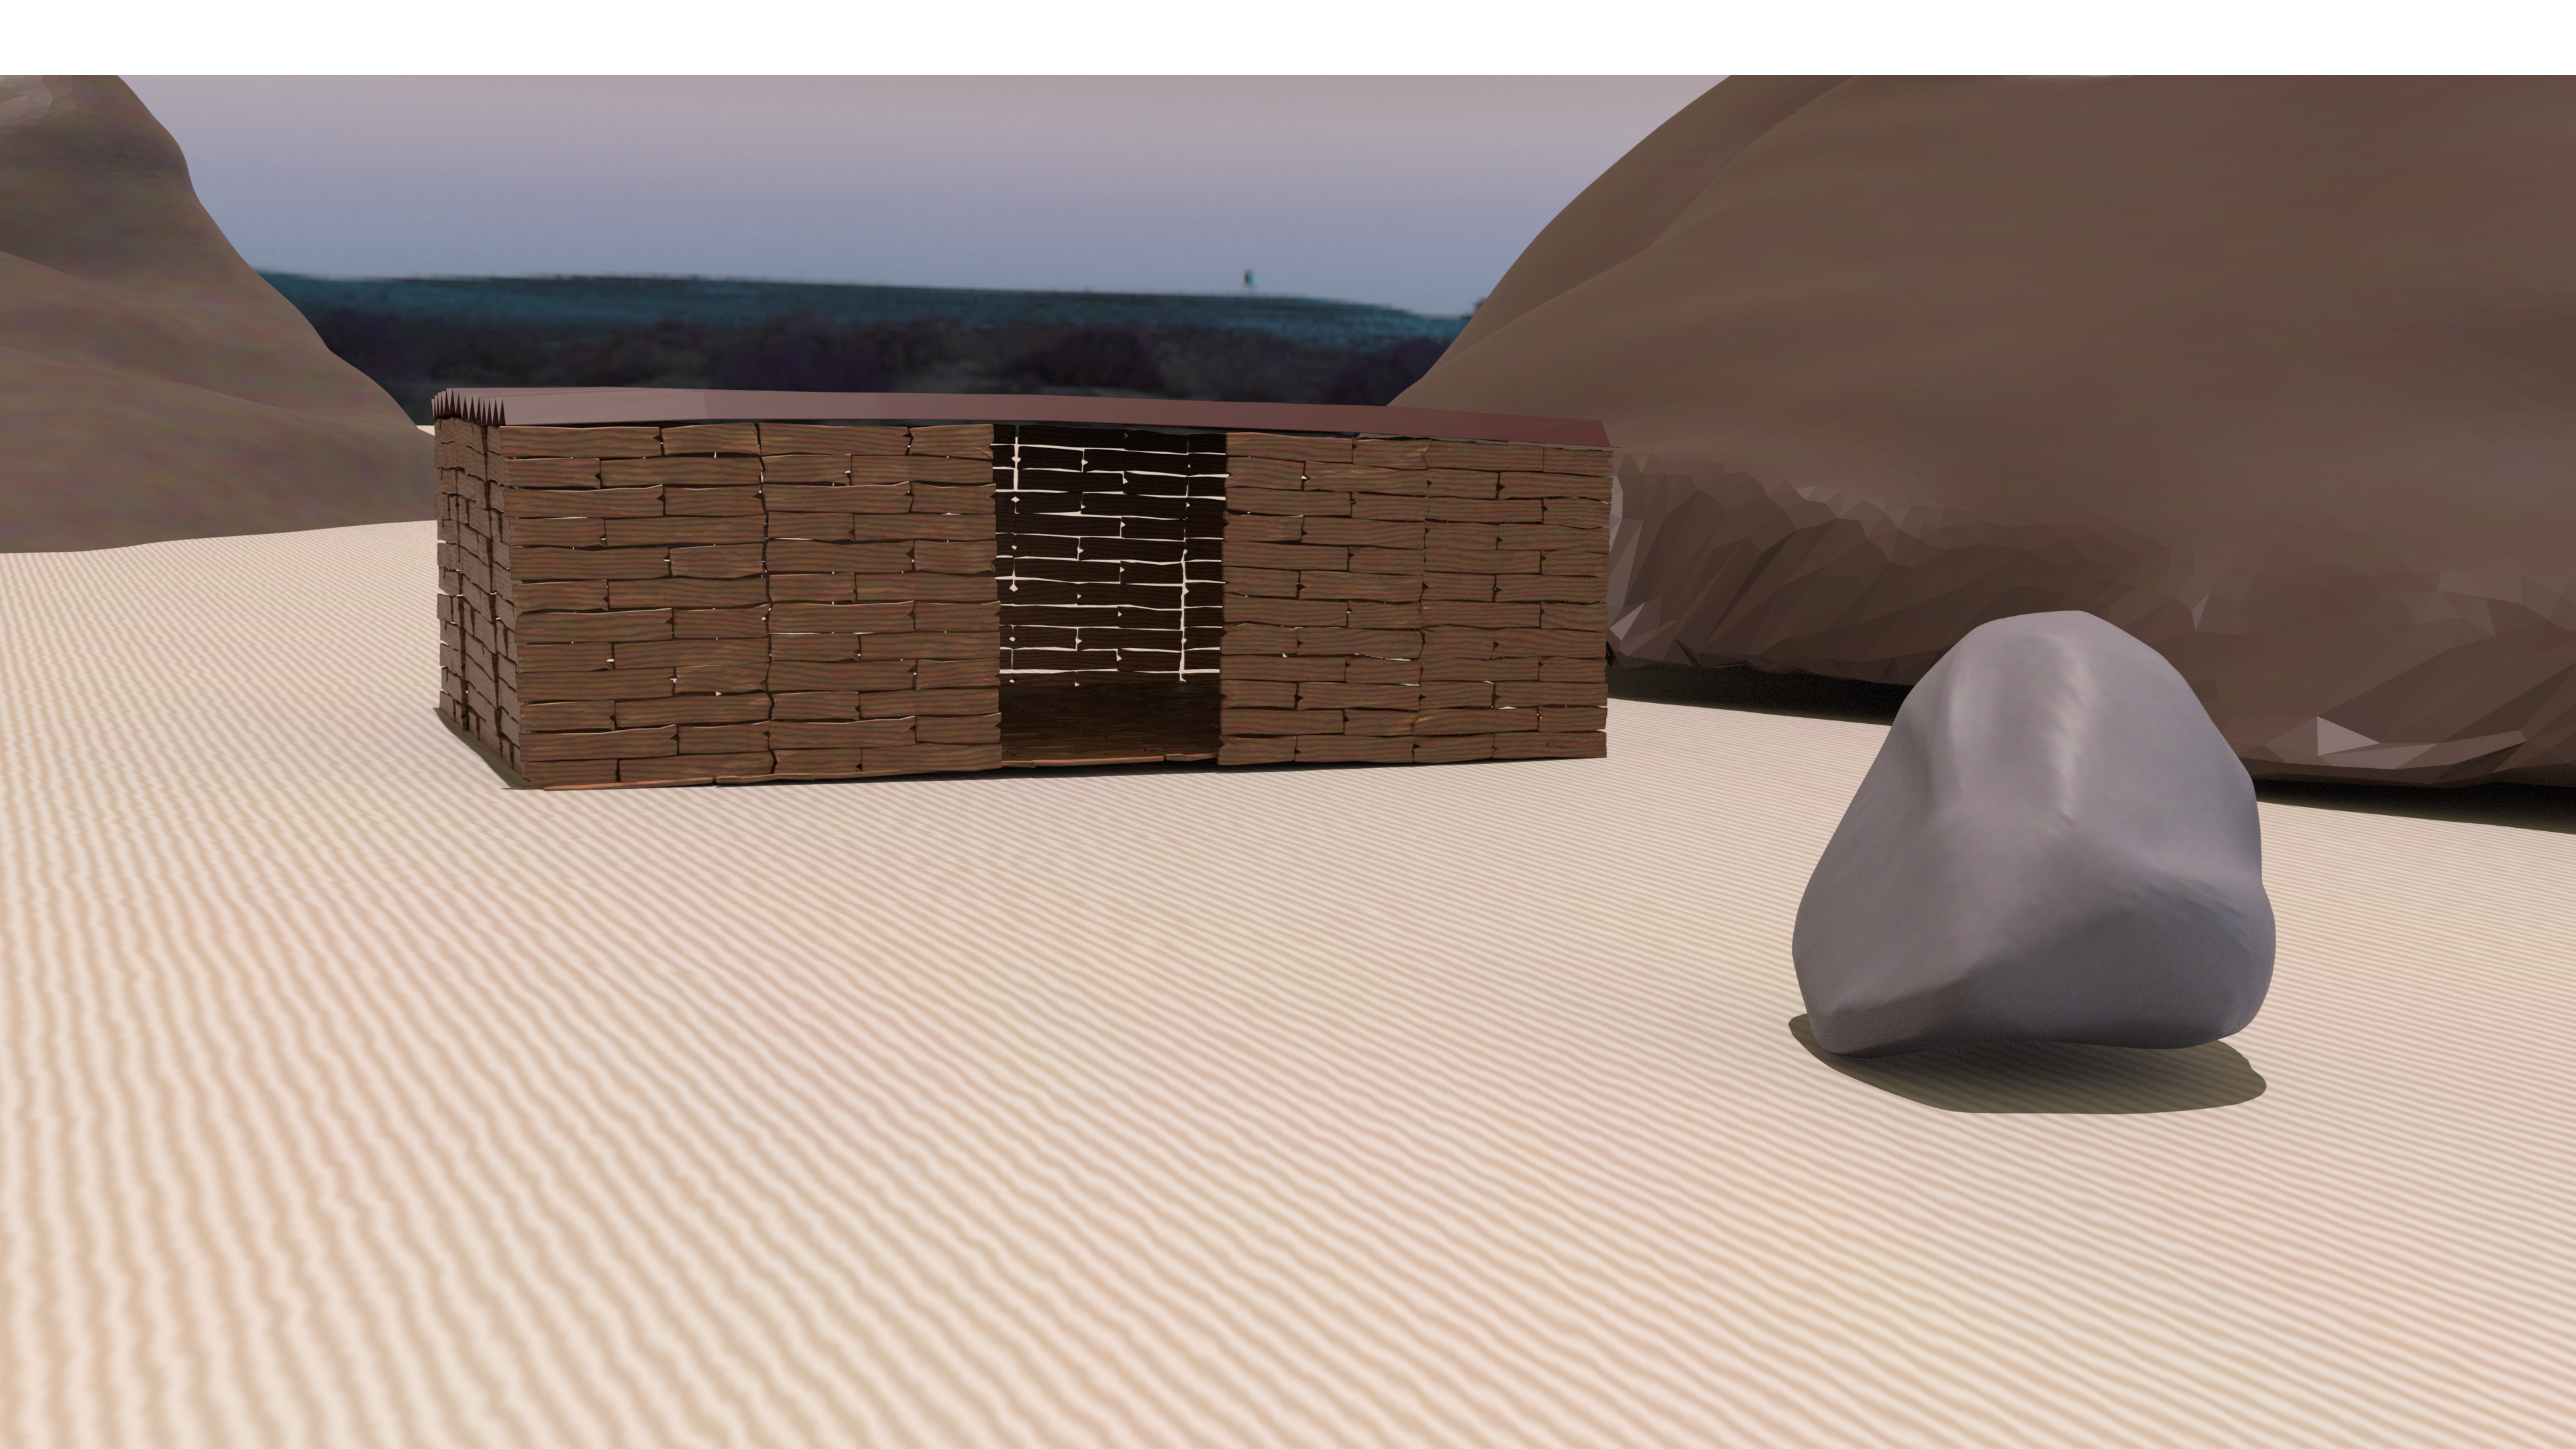
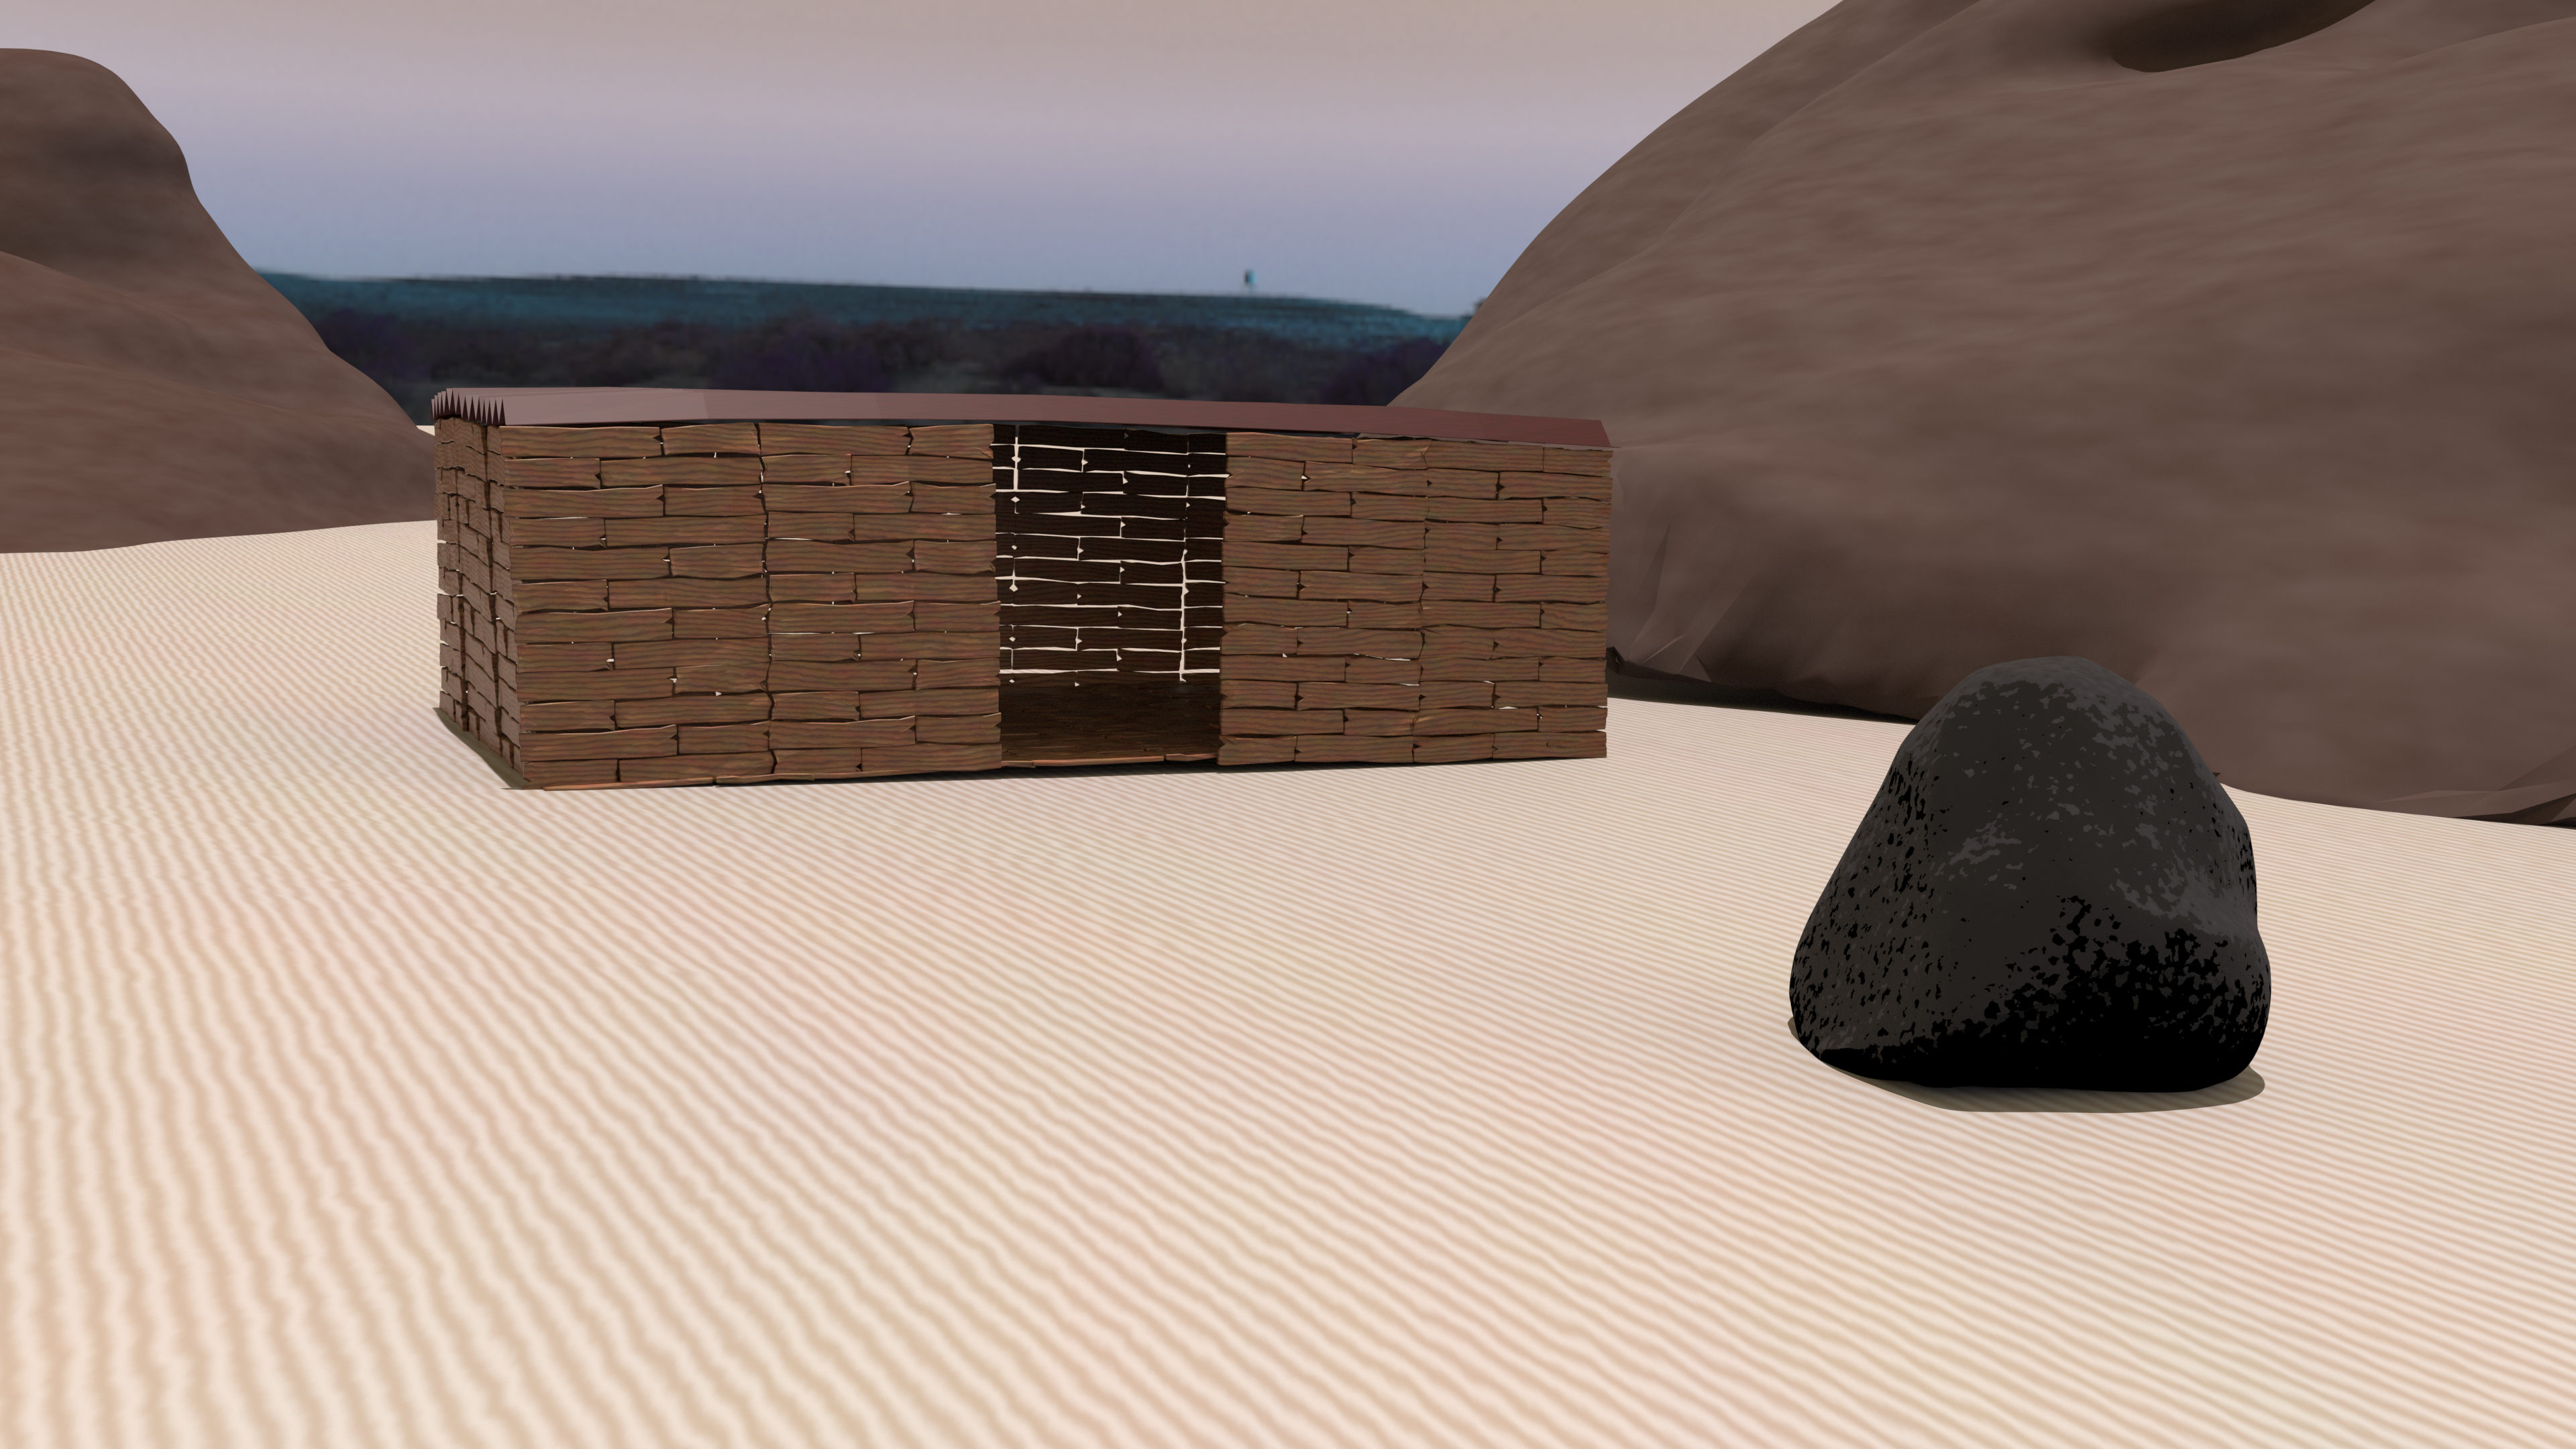
I started with a plane shape, subdividing and distorting it to vaugely resemble the shape of water. I added face and edge loops to allow for more adjustments. I set the transmission weight to 1, and the roughness to 0.1, giving it a more realistic water look. I then added a noise texture to the water shape, adjusting the scale and detail to make it look more like waves. The reflections looked too sharp and blocky, but the idea was there. I then added a bump node to the water shape, connecting it to a noise texture to give it more detail. I added a cloud texture to the water shape, adjusting the scale and detail to make it look more like waves. I adjusted the strength of the texture to match the desired look. I added a color ramp and volume scatter node to the water shape, adjusting the density and color to make it look more like water. I then added a base plane to resemble the ground, giving the water a more realistic look. I added an image texture to the ground plane, using pebbles to give it a more realistic look. I used texture coordinates to adjust the scale and position of the texture. I started with a cube shape, extruding and scaling it while adding loop cuts to create the basic shape. I cut out half of the shape and added a mirror modifier to make it symmetrical. I then selected the bottom faces and extruded them down to create the bottom of the boat. I added a subdivision surface modifier to smooth out the shape, and then added a solidify modifier to give it some thickness. I then added a bevel modifier to smooth out the edges. I used a cylinder and cube shape to creat the paddle, utilizing loop cuts and extrusions to shape it. I then added a torus shape to create the paddle holder, reducing the number of vertices to make it more circular. I tried to make wood textures for the boat by adding a wave texture, but I was not able to get it to look realistic. I worked on the wave texture to make it look more like wood, adjusting the scale and detail to make it look more uneven and natural. I added wave textures to the paddles, adjusting the scale and detail to make it subtle and natural. I added the water I previously made to the scene, positioning it underneath the boat. I continued to play around with the transmission and roughness values to see how it'd affect the look of the water. I played around with the pebble base plane, adjusting the scale and position to see how it'd interaction with the water. I also adjusted the color ramps of the boat and paddles, attempting to make them look more vibrant I added more vibrant lighting to the scene, adjusting the strength and color of the lights to make the shadows and reflections pop more. I adjust the verticies of the water shape slightly to give a more organic shape, making sure the reflections still looked good. I changed the hdri image to a more vibrant one, using mapping coordinates to adjust the rotation and position of the image. I also used a couple colour ramps to make the water reflections more vibrant and interesting. I added a couple more lights to the scene, adjusting their strength and position to make the reflections and shadows more dynamic. I realised the noise added kind of a rainbow effect, so I turned it down to make it more subtle. I also added a grassy plane in the background, to make the scene more complete. For the grass I used a particle system set to hair, adjusting the length and density. The colors of the grass were too vibrant, so I added a couple colour ramps and a mixer node to make the colours more dynamic and natural. I put emphasis on making sure the strands of grass popped and didn't blend in too much. I thought the water was looking too purple, so I adjusted the base colour and volume scatter node to be brighter and less saturated. However, this ended up looking too bright and unnatural. I found a good balance where I was able to make the water colour more neutral, while still keeping the reflections and shadows vibrant. I used the texture coordinates to adjust the hdri image to cast different shadows and reflections, making the scene appear more dynamic. I thought the boat blended in too much with the water, so I adjusted the colour ramps of the water to be brighter, in order to serve as a contrast to the boat. I thought the boat didn't really look like it was in the water, so I submerged it slightly more into the water. I tried to create a ripple effect using a plane shape with a texture, but I wasn't able to get it to look right. To make the base of the shack, I started with a cube shape and scaled it out to create a rectangular shape. I then added a bunch of loop cuts to the shape and made slight adjustments to the edges to create an organic shape. I added a subdivision surface modifier to smooth out the shape, and then added a solidify modifier to give it some thickness. To duplicate it in a path, I added an array and curve modifier to make it follow the path of the curve. I added a noise texture, and a wave texture to add more detail to each piece of the shack, making it look more like wood. I then added a roof by created a plane shape and extruding it, using loop cuts to adjust the shape and add slight curves For the base, I created a plane and made it look similar to sand, adding a wave and noise texture to make it look more organic. I added distortion to make the waves look more natural and less uniform. I added a rock by created a sphere shape moving around the vertices to make an organic rock shape. I added a subdivision surface modifier to smooth it out. I went into sculpting mode and added large mounds of dirt in the background, using the grab brush to make it look like an organic pile. I smoothed out the shape and added a subdivision surface modifier. I added a proper hdri image and used mapping coordinates to adjust the lighting and shadows until I was happy with the look. I added a noise texture to the dirt pile to make it look more organic. I also added bump nodes and gradient textures to the sand and dirt pile. I added a bump node to the rock and gave it a couple colour ramps to give it a more interesting look, with a unique pattern and higher contrast.

Material Workshop 1

put a description here or you will lose grades<a href='https://www.youtube.com/embed/tgbNymZ7vqY' target='_blank'><p>Project Video Link</p></a> put a description here or you will lose grades <div class='container'><iframe class='responsive-iframe' src='https://www.youtube.com/embed/tgbNymZ7vqY'></iframe></div> put a description here or you will lose grades

Material Workshop 2

put a description here or you will lose grades <a href='https://www.youtube.com/embed/tgbNymZ7vqY' target='_blank'><p>Project Video Link</p></a> put a description here or you will lose grades <div class='container'><iframe class='responsive-iframe' src='https://www.youtube.com/embed/tgbNymZ7vqY'></iframe></div> put a description here or you will lose grades

Project 1


Project 1 Models

Published 3D Model 1

PLACEHOLDER TEXT, put a description here or you will lose grades

put a description here or you will lose grades <div class='container'><iframe class='responsive-iframe' src='https://hudak.phoenix.sheridanc.on.ca/P1Stuff/Index.html'></iframe></div>

Published 3D Model 2

PLACEHOLDER TEXT, put a description here or you will lose grades

put a description here or you will lose grades <div class='container'><iframe class='responsive-iframe' src='https://hudak.phoenix.sheridanc.on.ca/P1Stuff/Index.html'></iframe></div>

Published 3D Model 3

PLACEHOLDER TEXT, put a description here or you will lose grades

put a description here or you will lose grades <div class='container'><iframe class='responsive-iframe' src='https://hudak.phoenix.sheridanc.on.ca/P1Stuff/Index.html'></iframe></div>
×

Powered by w3.css